The perfect pie crust is golden brown when baked, buttery, soft and flaky, and practically melts in your mouth when you bite into it. Can you taste it already?
“Only very clever men can bite pie without breaking crust.” — Carl SaganThe Fact: The Ancient Egyptians around 2,500BC are known to have eaten pies made with ground oats or wheat wrapped around a filling of honey or figs. The Inspiration: There’s something quite beautiful about making the short-crust pastry pie. It’s gorgeous to look at, beautifully simple to make, and quite an experience to eat the perfect pie. I started out quite badly but am quite proud to have mastered the art. I really hope you do too 🙂
The Ingredients
Makes 1 pie with 6 – 8 portions
For a Pie Crust WITH A COVER
- 2½ cups (350 grams) all-purpose flour
- 1 cup (226 g pr ½ lb) frozen or chilled butter
- 1 teaspoon salt
- ½ cup (120 ml) cold water
- Optional: 2 tablespoon (30 grams) granulated white sugar (Add the sugar only when making a sweet pie/tart/quiche; not for the savoury ones).
OR
For an OPEN TOP Pie Crust
- 1¼ cup (175 g) all-purpose flour
- ½ cup (115 g or ¼ lb) frozen or chilled butter
- ½ teaspoon salt
- ¼ cup (60 ml) cold water
- Optional: 2 tablespoon (30 grams) granulated white sugar (Add the sugar only when making a sweet pie/tart/quiche; not for the savoury ones).
The Method
The secret to getting the perfect, flaky pie crust is to make sure that the butter is very cold and just out of the fridge and to try and use your fingers as little as possible to prevent your body heat from melting the butter.
Making the Pie Crust
- Take the butter out of the fridge and quickly chop the butter into ½ inch pieces. Pop the butter cubes back into the freezer/fridge until you get the other ingredients in place.
- Measure and whisk together the flour, sugar (optional) and salt.
- Pop the butter cubes into the flour mixture and with a light hand, knead the butter into the flour, until the mixture resembles coarse meal. Remember not to overdo this step since the longer your fingers touch the mixture, the faster the butter melts, which is what you do not want. Alternately, you could use a food processor.
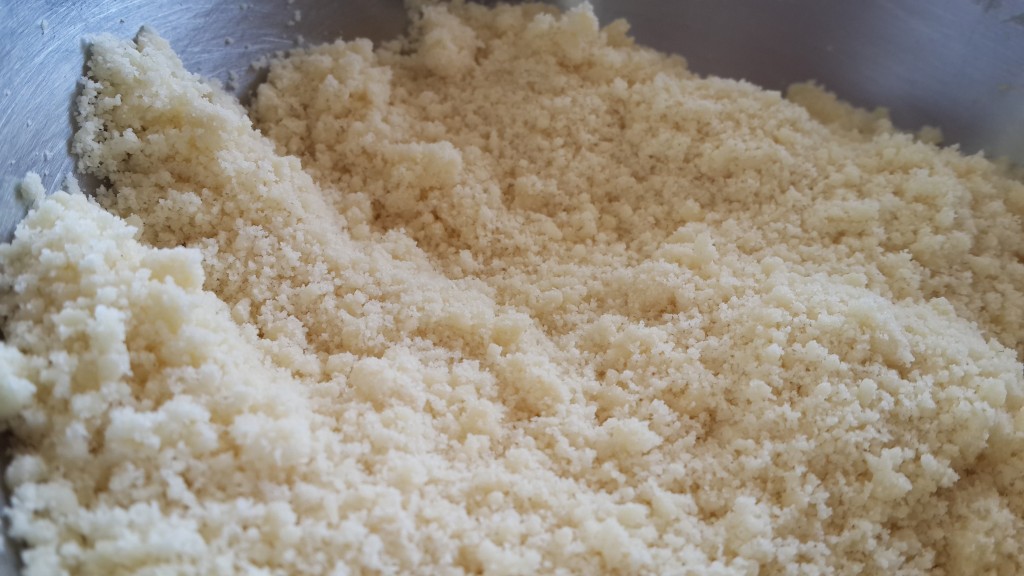
What this step does is it coats the flour molecules (or the glutenin and gliadin) with fat, preventing them from absorbing too much water in the next step. Water when in contact with wheat flour forms gluten, which makes dough elastic. But for preparations such as pies and tarts you do not want too much gluten to form because it makes the dough tough and gives it structure, which works for breads but not for soft, flaky crusts.
- Sprinkle the cold water across the mixture and gently bring the dough together. Do not pour in the water. Stop when the dough just holds together, if pinched. If necessary, add more water. Do not knead or process more than a minute. Form a ball of the dough.
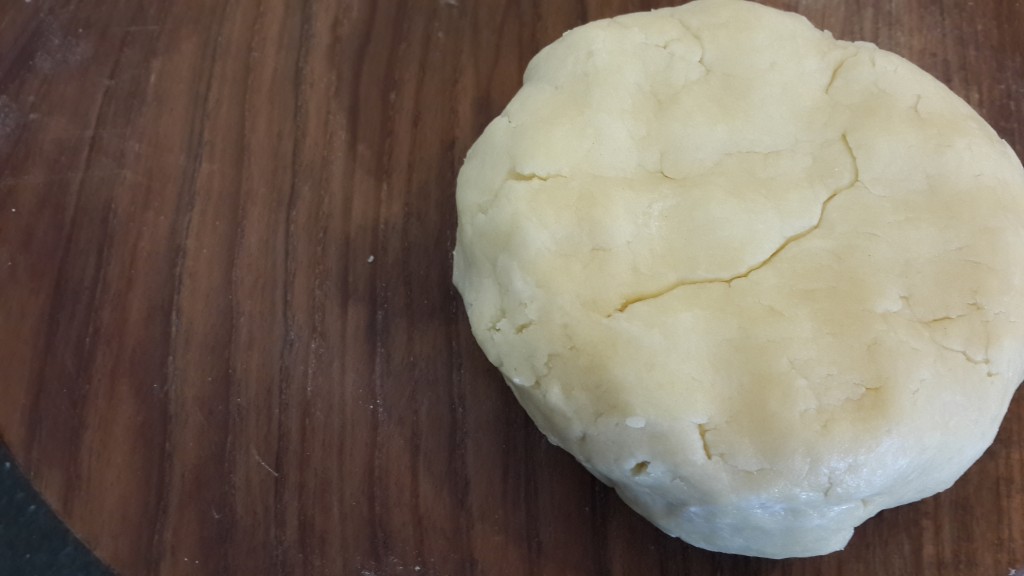
- Divide into 2 portions if making a cover for the pie, if not, leave as is. Lightly flatten each ball using your palms. To prevent the dough from sticking to your palms, sprinkle the dough with loose flour.
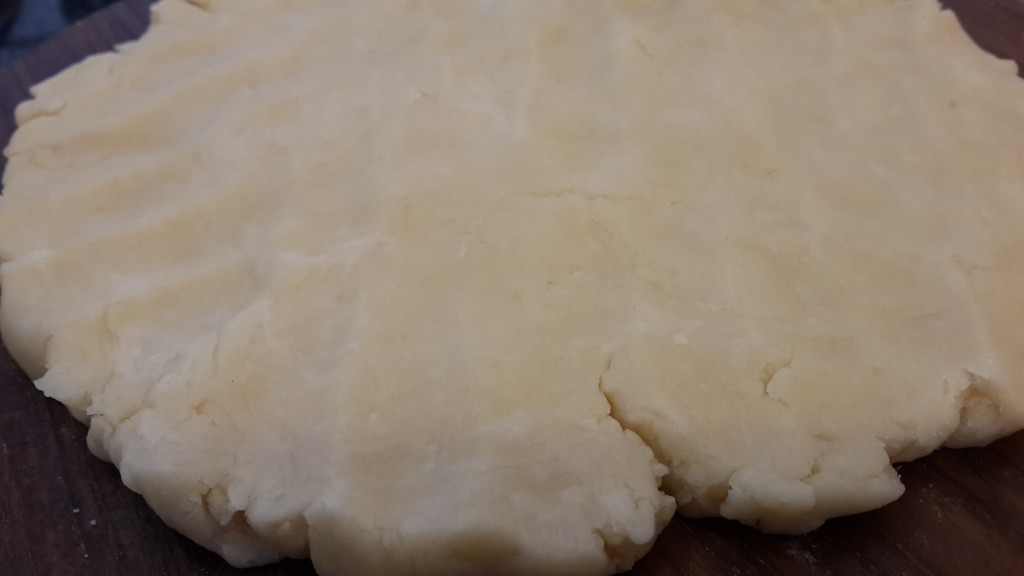
- Cover the disk (two in case of a covered pie) with plastic wrap and refrigerate for about one hour before using. If you do not cover the disk, it will harden and cracks will form, making it difficult for you to roll the pie.
- After sufficient chilling, remove one portion of the dough from the fridge and place it on a lightly floured counter. Lightly press the heel of your palm into the dough to soften it. This also flattens the butter into the pastry layers. Leave the dough to soften a little at room temperature.
- Sprinkle the rolling pin with some flour to prevent the dough from sticking. Using a rolling pin, roll the pastry into a 12-inch circle. As you roll, keep turning the pastry circle a little each time. This will allow you to roll out a uniform pie. Also, always roll from the centre of the pastry, outwards.
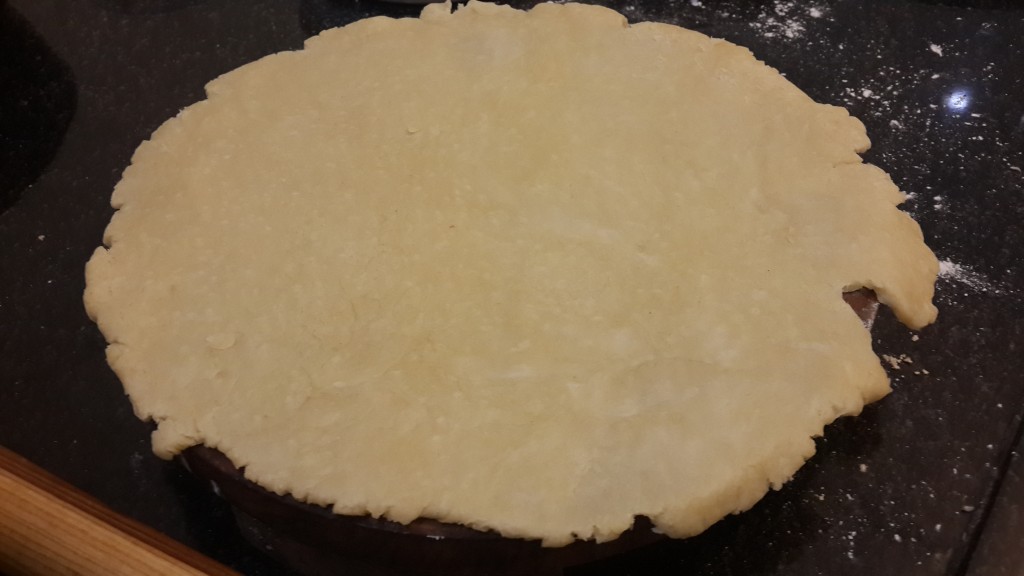
- Gently transfer the rolled pastry circle to a 9 inch pie pan. You can do this easily by folding half of the pastry circle over the rolling pin, then moving the rolling pin to the pie pan and unfolding it. Brush off excess flour and trim the edges of the pastry to fit the pie pan. Cover with plastic wrap once more and chill in the refrigerator.
- In the same way, roll out the second pastry disc. Cover with plastic wrap and place in the refrigerator.
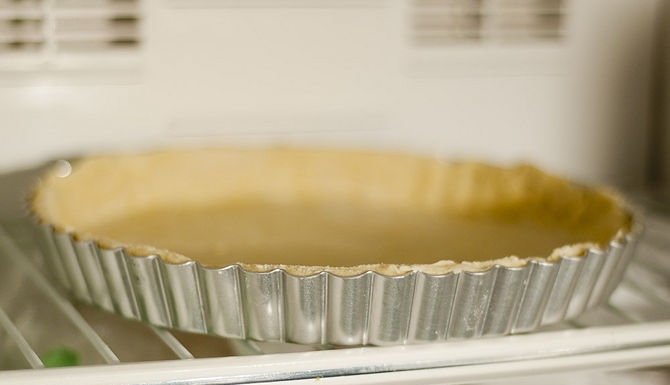
Blind Baking the Pie Crust
Blind baking is partially baking the pastry base before adding the filling. Although this process is completely optional, it creates a stronger crust that can hold moist filling without getting soggy. Blink baking is also done when the filling needs less time to cook than the pastry.
- After the pie pan has chilled for about an hour or more, preheat the oven to 200ºC/400ºF.
- Remove the pie pan from the fridge (leave the cover in) and fill it up with dried beans, dried lentils, dried rice or pie weights; something that will weigh the base down and prevent it from rising (air bubbles will leave the pie weakened). Pop it into the oven.
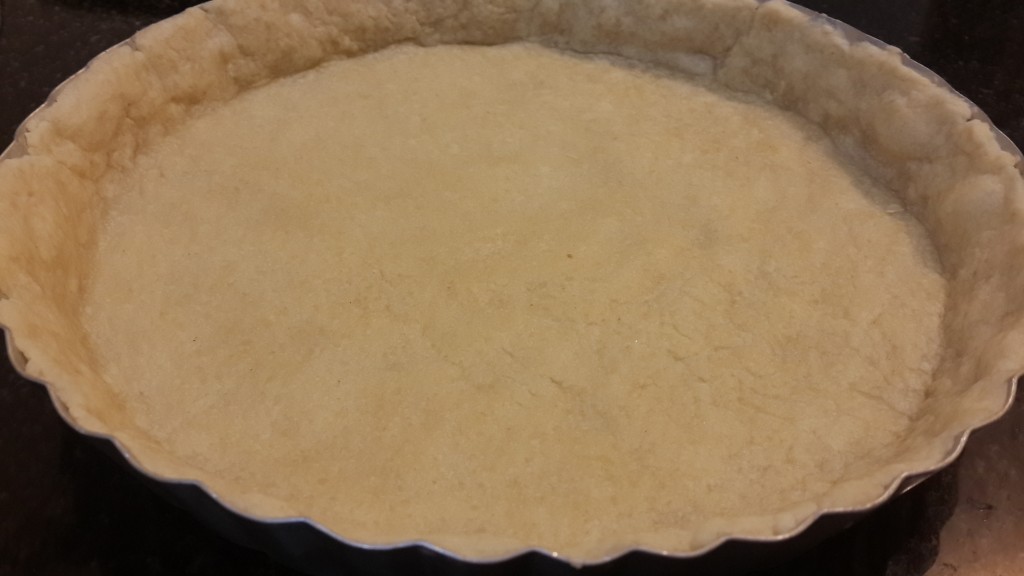
- Bake for approximately 15 minutes (for a pastry containing sugar, 10 minutes). The key is to remove the pie pan when the pie develops a light golden brown.
- Remove from the oven and allow it to cool for about 5 minutes before you pour in the filling.
You’re done! Now pour in the filling and continue with your recipe.

One thought on “The Perfect Pie Crust/Short-Crust Pastry”