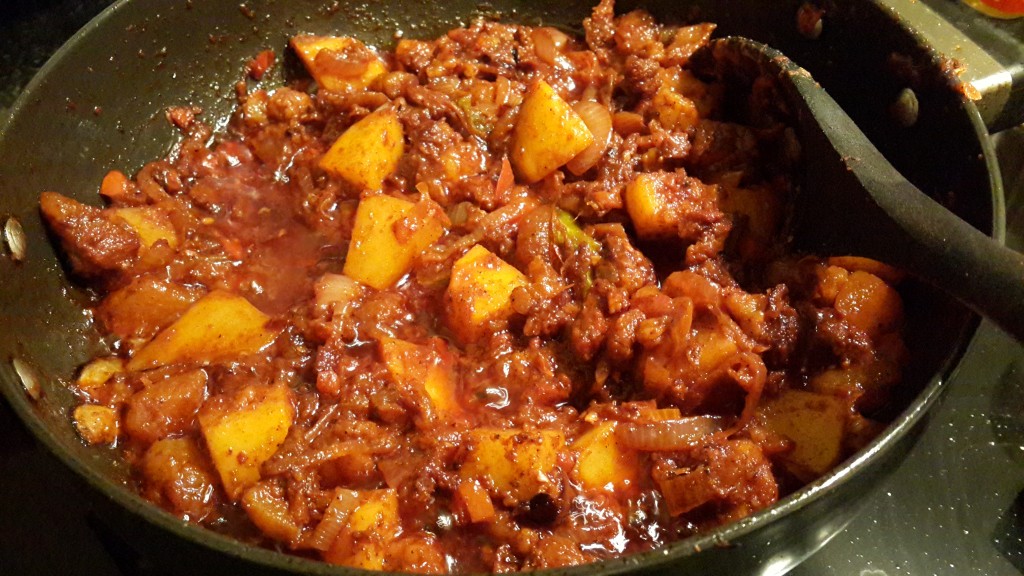
Authentic Goan Pork Vindaloo Recipe (Traditional, Tangy & Slow-Cooked to Perfection)
Make authentic Goan Pork Vindaloo with this traditional, tangy, slow-cooked recipe. Fiery, flavourful, and perfect…
Passion. Flavours. Moments.
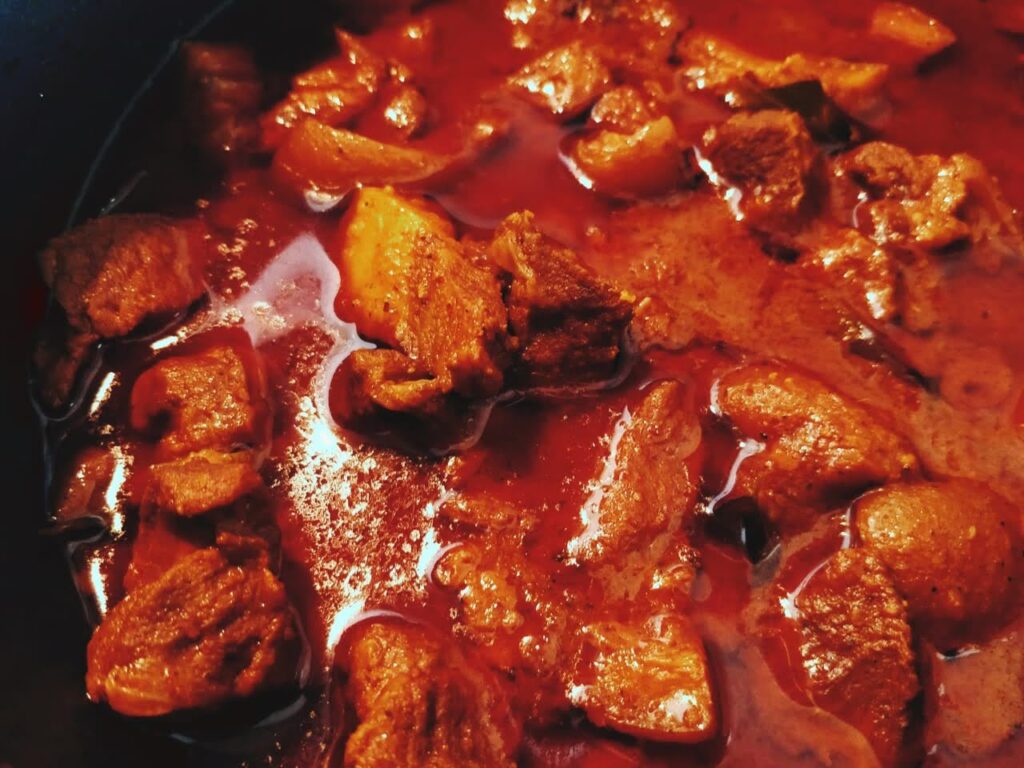
Make authentic Goan Pork Vindaloo with this traditional, tangy, slow-cooked recipe. Fiery, flavourful, and perfect…
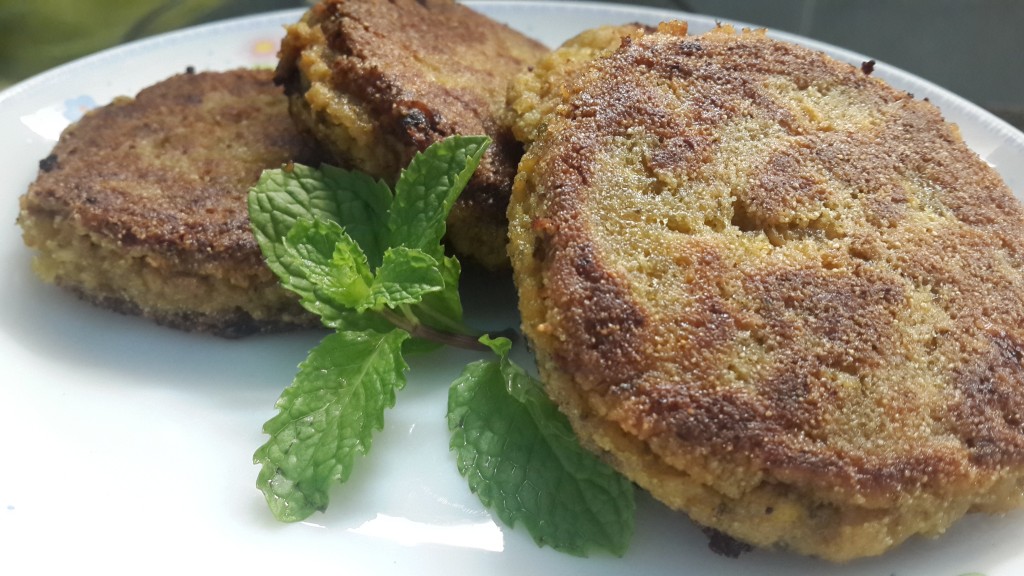
A perfect crust and a warm mushy inside, pan fried in 3 minutes… for those days…
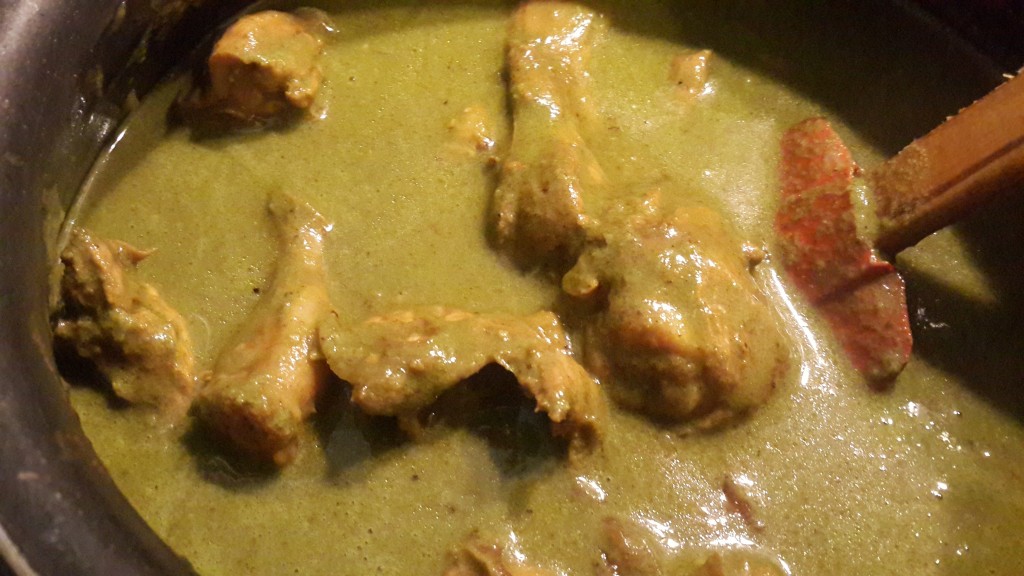
Chicken in red and brown curries is the norm; a green gravy, though not a…
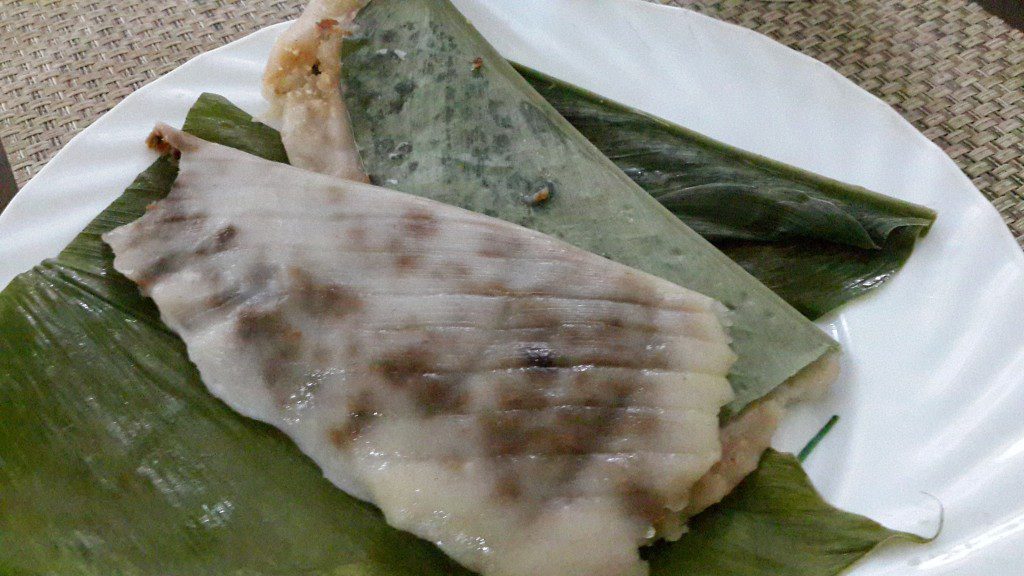
Discover how to make authentic Goan Patoleo (also called Patoyos or Patoddios), sweet steamed rice…
A must-try Goan delicacy if you’re headed to Goa, India, for a holiday! “To…