Baked Fish in Lemon Garlic Butter Sauce (Easy, Juicy & Flavorful)
Make tender baked fish with lemon garlic butter sauce in under 30 minutes. A light,…
Passion. Flavours. Moments.

Make tender baked fish with lemon garlic butter sauce in under 30 minutes. A light,…
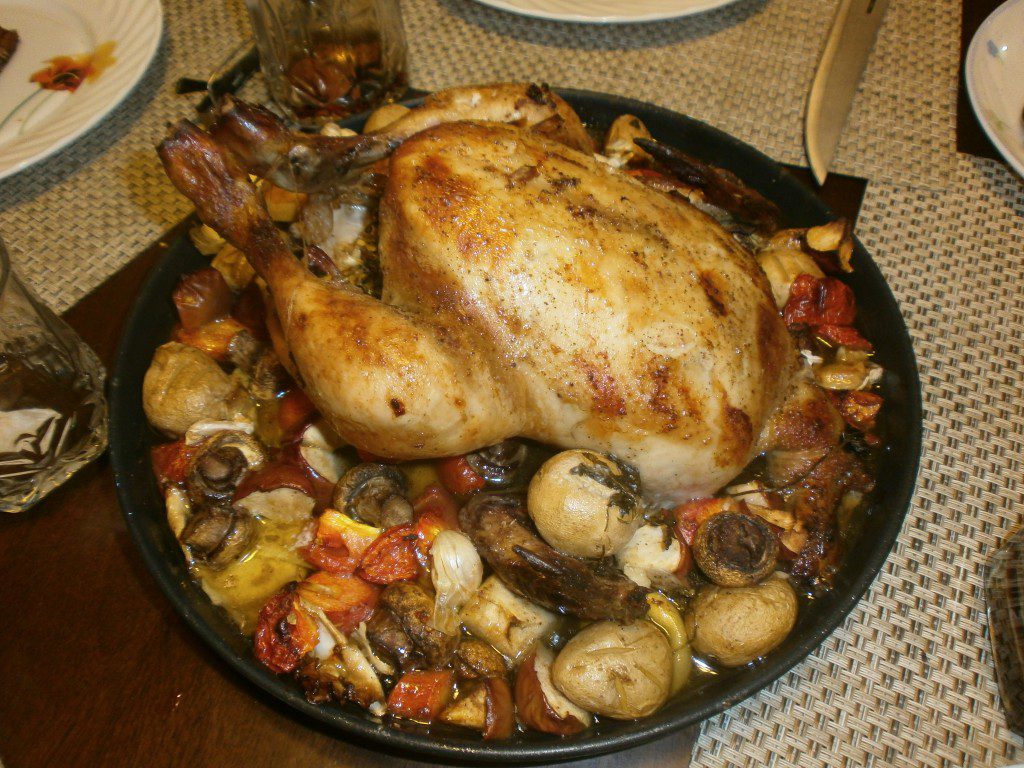
Learn how to make juicy roast chicken with crispy skin using this easy oven recipe.…