Vanilla Christmas Cookies Recipe (Cut-Out Recipe)
Make perfect Christmas Sugar Cookies with this no-chill vanilla cookie recipe. Holds shape beautifully, soft…
Passion. Flavours. Moments.

Make perfect Christmas Sugar Cookies with this no-chill vanilla cookie recipe. Holds shape beautifully, soft…
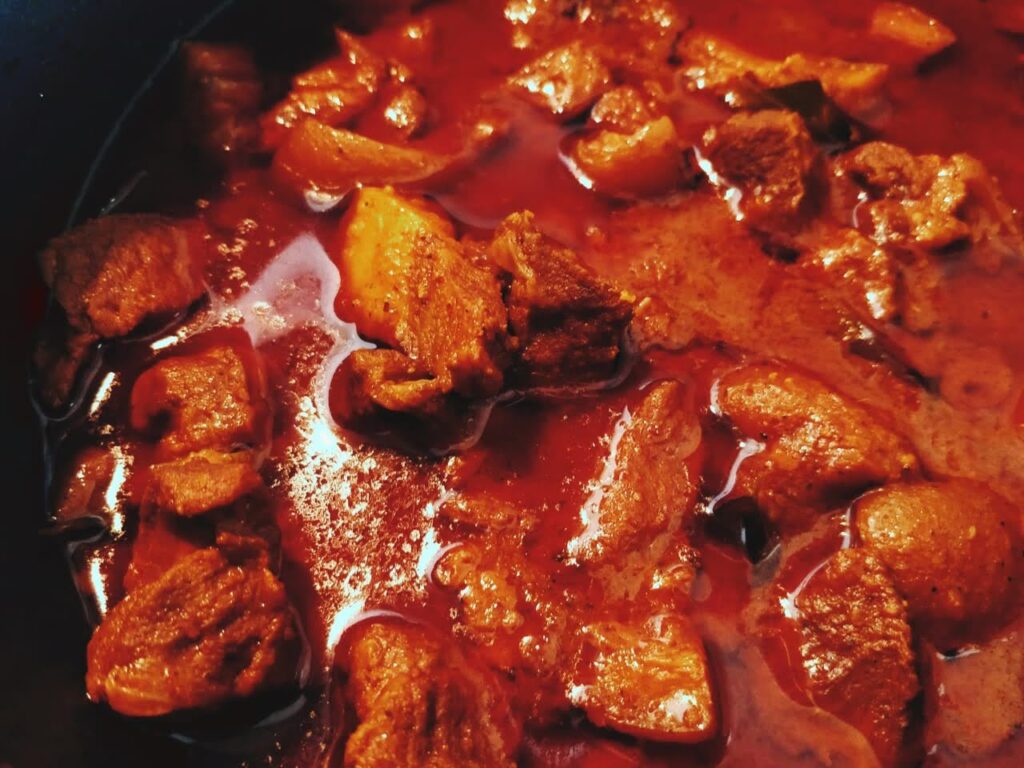
Make authentic Goan Pork Vindaloo with this traditional, tangy, slow-cooked recipe. Fiery, flavourful, and perfect…
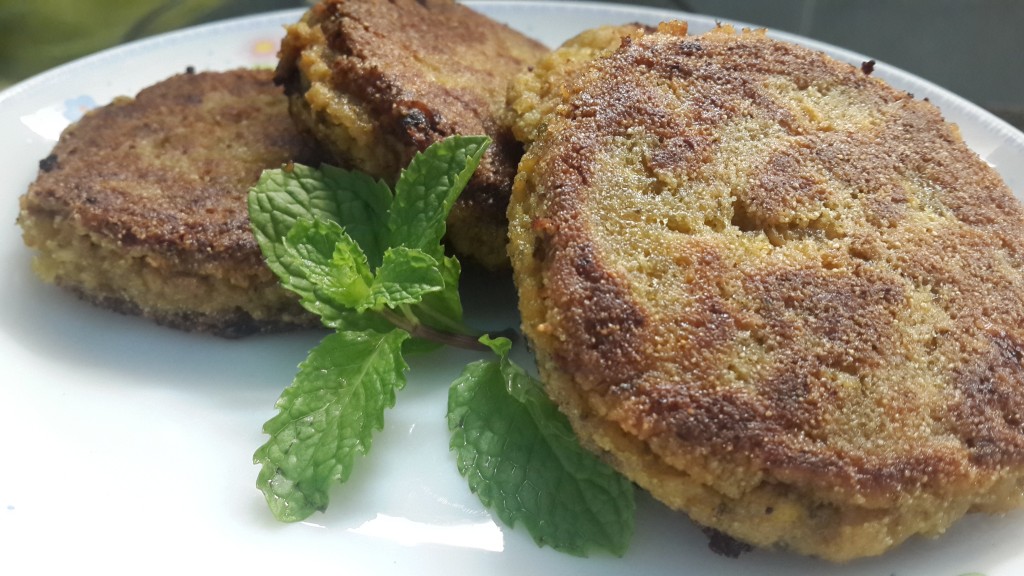
A perfect crust and a warm mushy inside, pan fried in 3 minutes… for those days…
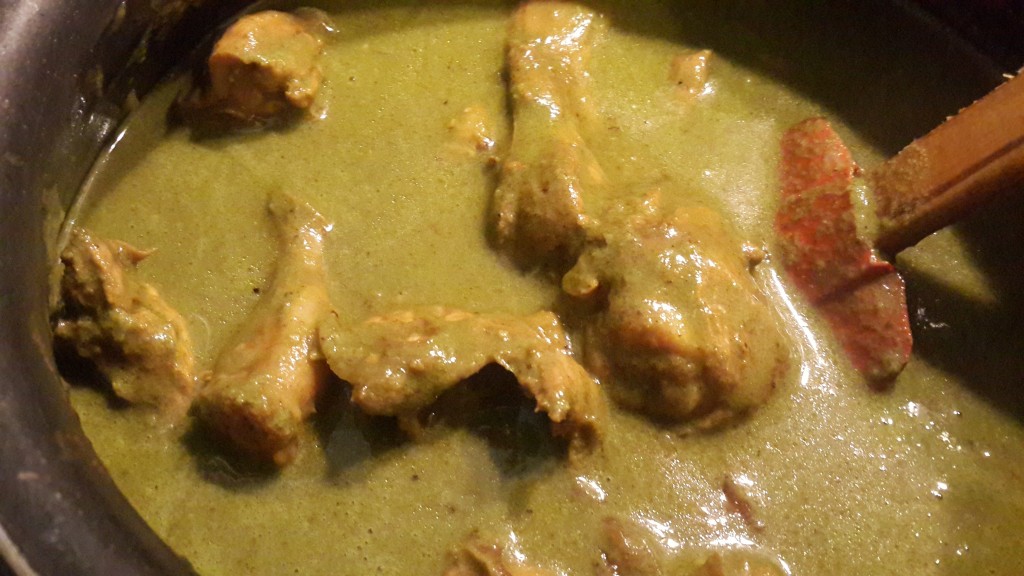
Chicken in red and brown curries is the norm; a green gravy, though not a…
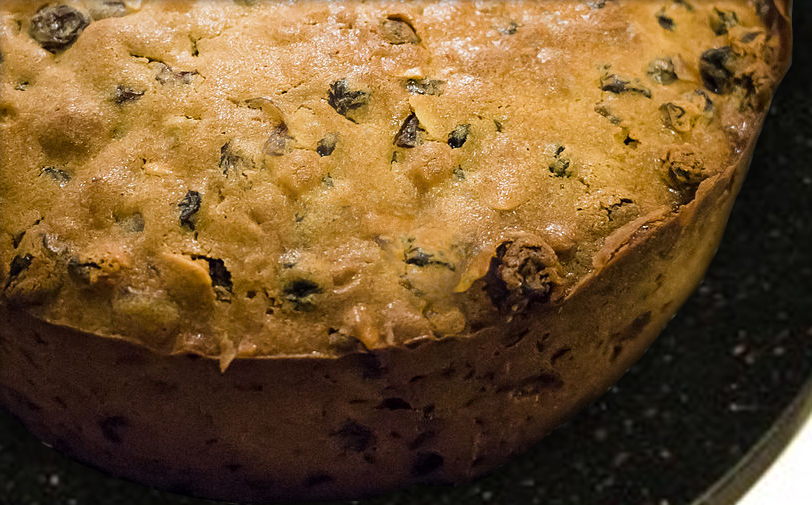
The perfectly moist, heavenly, rum-packed Christmas fruitcake! You have to try it to believe it! 🙂…
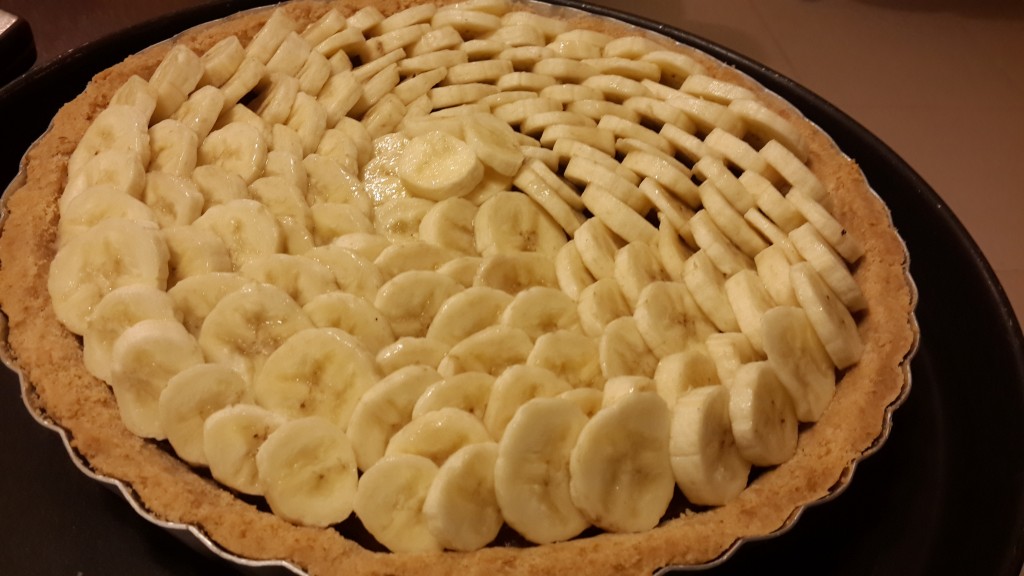
Make this one out of love for the name of the dessert, if not the…

Make tender baked fish with lemon garlic butter sauce in under 30 minutes. A light,…
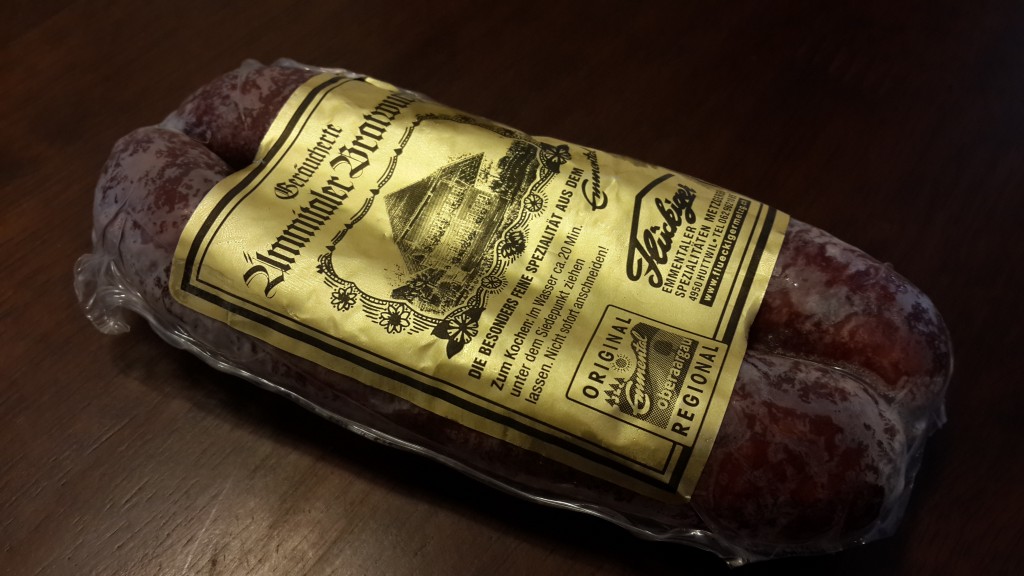
There cannot be a sausage tastier than this … not until another sausage proves me…

Bake a classic homemade apple pie with buttery crust and warmly spiced filling. A comforting,…
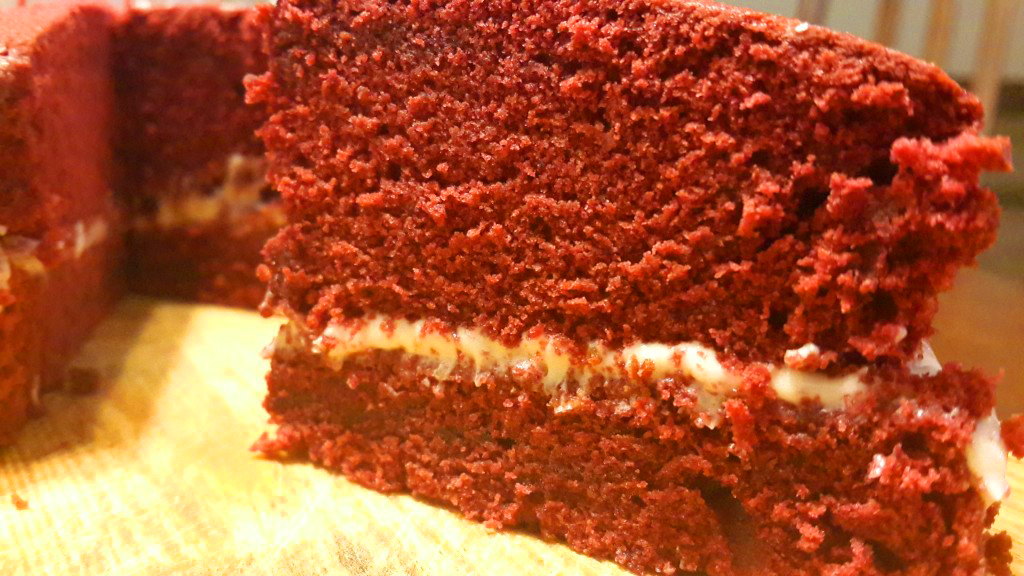
Some find a little bit of heaven in their red velvet cake; others think it’s…
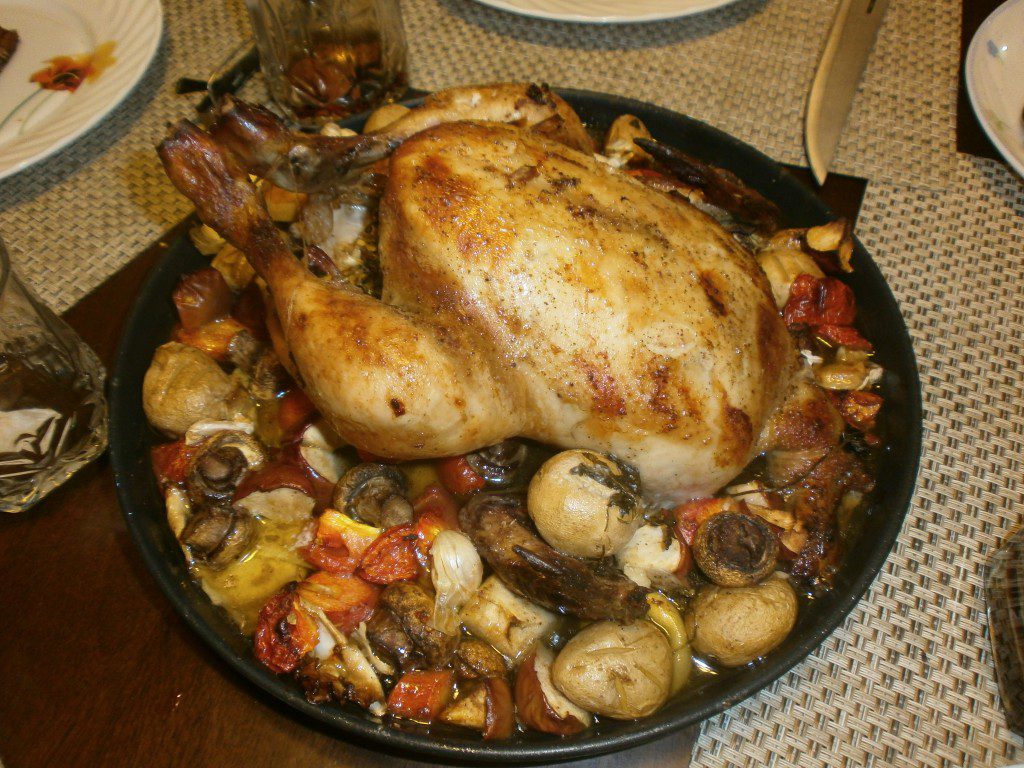
Learn how to make juicy roast chicken with crispy skin using this easy oven recipe.…