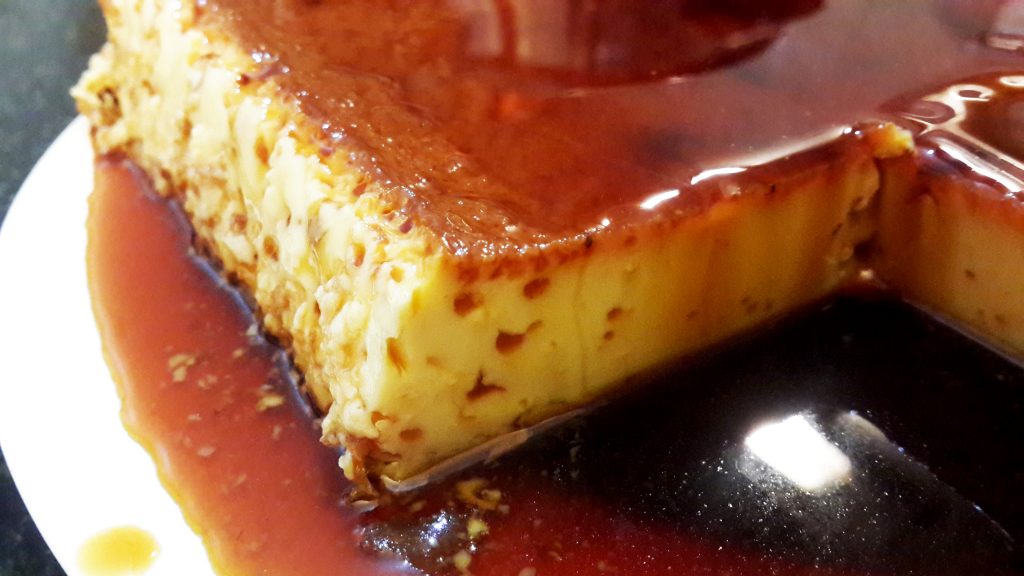
Easy Caramel Custard Recipe
This one’s hands down, one of the simplest, can’t-go-wrong desserts! It’s simple, basic, uses 4…
Passion. Flavours. Moments.
This one’s hands down, one of the simplest, can’t-go-wrong desserts! It’s simple, basic, uses 4…
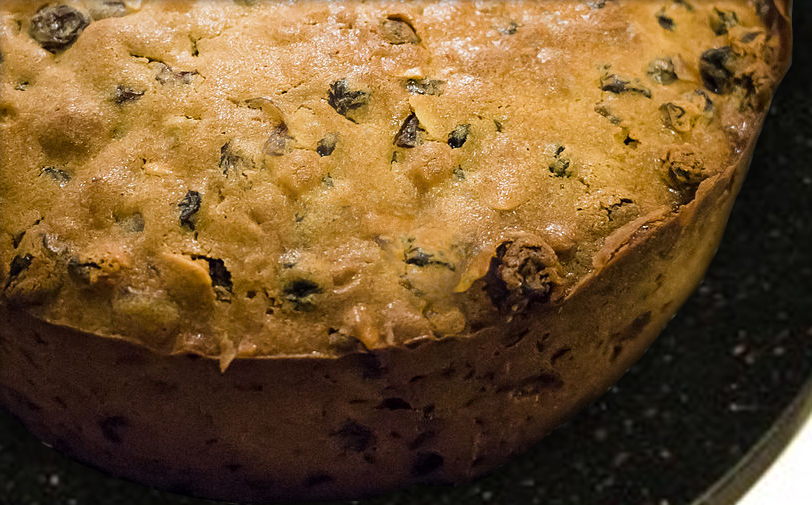
The perfectly moist, heavenly, rum-packed Christmas fruitcake! You have to try it to believe it! 🙂…
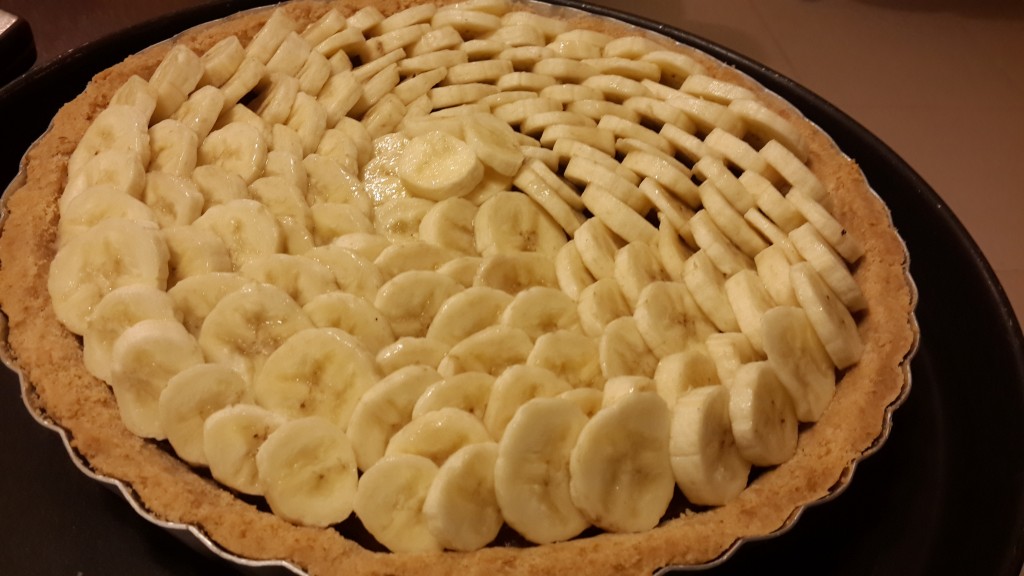
Make this one out of love for the name of the dessert, if not the…

The quiche has always been one of those fascinating kitchen creations that has an exotic…
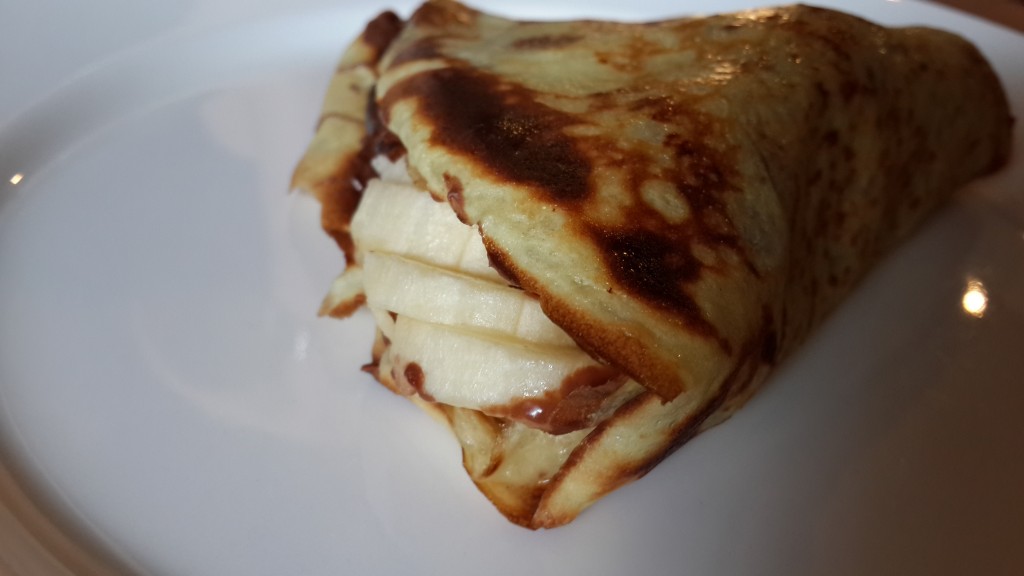
Make easy chocolate banana crepes with sautéed bananas for a rich, indulgent dessert or breakfast.…