Breakfasts n Brunches - Cookies, Cakes n Cavities - Lockdown Recipes - The Kitchen Diary - Vegetarian Varieties
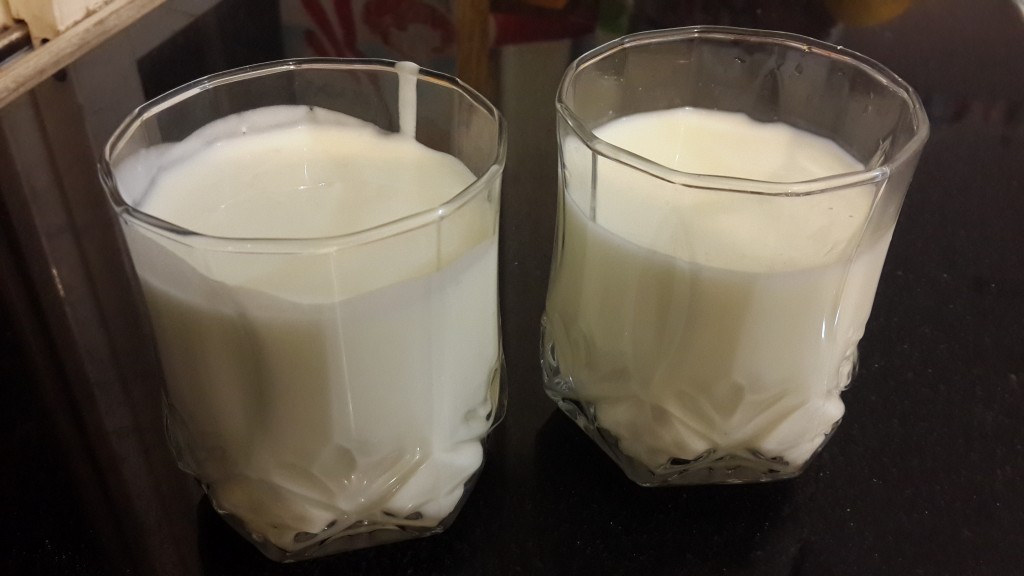
How to Make Buttermilk at Home (Easy Buttermilk Substitute Recipe)
Learn how to make buttermilk at home in minutes using simple ingredients. An easy buttermilk…