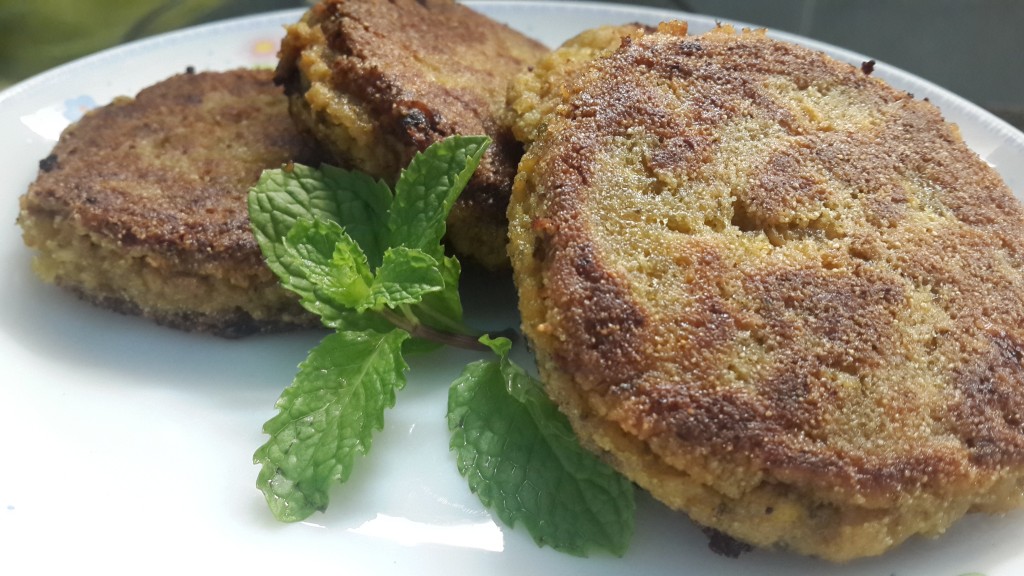
Chicken/Beef Cutlets Recipe
A perfect crust and a warm mushy inside, pan fried in 3 minutes… for those days…
Passion. Flavours. Moments.
A perfect crust and a warm mushy inside, pan fried in 3 minutes… for those days…
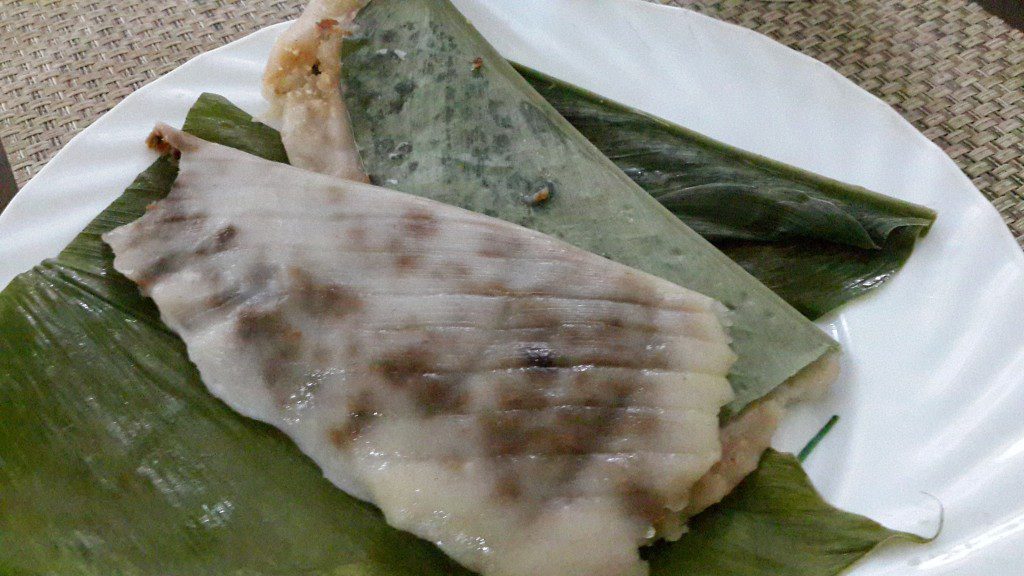
Discover how to make authentic Goan Patoleo (also called Patoyos or Patoddios), sweet steamed rice…

The perfect pie crust is golden brown when baked, buttery, soft and flaky, and practically…
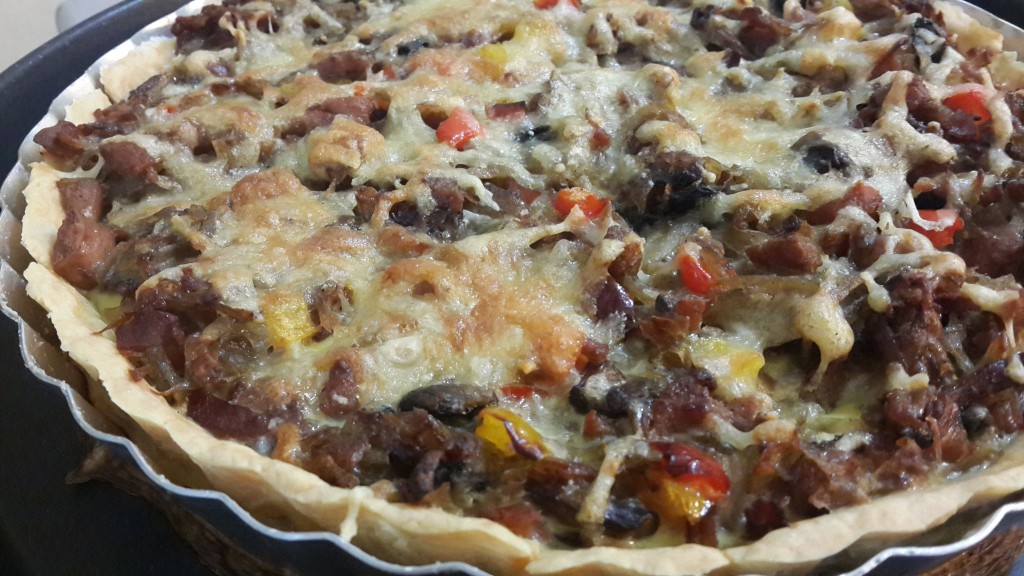
The quiche has always been one of those fascinating kitchen creations that has an exotic…
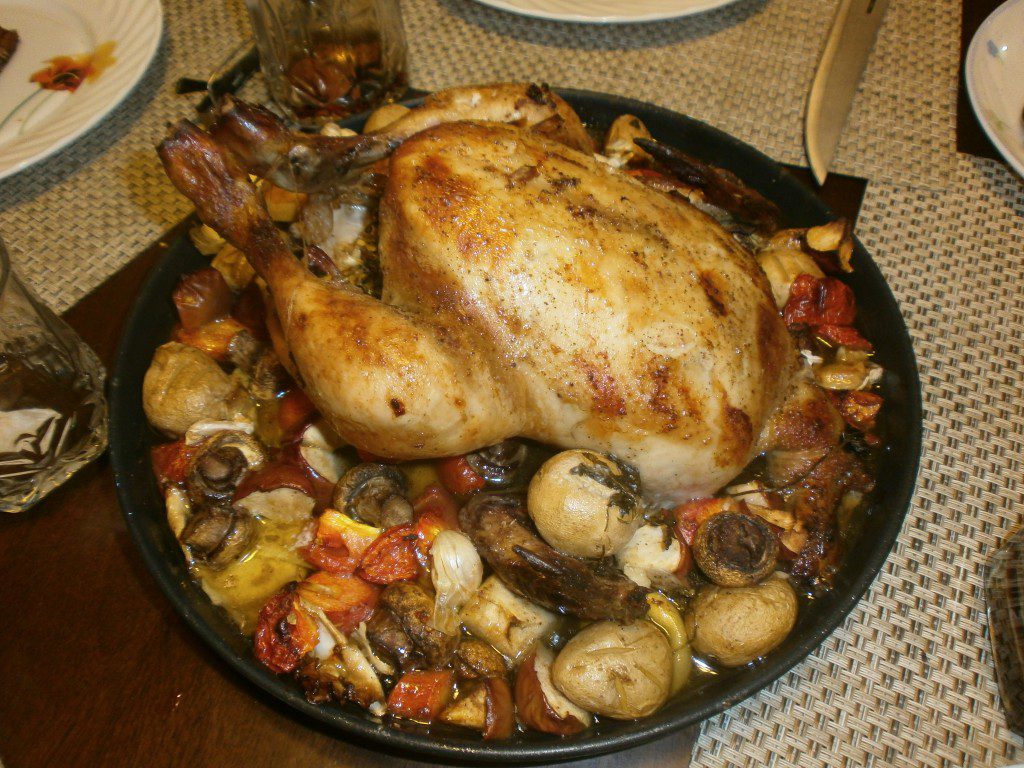
Learn how to make juicy roast chicken with crispy skin using this easy oven recipe.…