A Couple of Cream Cheese Frostings Recipe
I use cream cheese in everything I possibly can—salads, bakes, frostings, pie fillings, sides, dips…
Passion. Flavours. Moments.
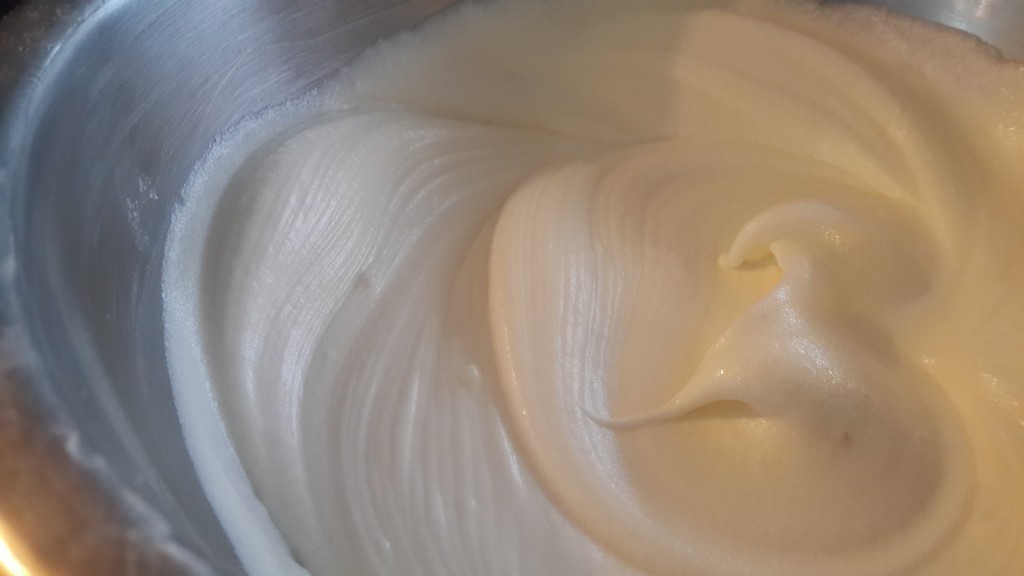
I use cream cheese in everything I possibly can—salads, bakes, frostings, pie fillings, sides, dips…
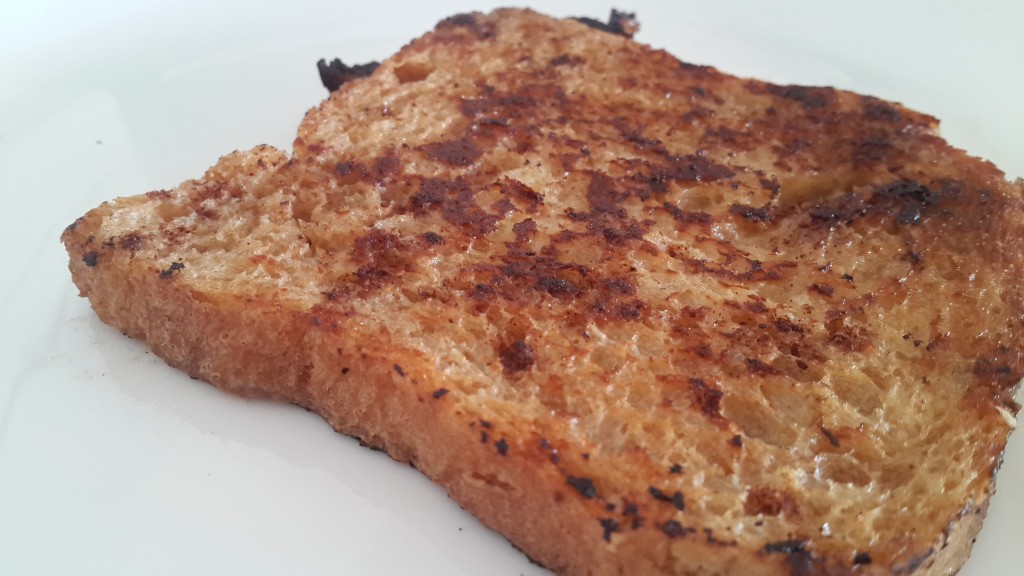
Sometimes, it’s the simplest things that are the hardest to do! Think about it—whipping up…
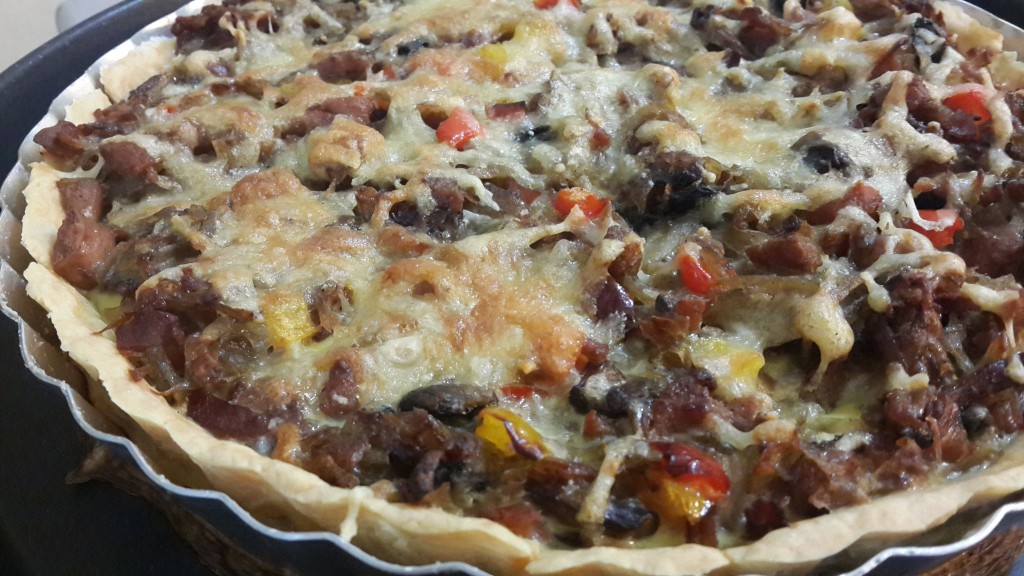
The quiche has always been one of those fascinating kitchen creations that has an exotic…
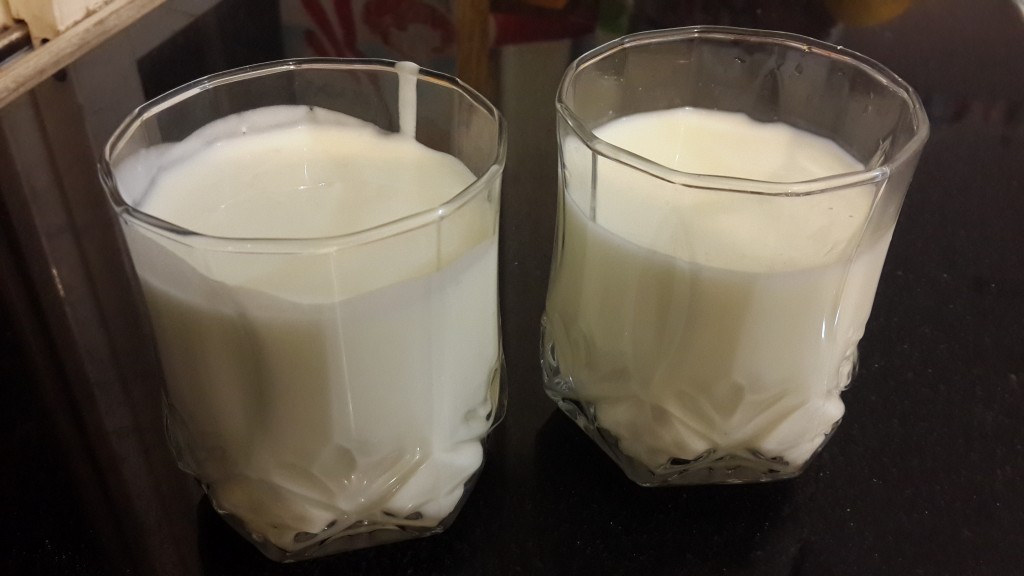
Learn how to make buttermilk at home in minutes using simple ingredients. An easy buttermilk…
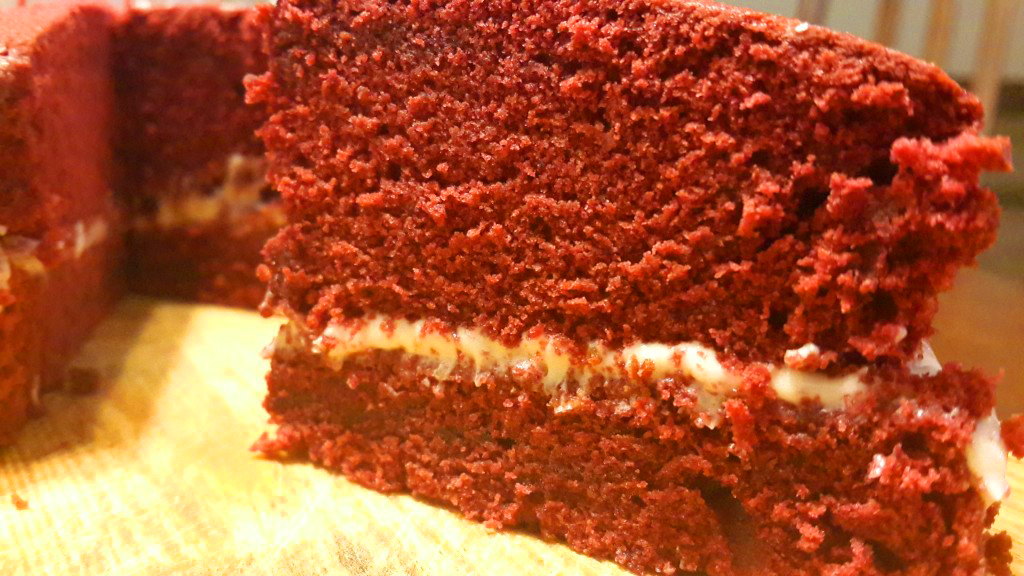
Some find a little bit of heaven in their red velvet cake; others think it’s…
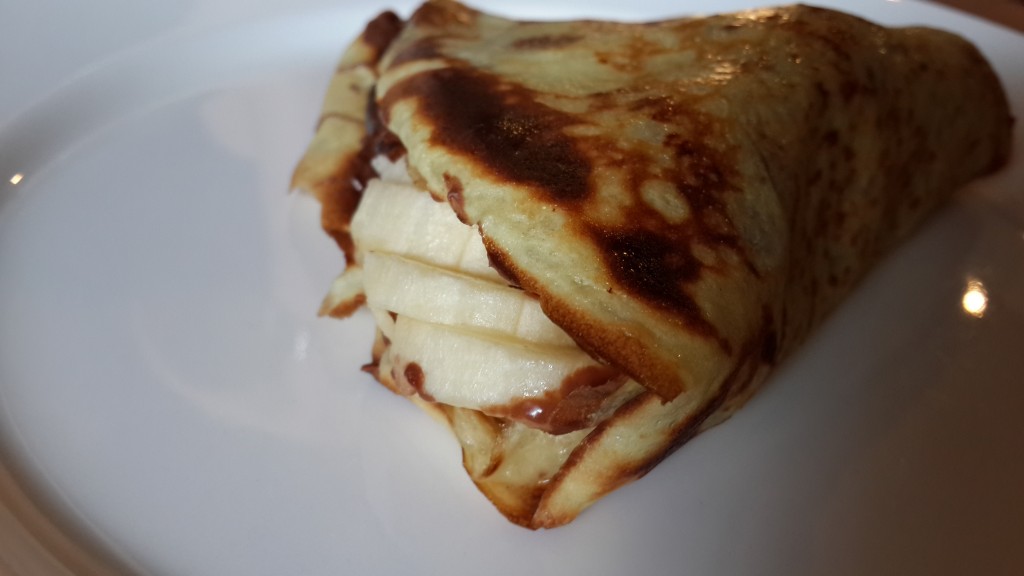
Make easy chocolate banana crepes with sautéed bananas for a rich, indulgent dessert or breakfast.…