Easy Caramel Custard Recipe
This one’s hands down, one of the simplest, can’t-go-wrong desserts! It’s simple, basic, uses 4…
Passion. Flavours. Moments.
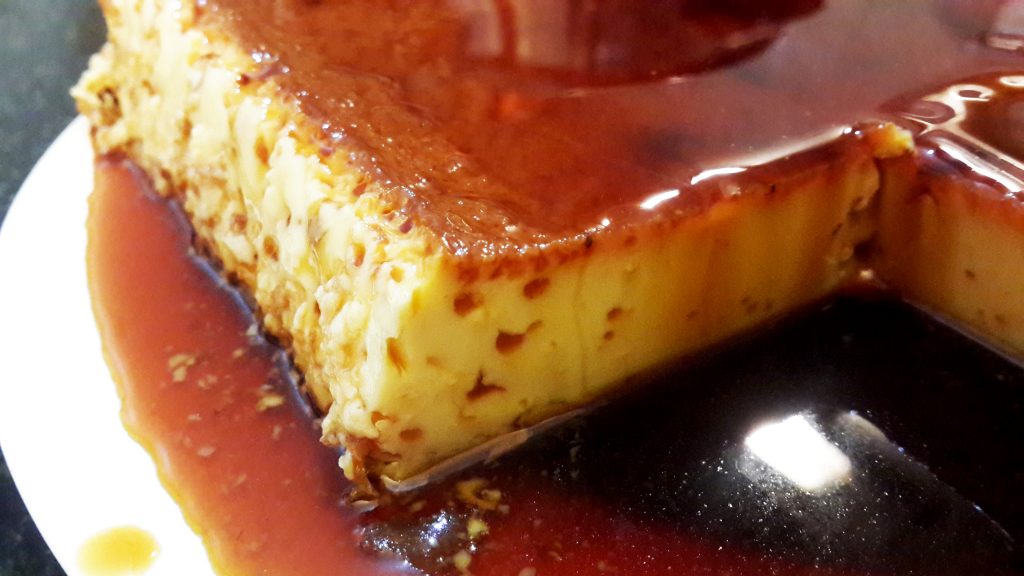
This one’s hands down, one of the simplest, can’t-go-wrong desserts! It’s simple, basic, uses 4…
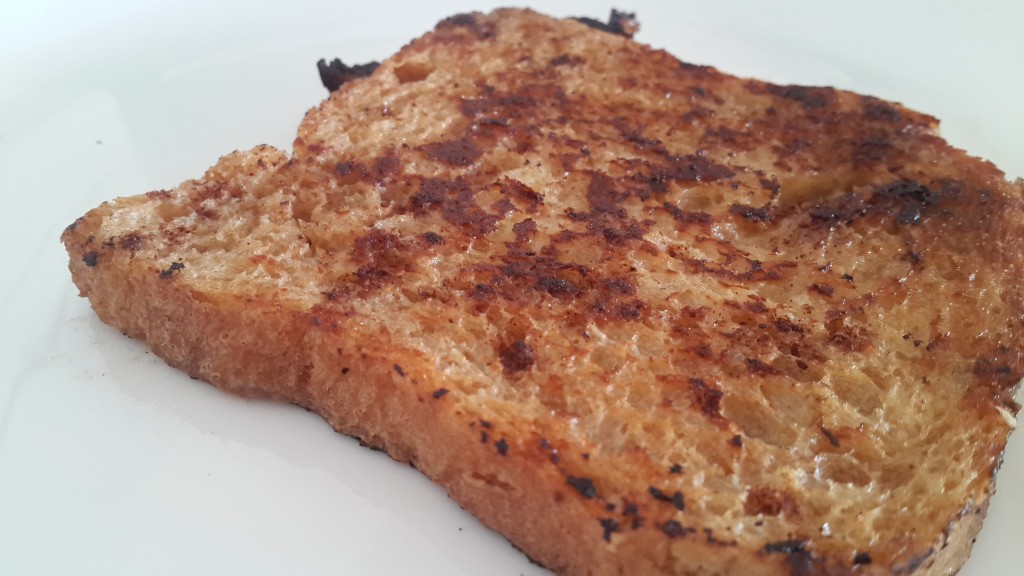
Sometimes, it’s the simplest things that are the hardest to do! Think about it—whipping up…
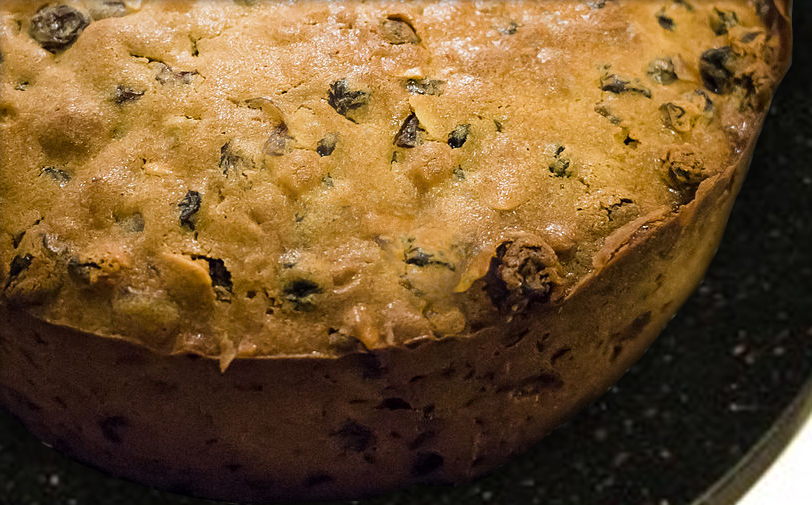
The perfectly moist, heavenly, rum-packed Christmas fruitcake! You have to try it to believe it! 🙂…
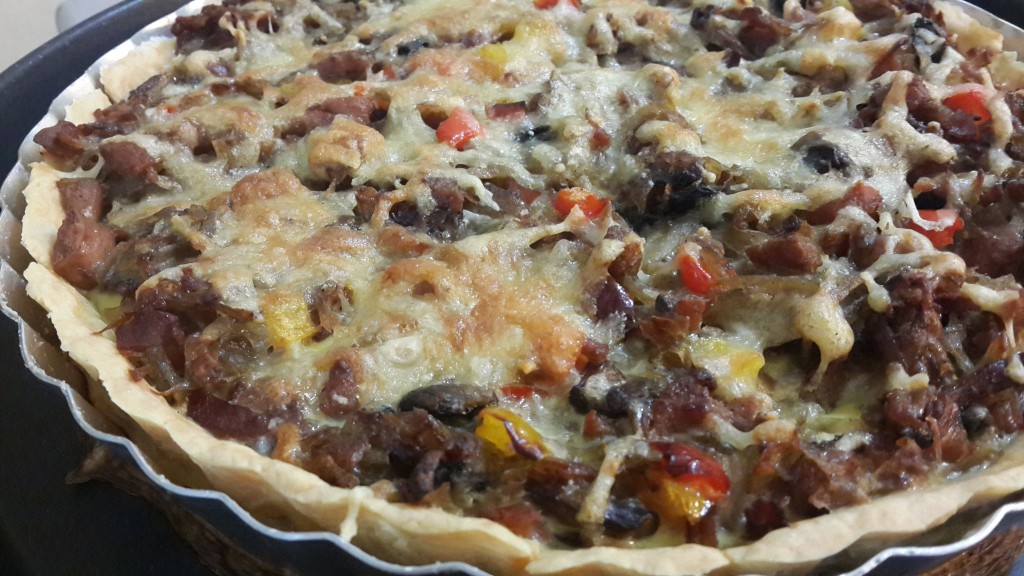
The quiche has always been one of those fascinating kitchen creations that has an exotic…
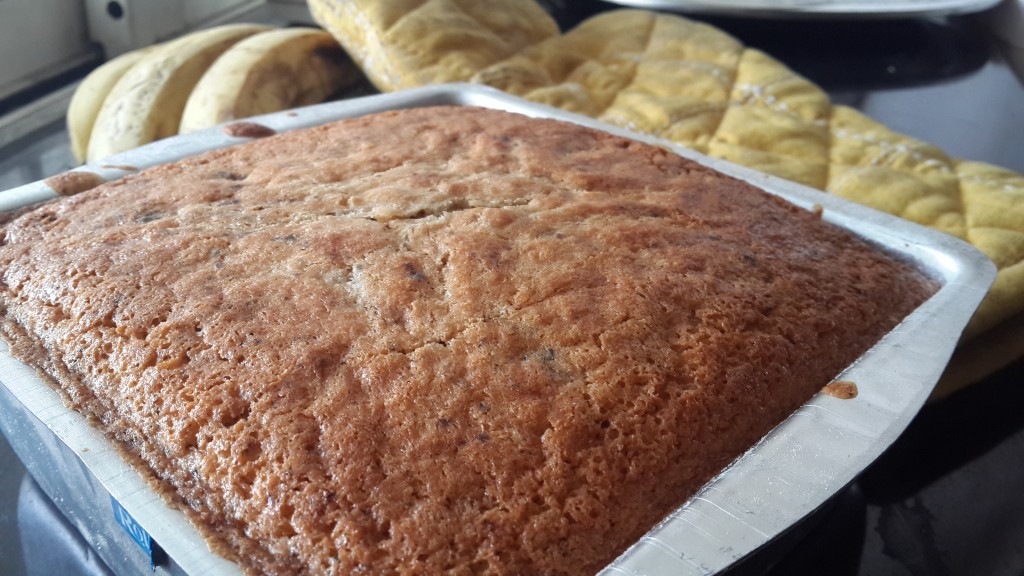
Bake a moist banana pound cake with rich buttery flavour and soft crumb. An easy…
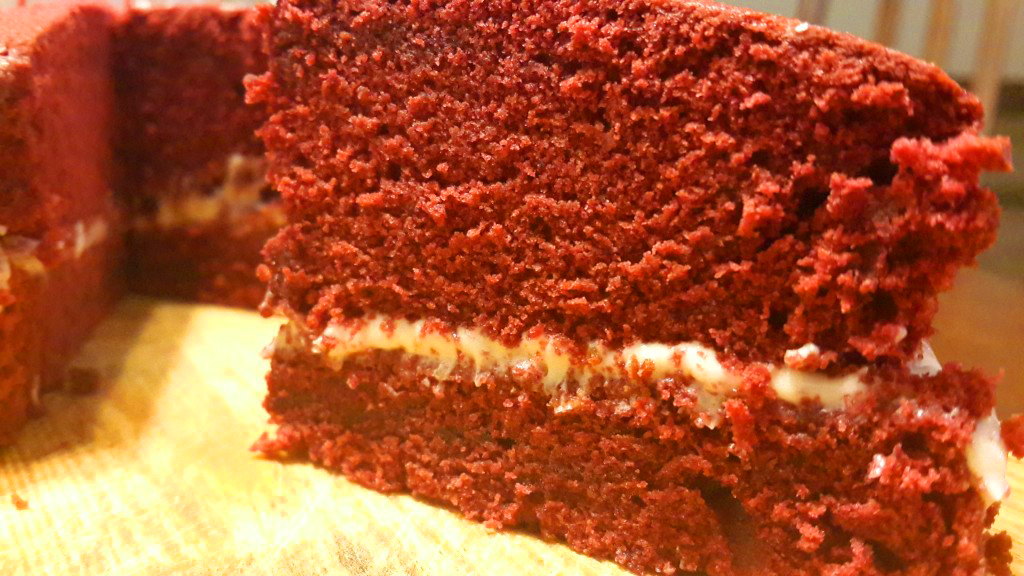
Some find a little bit of heaven in their red velvet cake; others think it’s…
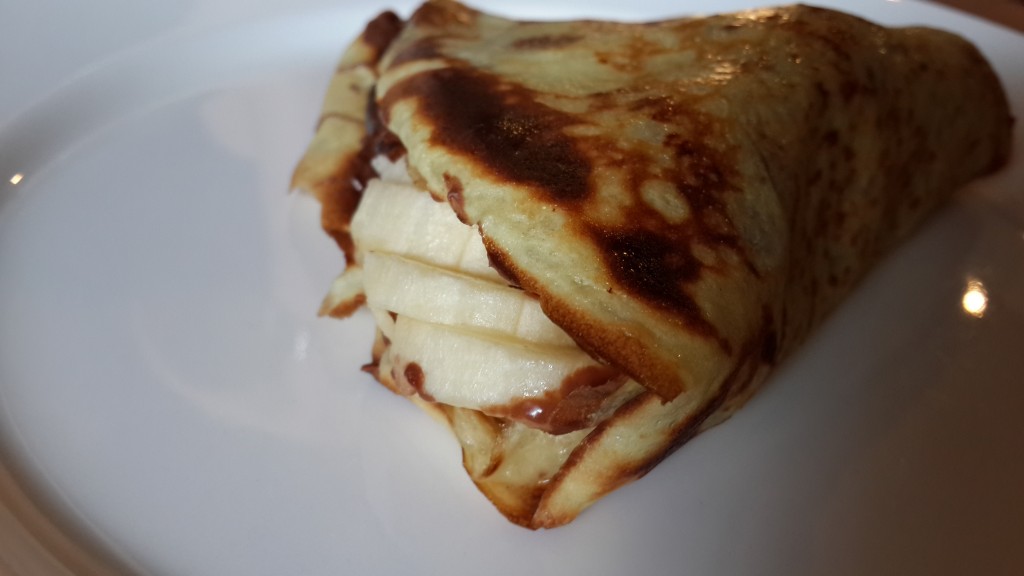
Make easy chocolate banana crepes with sautéed bananas for a rich, indulgent dessert or breakfast.…