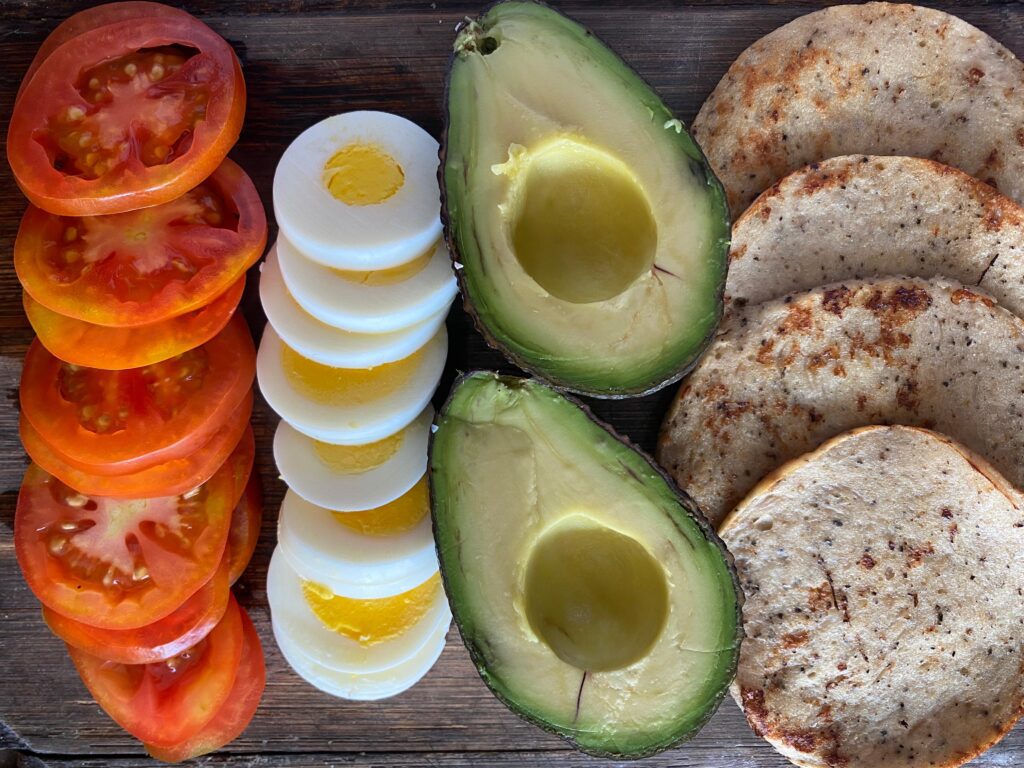
🥑 Avocado Egg Breakfast Sandwich – Easy & Healthy Recipe
Make this easy avocado egg breakfast sandwich in just 15 minutes. Creamy avocado, eggs and…
Passion. Flavours. Moments.
Make this easy avocado egg breakfast sandwich in just 15 minutes. Creamy avocado, eggs and…
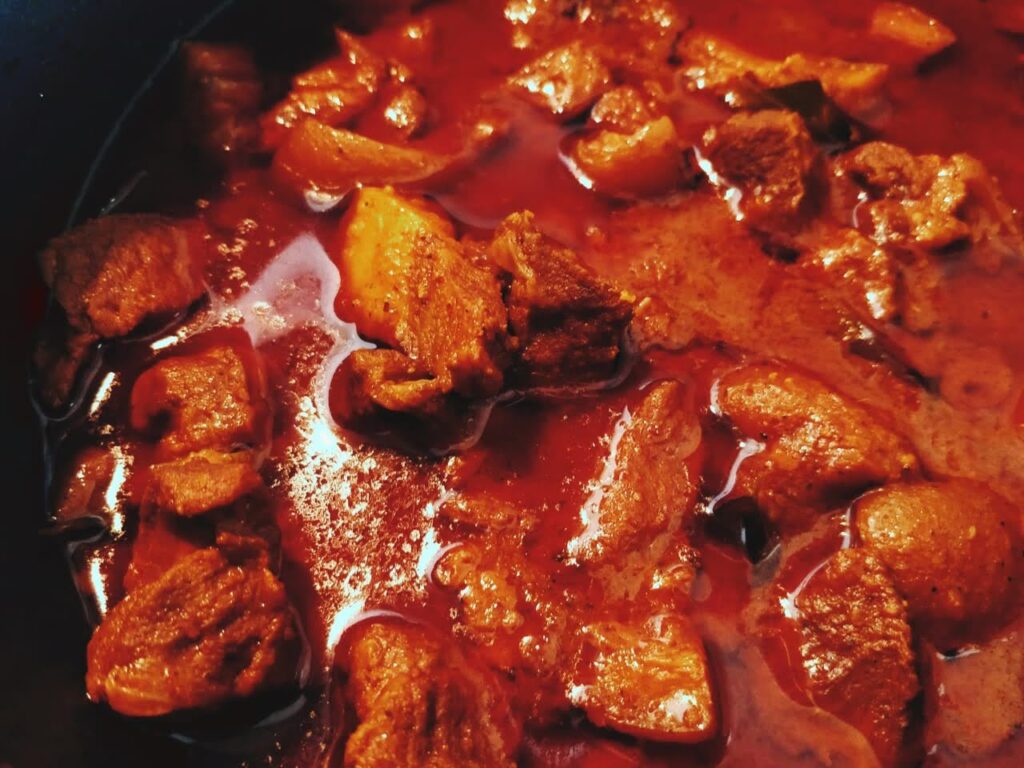
Make authentic Goan Pork Vindaloo with this traditional, tangy, slow-cooked recipe. Fiery, flavourful, and perfect…
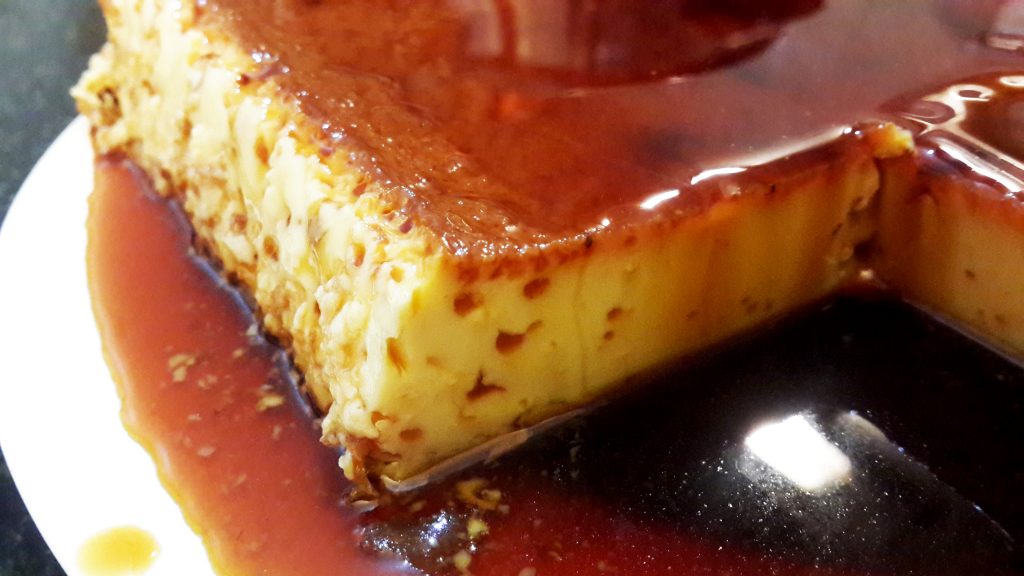
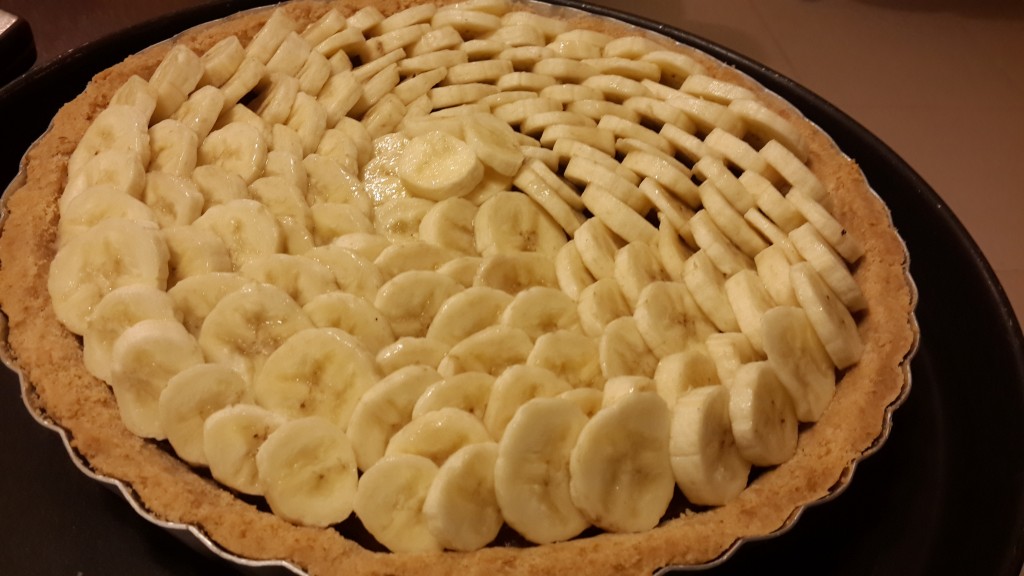
This one’s hands down, one of the simplest, can’t-go-wrong desserts! It’s simple, basic, uses 4…

A perfect crust and a warm mushy inside, pan fried in 3 minutes… for those days…

I use cream cheese in everything I possibly can—salads, bakes, frostings, pie fillings, sides, dips…

My all-time favourite cake! It’s best eaten warm in any weather. It’s rich, moist, full…
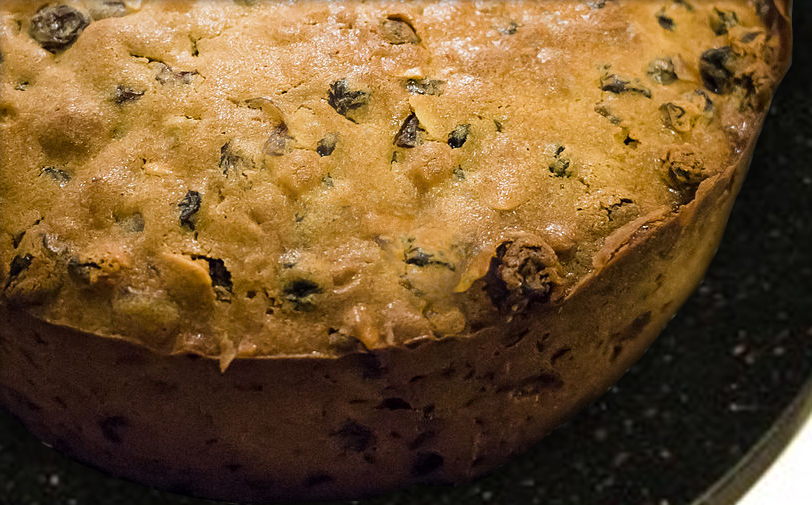
The perfectly moist, heavenly, rum-packed Christmas fruitcake! You have to try it to believe it! 🙂…
Make this one out of love for the name of the dessert, if not the…

Trust me. This dish smells delicious, looks even better, and tastes like something I’d want…

The perfect pie crust is golden brown when baked, buttery, soft and flaky, and practically…

The quiche has always been one of those fascinating kitchen creations that has an exotic…
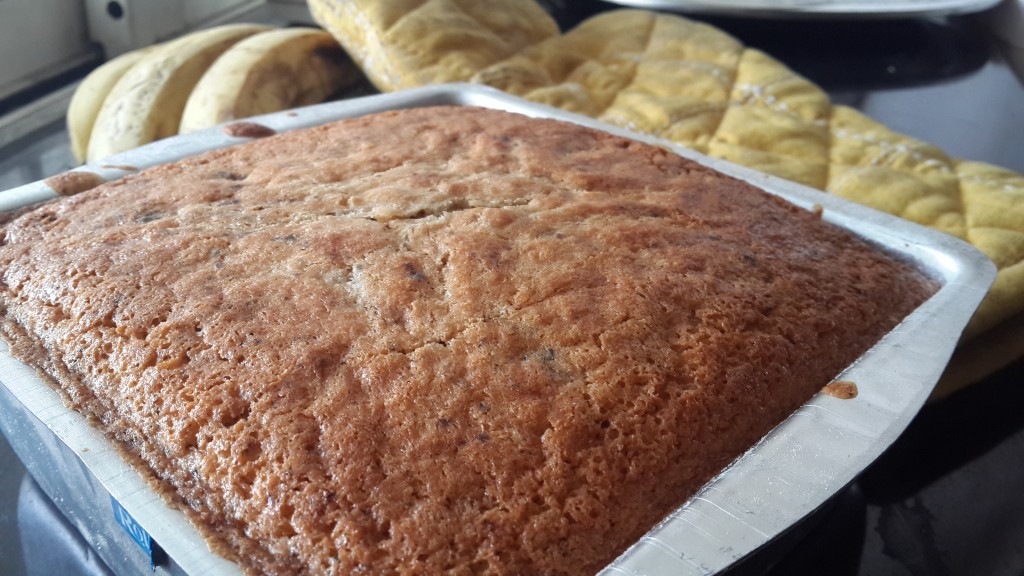
Bake a moist banana pound cake with rich buttery flavour and soft crumb. An easy…

Bake a classic homemade apple pie with buttery crust and warmly spiced filling. A comforting,…

Some find a little bit of heaven in their red velvet cake; others think it’s…

The quickest, sophisticated-looking, and by far, the easiest dessert recipe I’ve ever known… “In…

Make easy chocolate banana crepes with sautéed bananas for a rich, indulgent dessert or breakfast.…