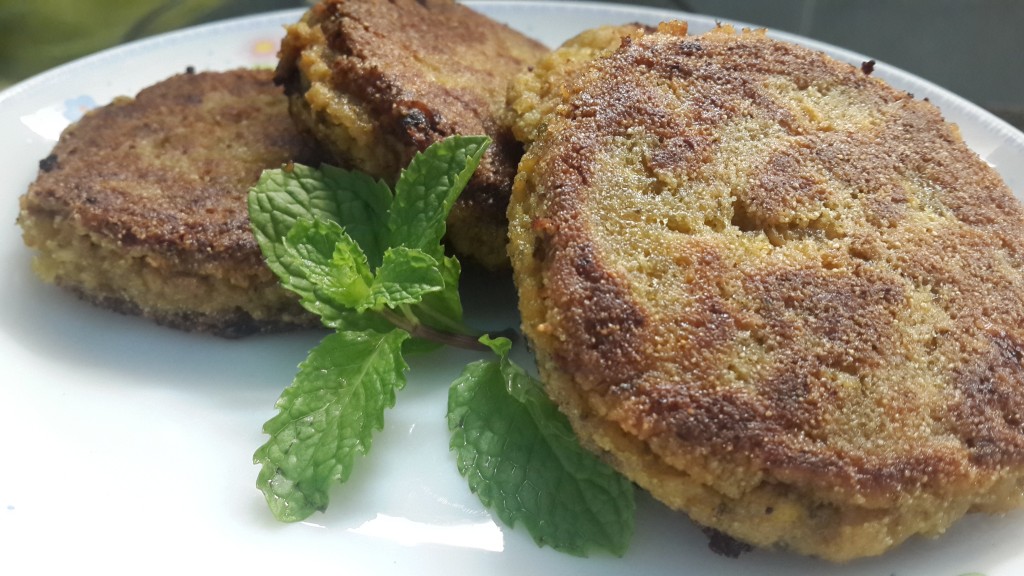
Chicken/Beef Cutlets Recipe
A perfect crust and a warm mushy inside, pan fried in 3 minutes… for those days…
Passion. Flavours. Moments.
A perfect crust and a warm mushy inside, pan fried in 3 minutes… for those days…
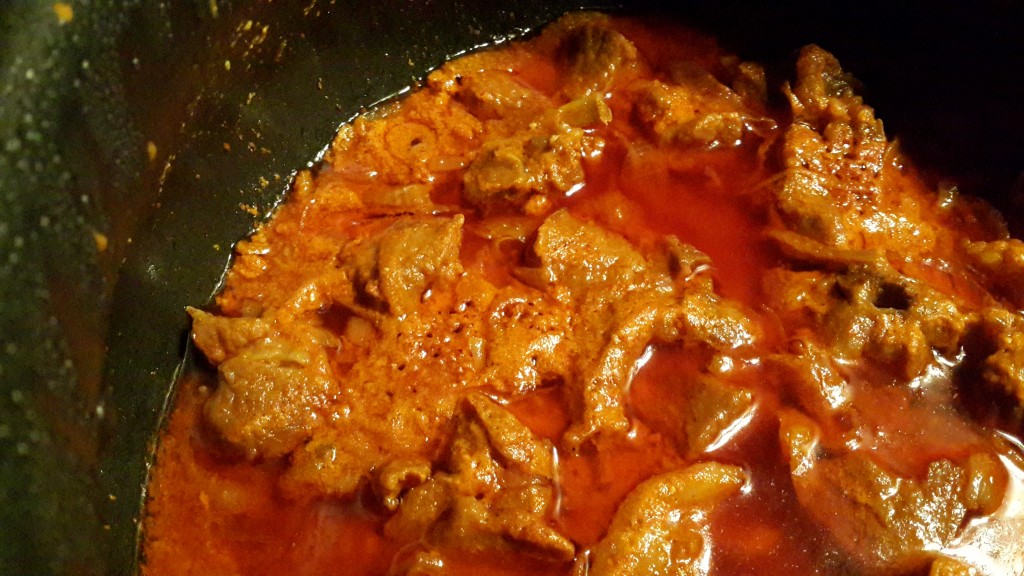
A fiery Rajasthani lamb/mutton curry borrowed from the traditional kitchens of the maharajas, cooked with…
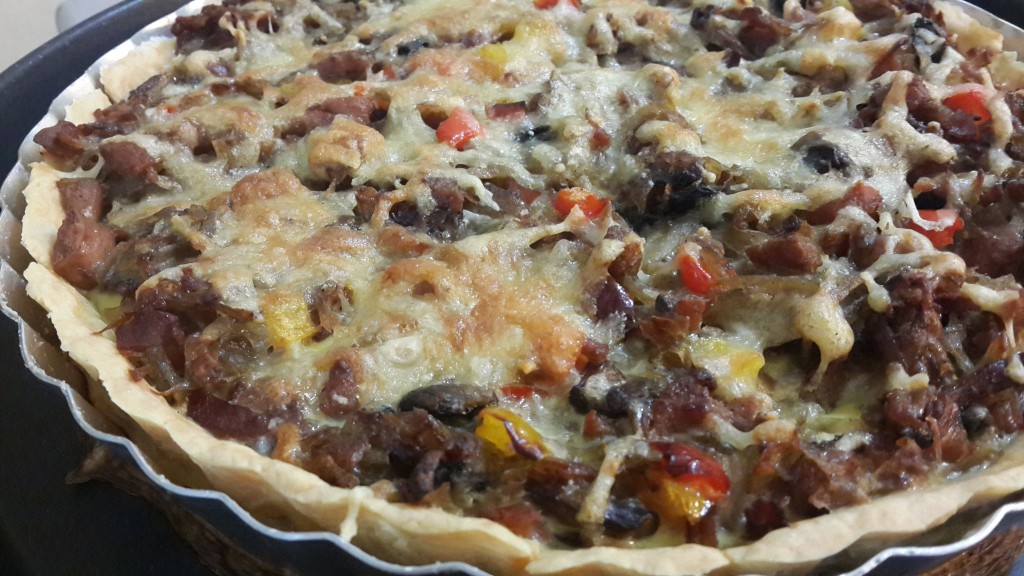
The quiche has always been one of those fascinating kitchen creations that has an exotic…
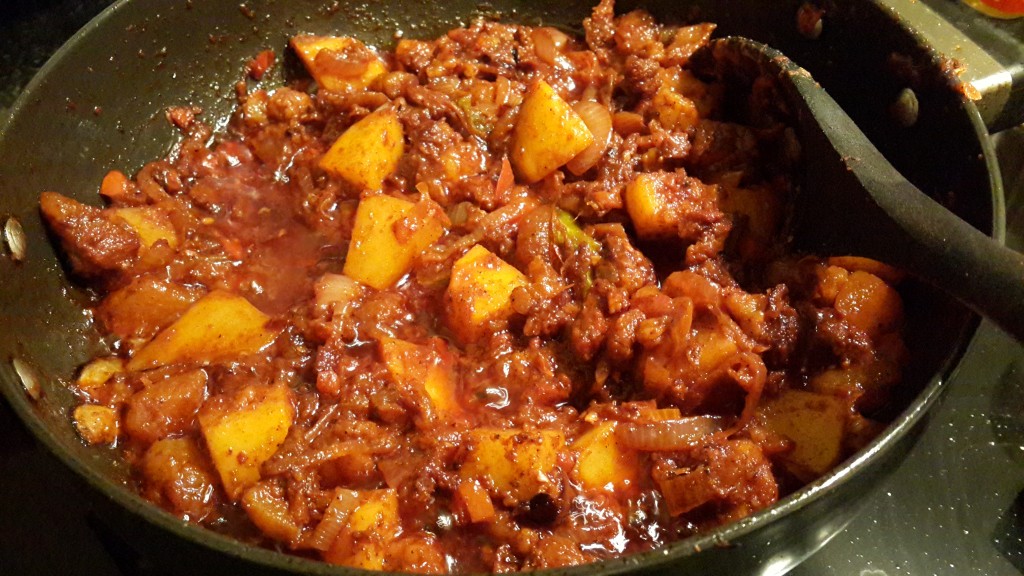
A must-try Goan delicacy if you’re headed to Goa, India, for a holiday! “To…
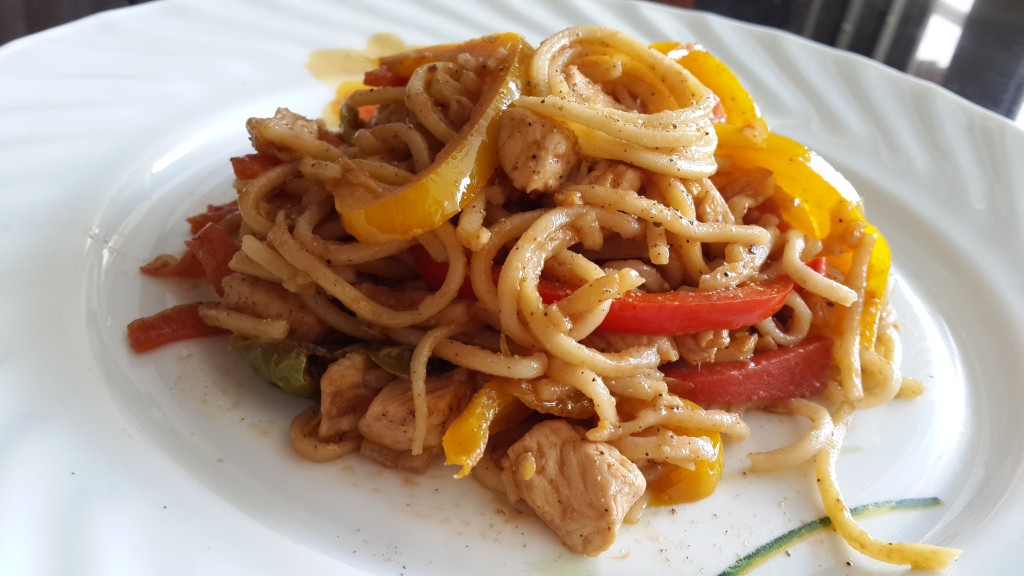
Make spicy Pepper Chicken Noodles Indo-Chinese style with tender chicken, bold pepper flavour, and quick…