Vanilla Christmas Cookies Recipe (Cut-Out Recipe)
Make perfect Christmas Sugar Cookies with this no-chill vanilla cookie recipe. Holds shape beautifully, soft…
Passion. Flavours. Moments.

Make perfect Christmas Sugar Cookies with this no-chill vanilla cookie recipe. Holds shape beautifully, soft…
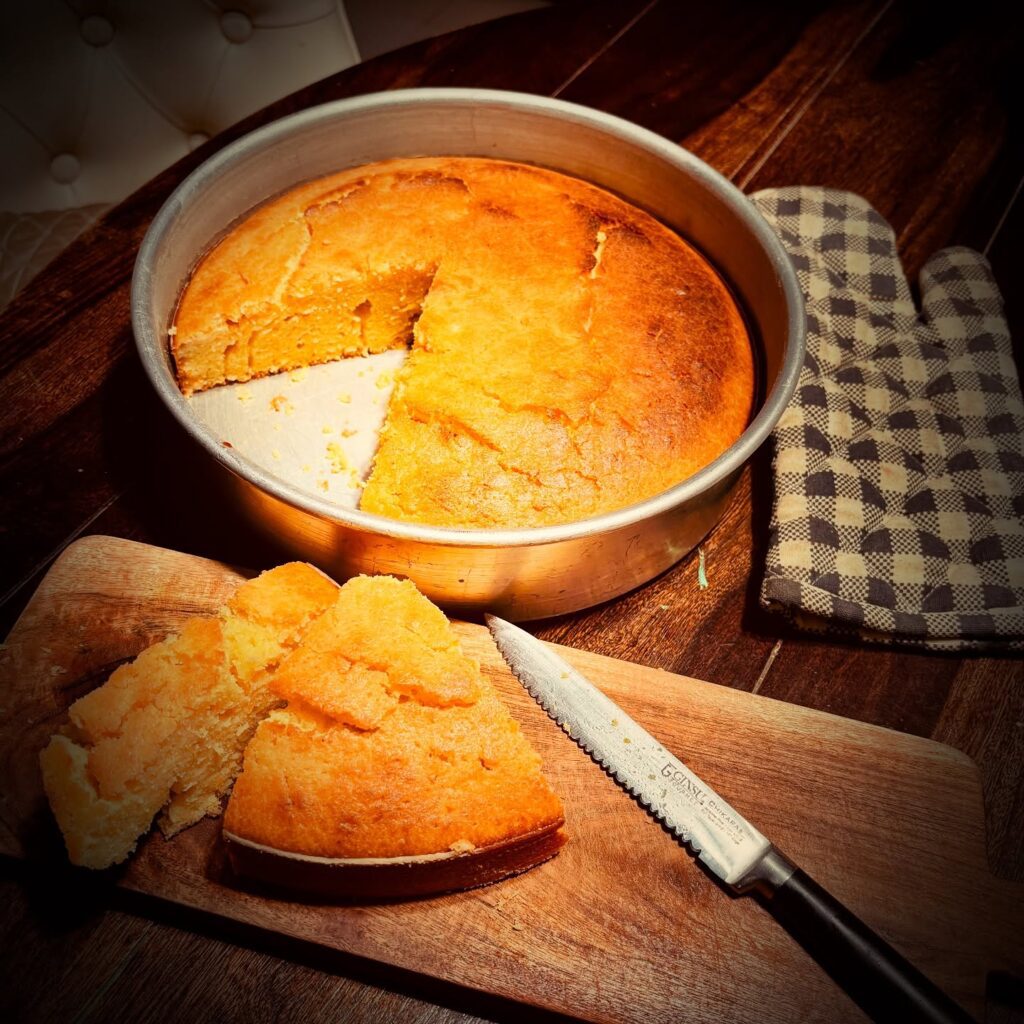
A cake that brings sunshine to your day — soft, tender, bursting with fresh orange…
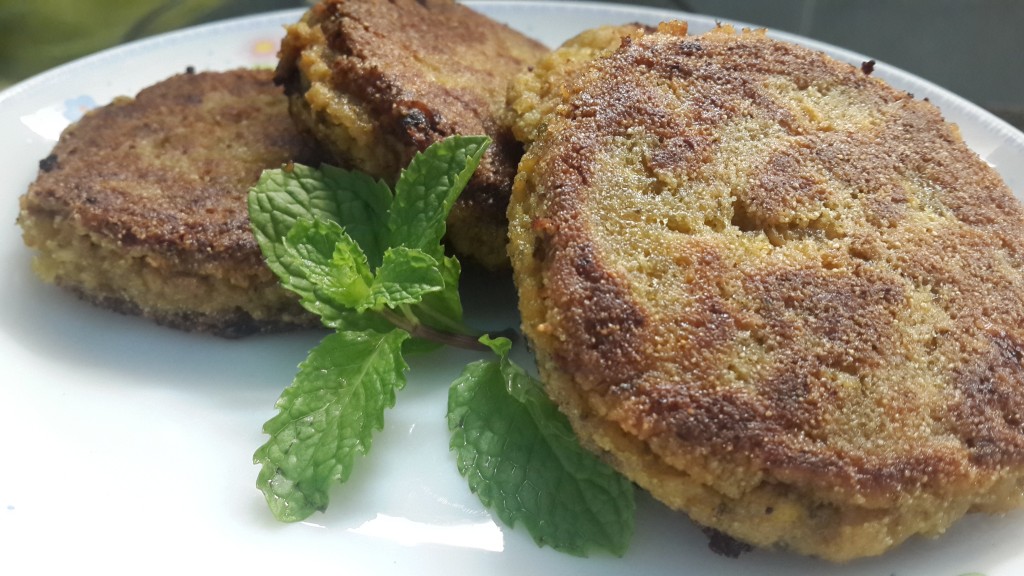
A perfect crust and a warm mushy inside, pan fried in 3 minutes… for those days…
I use cream cheese in everything I possibly can—salads, bakes, frostings, pie fillings, sides, dips…
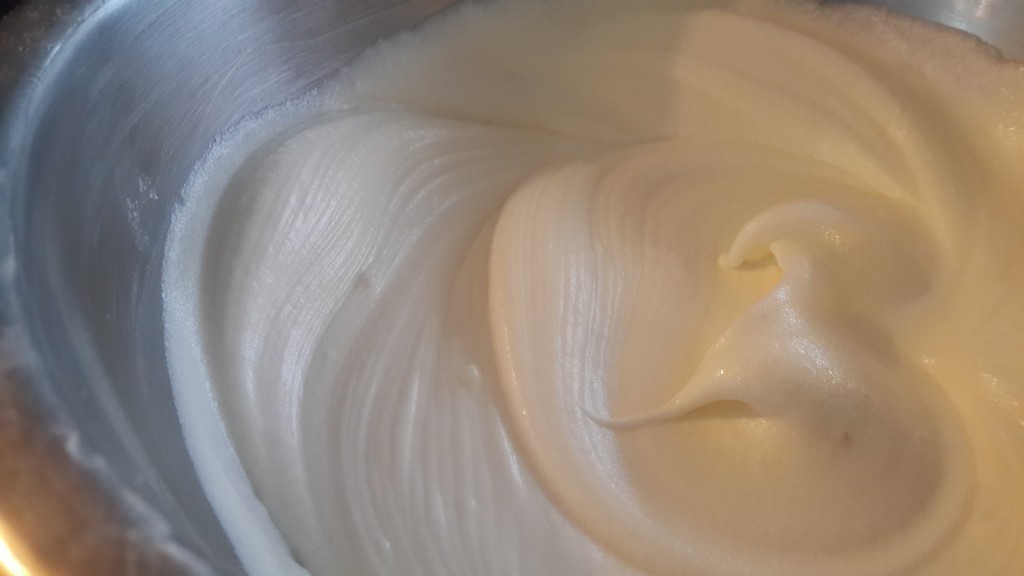
Sometimes, it’s the simplest things that are the hardest to do! Think about it—whipping up…

My all-time favourite cake! It’s best eaten warm in any weather. It’s rich, moist, full…
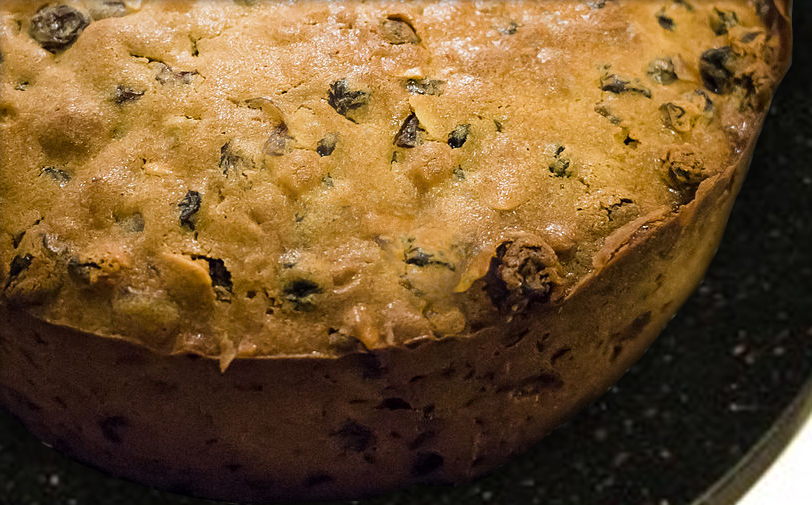
The perfectly moist, heavenly, rum-packed Christmas fruitcake! You have to try it to believe it! 🙂…
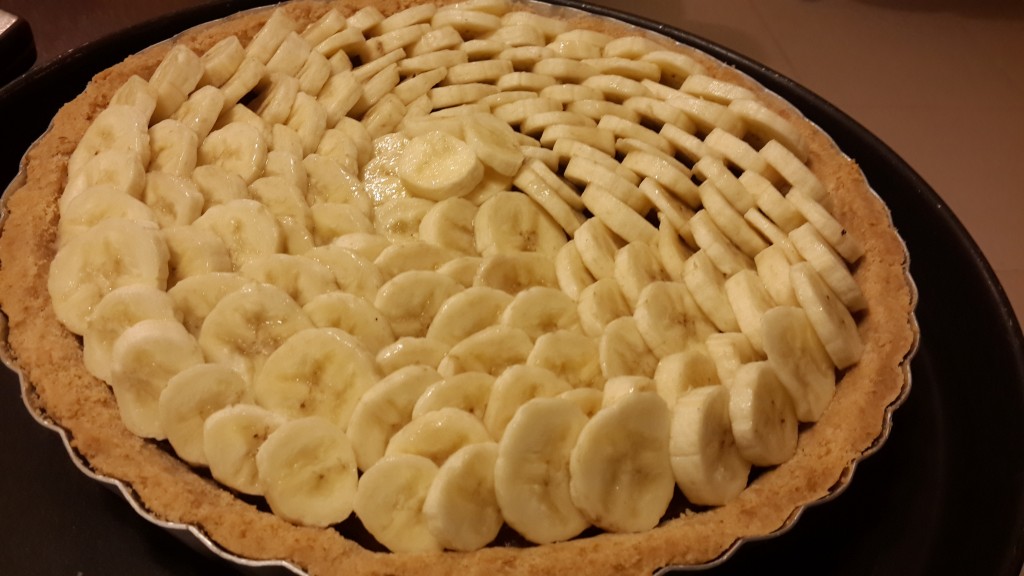
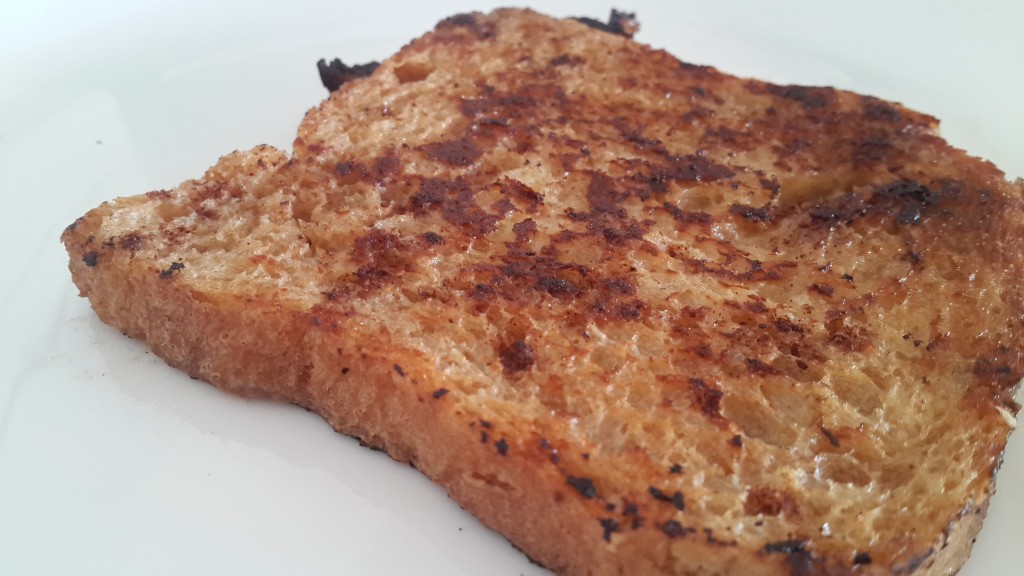
Make this one out of love for the name of the dessert, if not the…
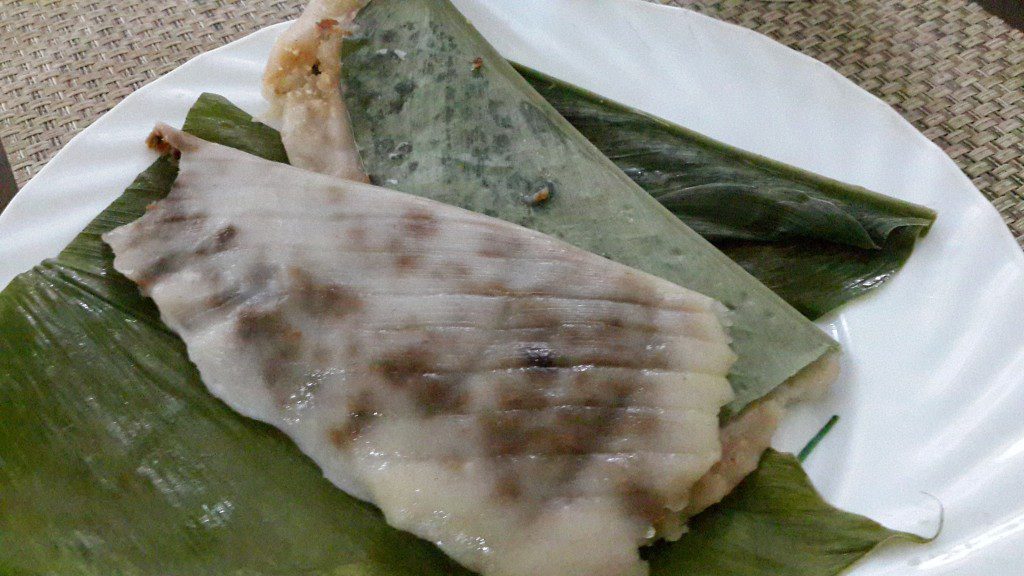
Discover how to make authentic Goan Patoleo (also called Patoyos or Patoddios), sweet steamed rice…
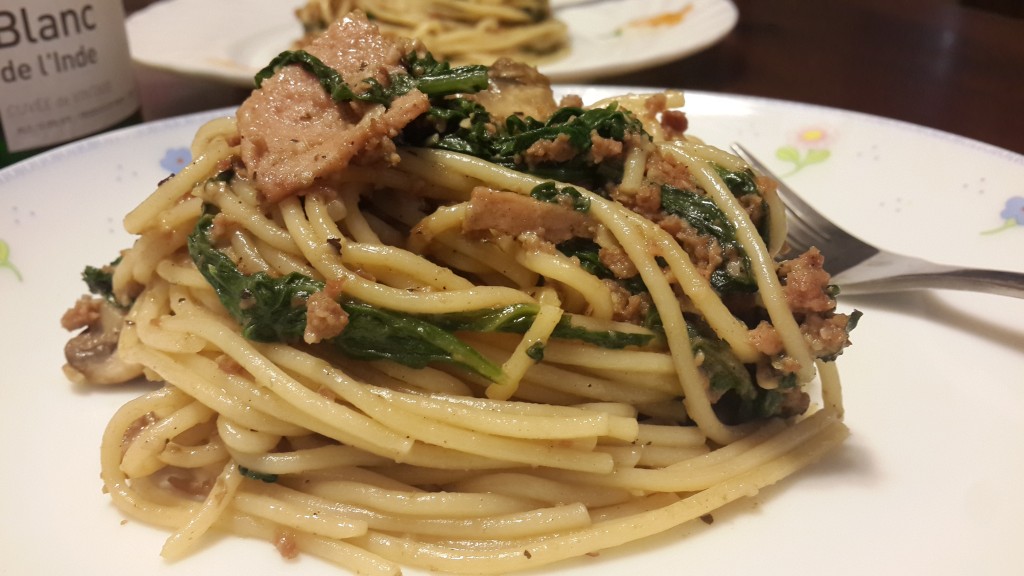
Trust me. This dish smells delicious, looks even better, and tastes like something I’d want…
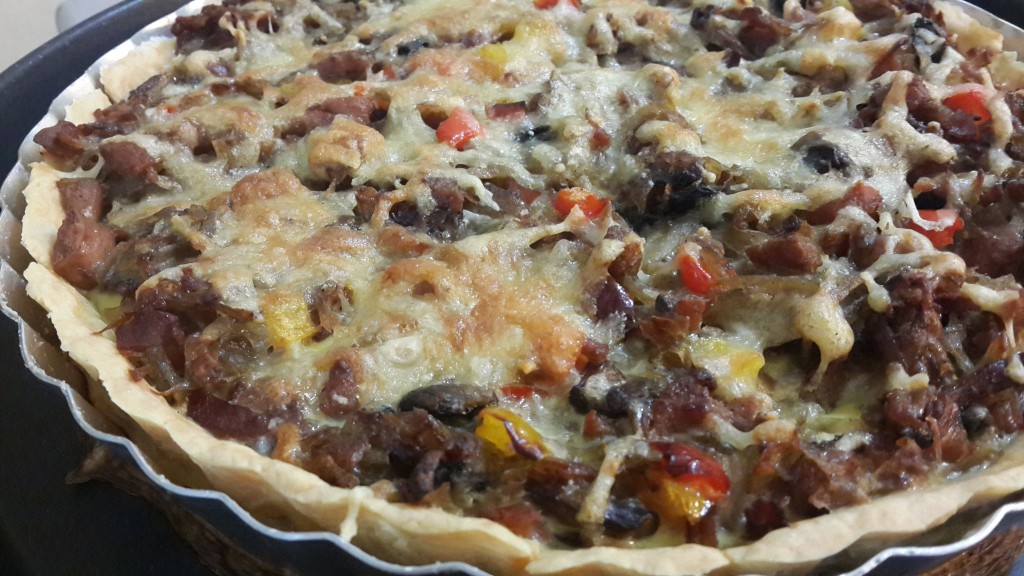
The quiche has always been one of those fascinating kitchen creations that has an exotic…

Make tender baked fish with lemon garlic butter sauce in under 30 minutes. A light,…
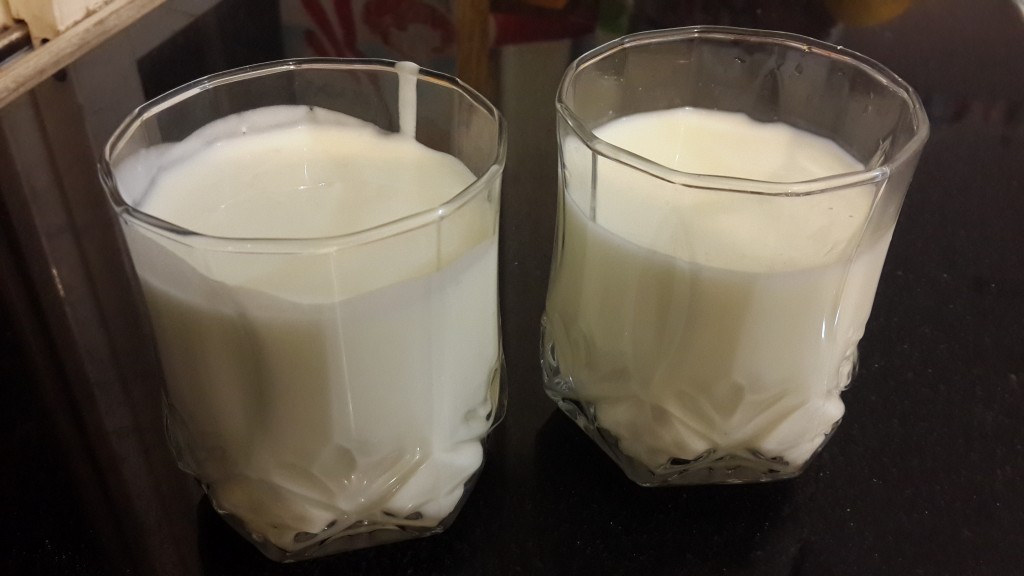
Learn how to make buttermilk at home in minutes using simple ingredients. An easy buttermilk…
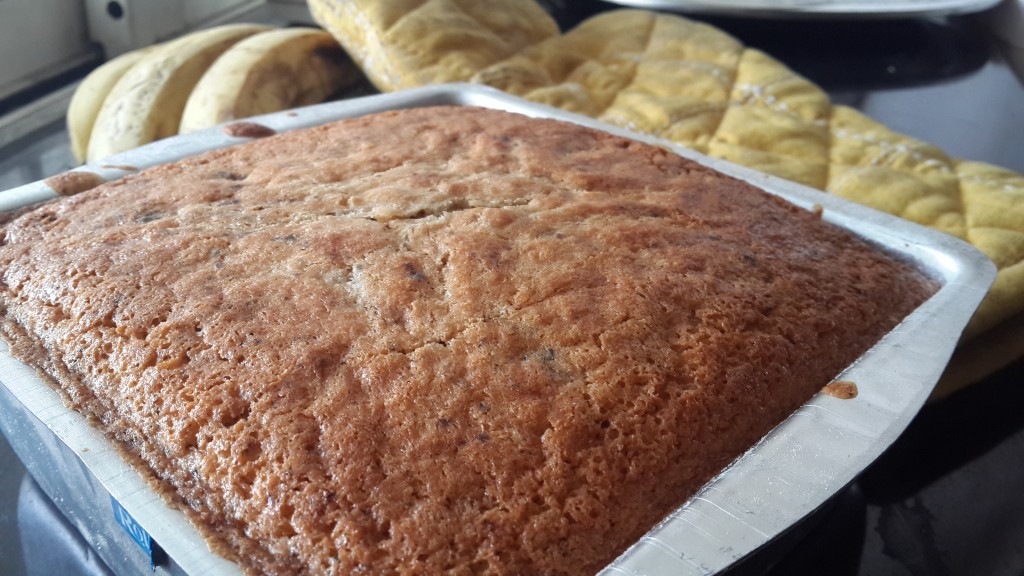
Bake a moist banana pound cake with rich buttery flavour and soft crumb. An easy…

Bake a classic homemade apple pie with buttery crust and warmly spiced filling. A comforting,…
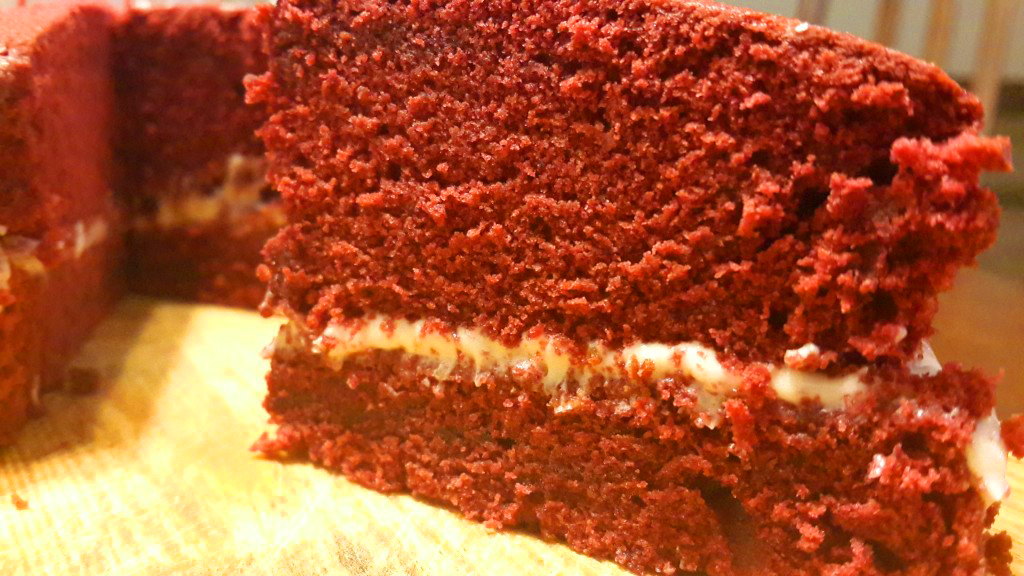
Some find a little bit of heaven in their red velvet cake; others think it’s…

Make easy lemon pepper chicken with tender, juicy meat and bold citrus flavor. A quick,…
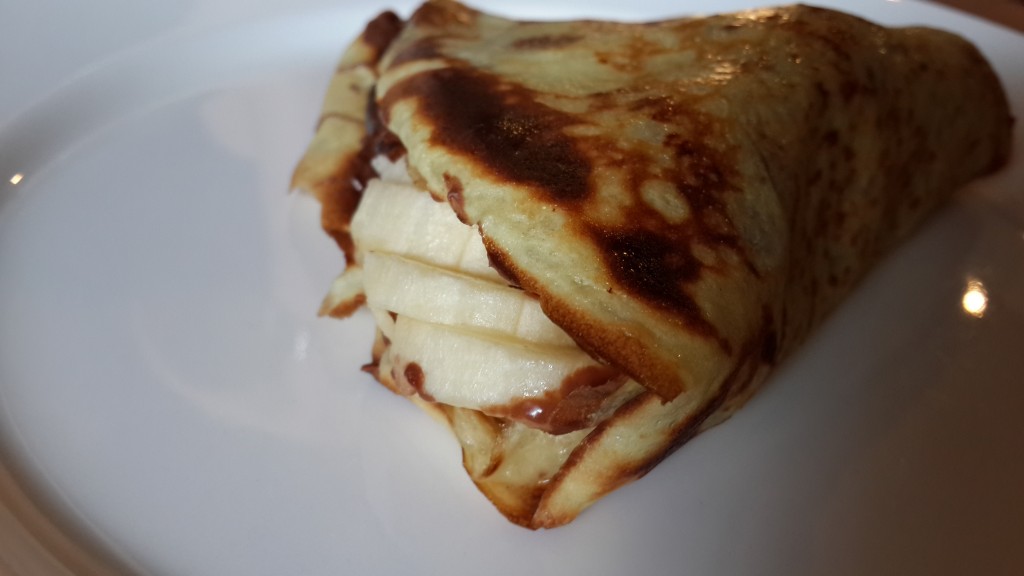
Make easy chocolate banana crepes with sautéed bananas for a rich, indulgent dessert or breakfast.…
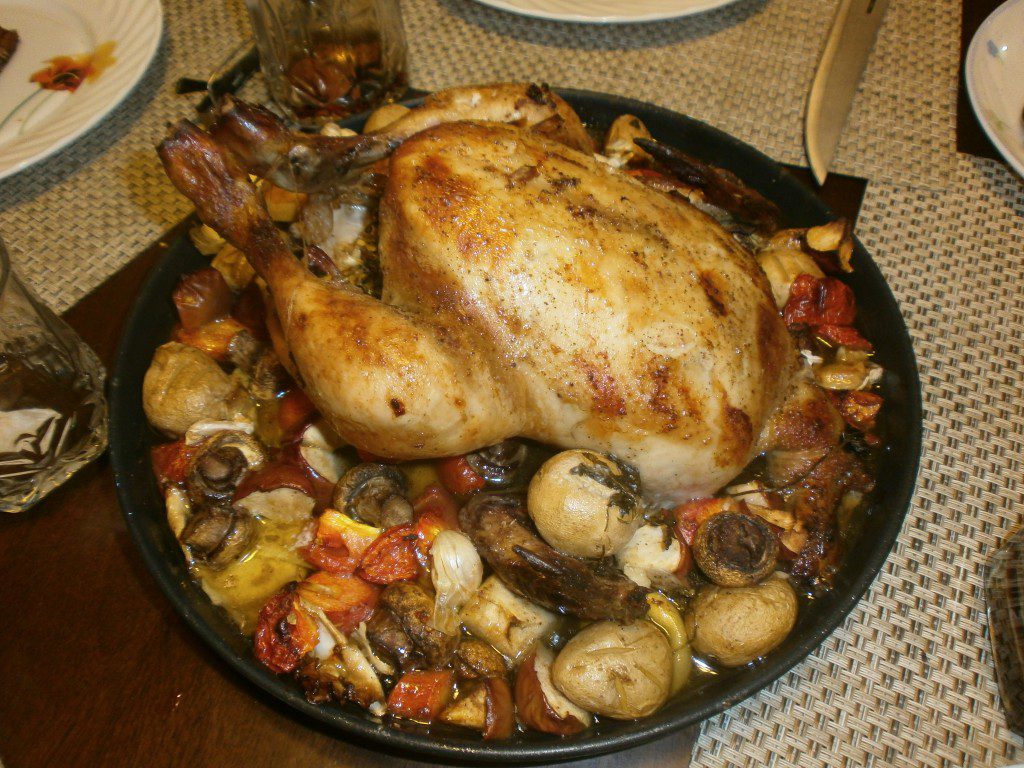
Learn how to make juicy roast chicken with crispy skin using this easy oven recipe.…