A Couple of Cream Cheese Frostings Recipe
I use cream cheese in everything I possibly can—salads, bakes, frostings, pie fillings, sides, dips…
Passion. Flavours. Moments.
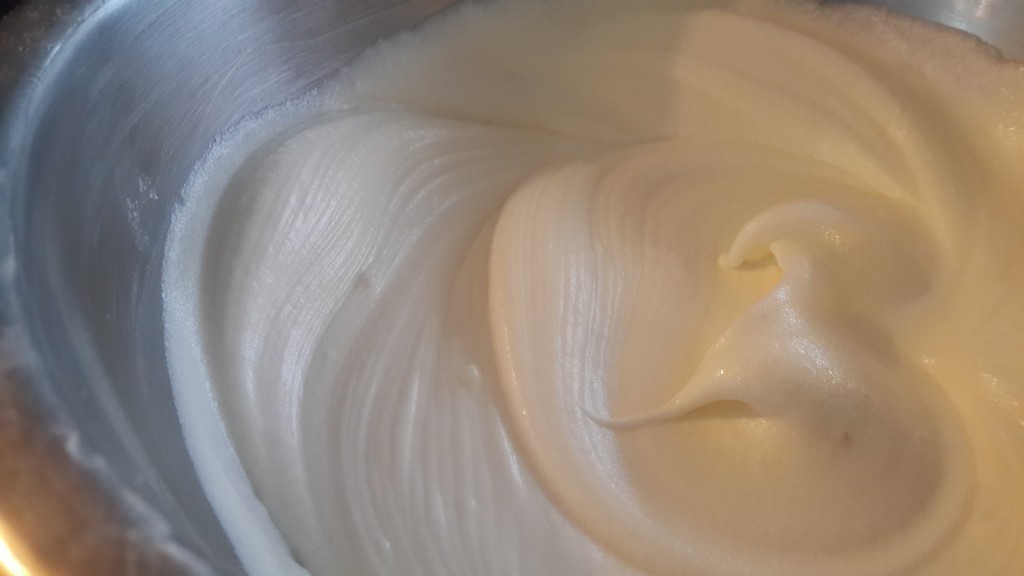
I use cream cheese in everything I possibly can—salads, bakes, frostings, pie fillings, sides, dips…

The quiche has always been one of those fascinating kitchen creations that has an exotic…
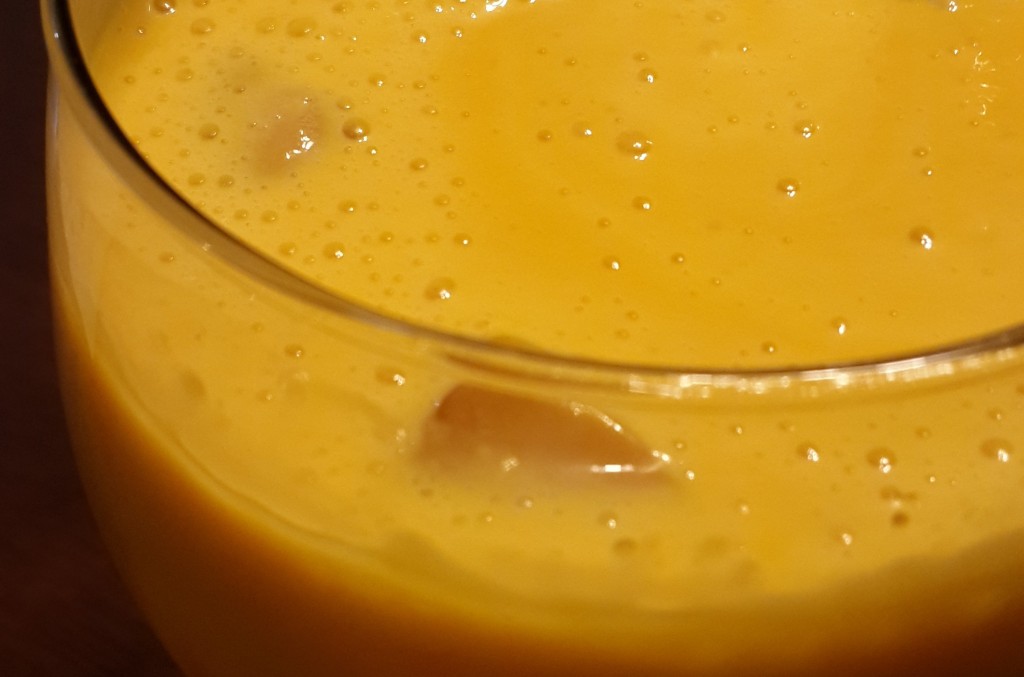
Make a creamy mango milkshake in just 5 minutes with ripe mangoes and milk. A…
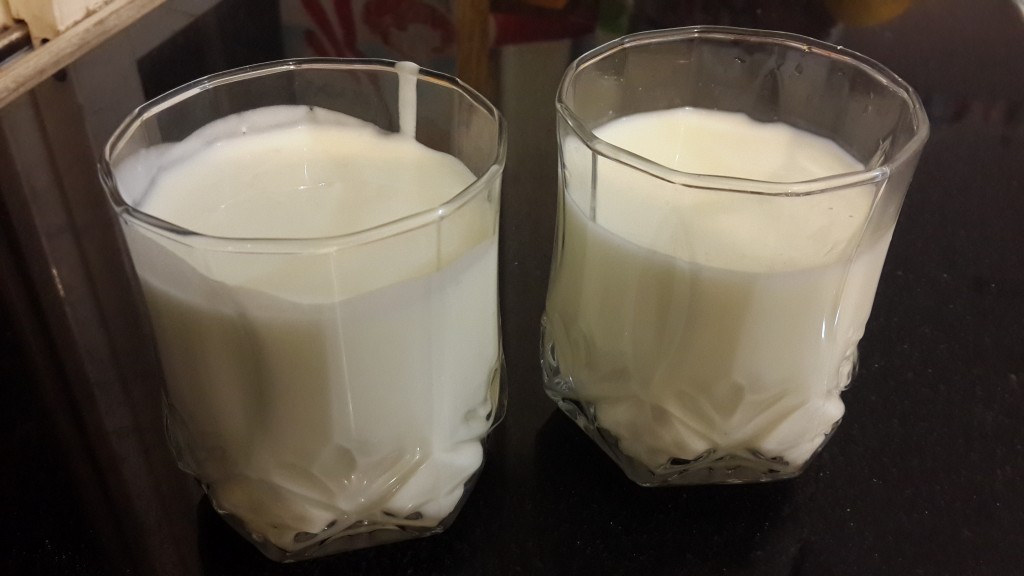
Learn how to make buttermilk at home in minutes using simple ingredients. An easy buttermilk…