Tag Archives: Chicken

Chicken/Beef Cutlets

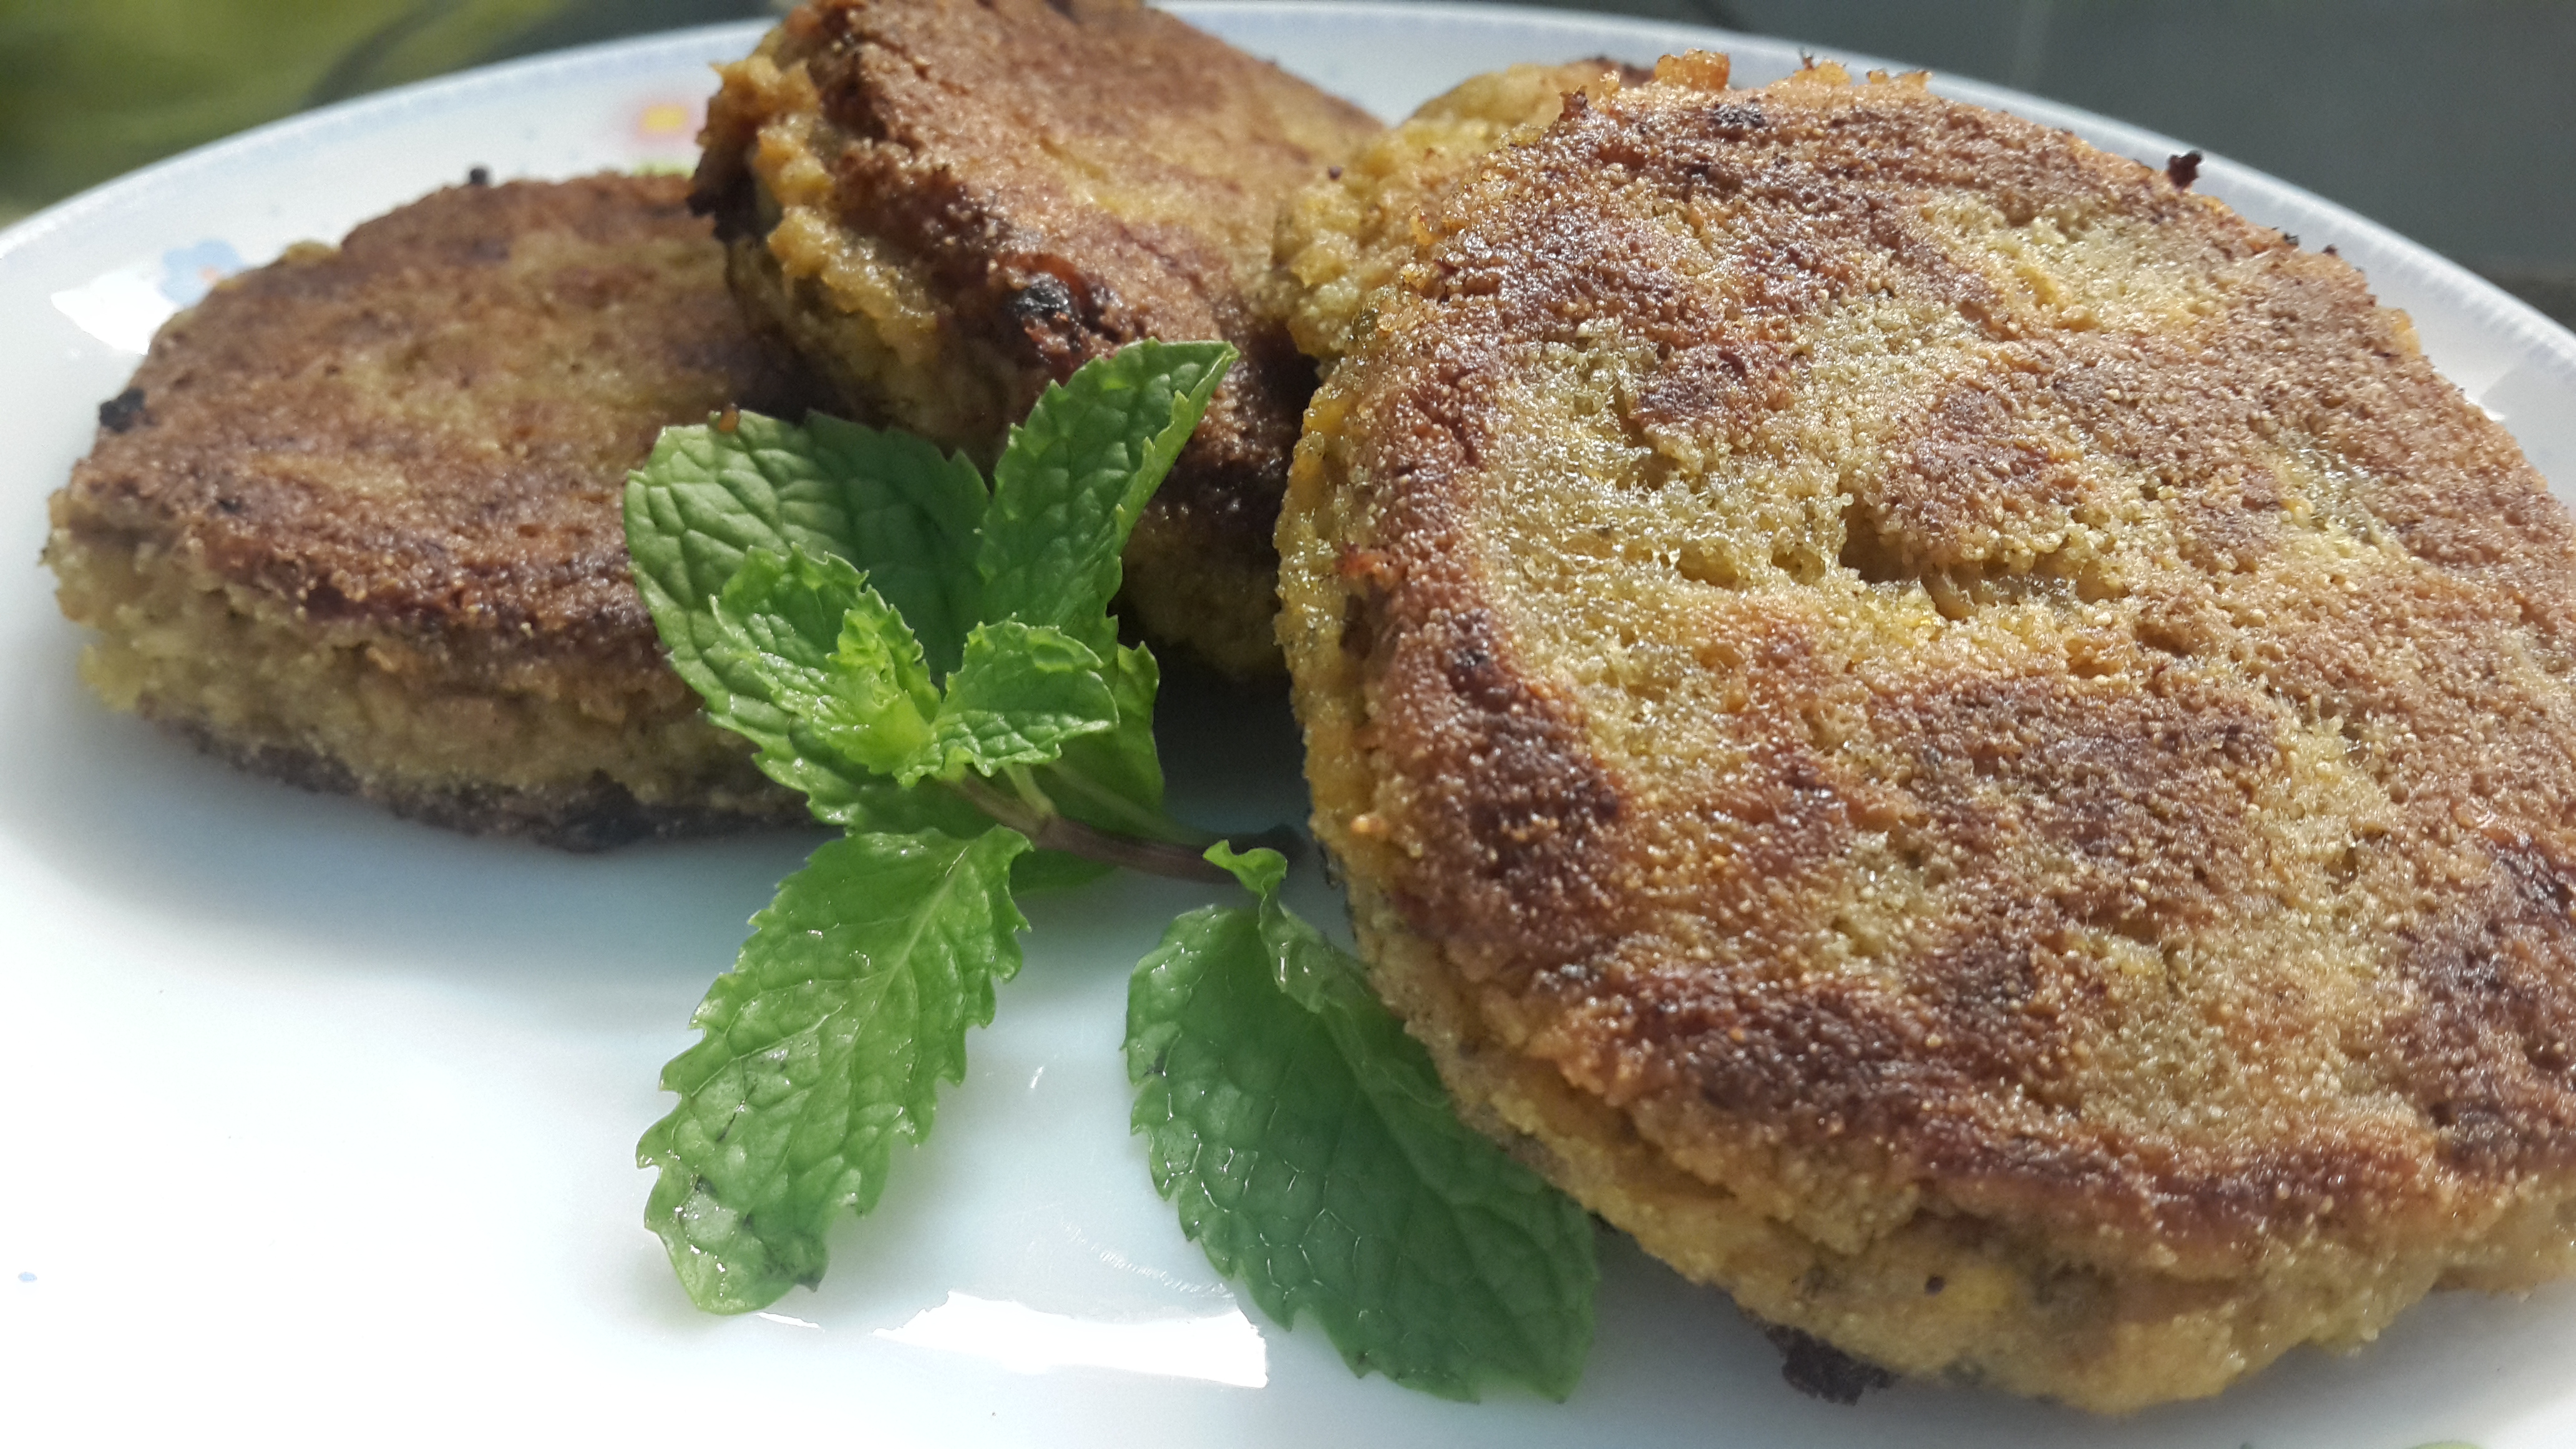
A perfect crust and a warm mushy inside, pan fried in 3 minutes… for those days when you need a break from the kitchen!
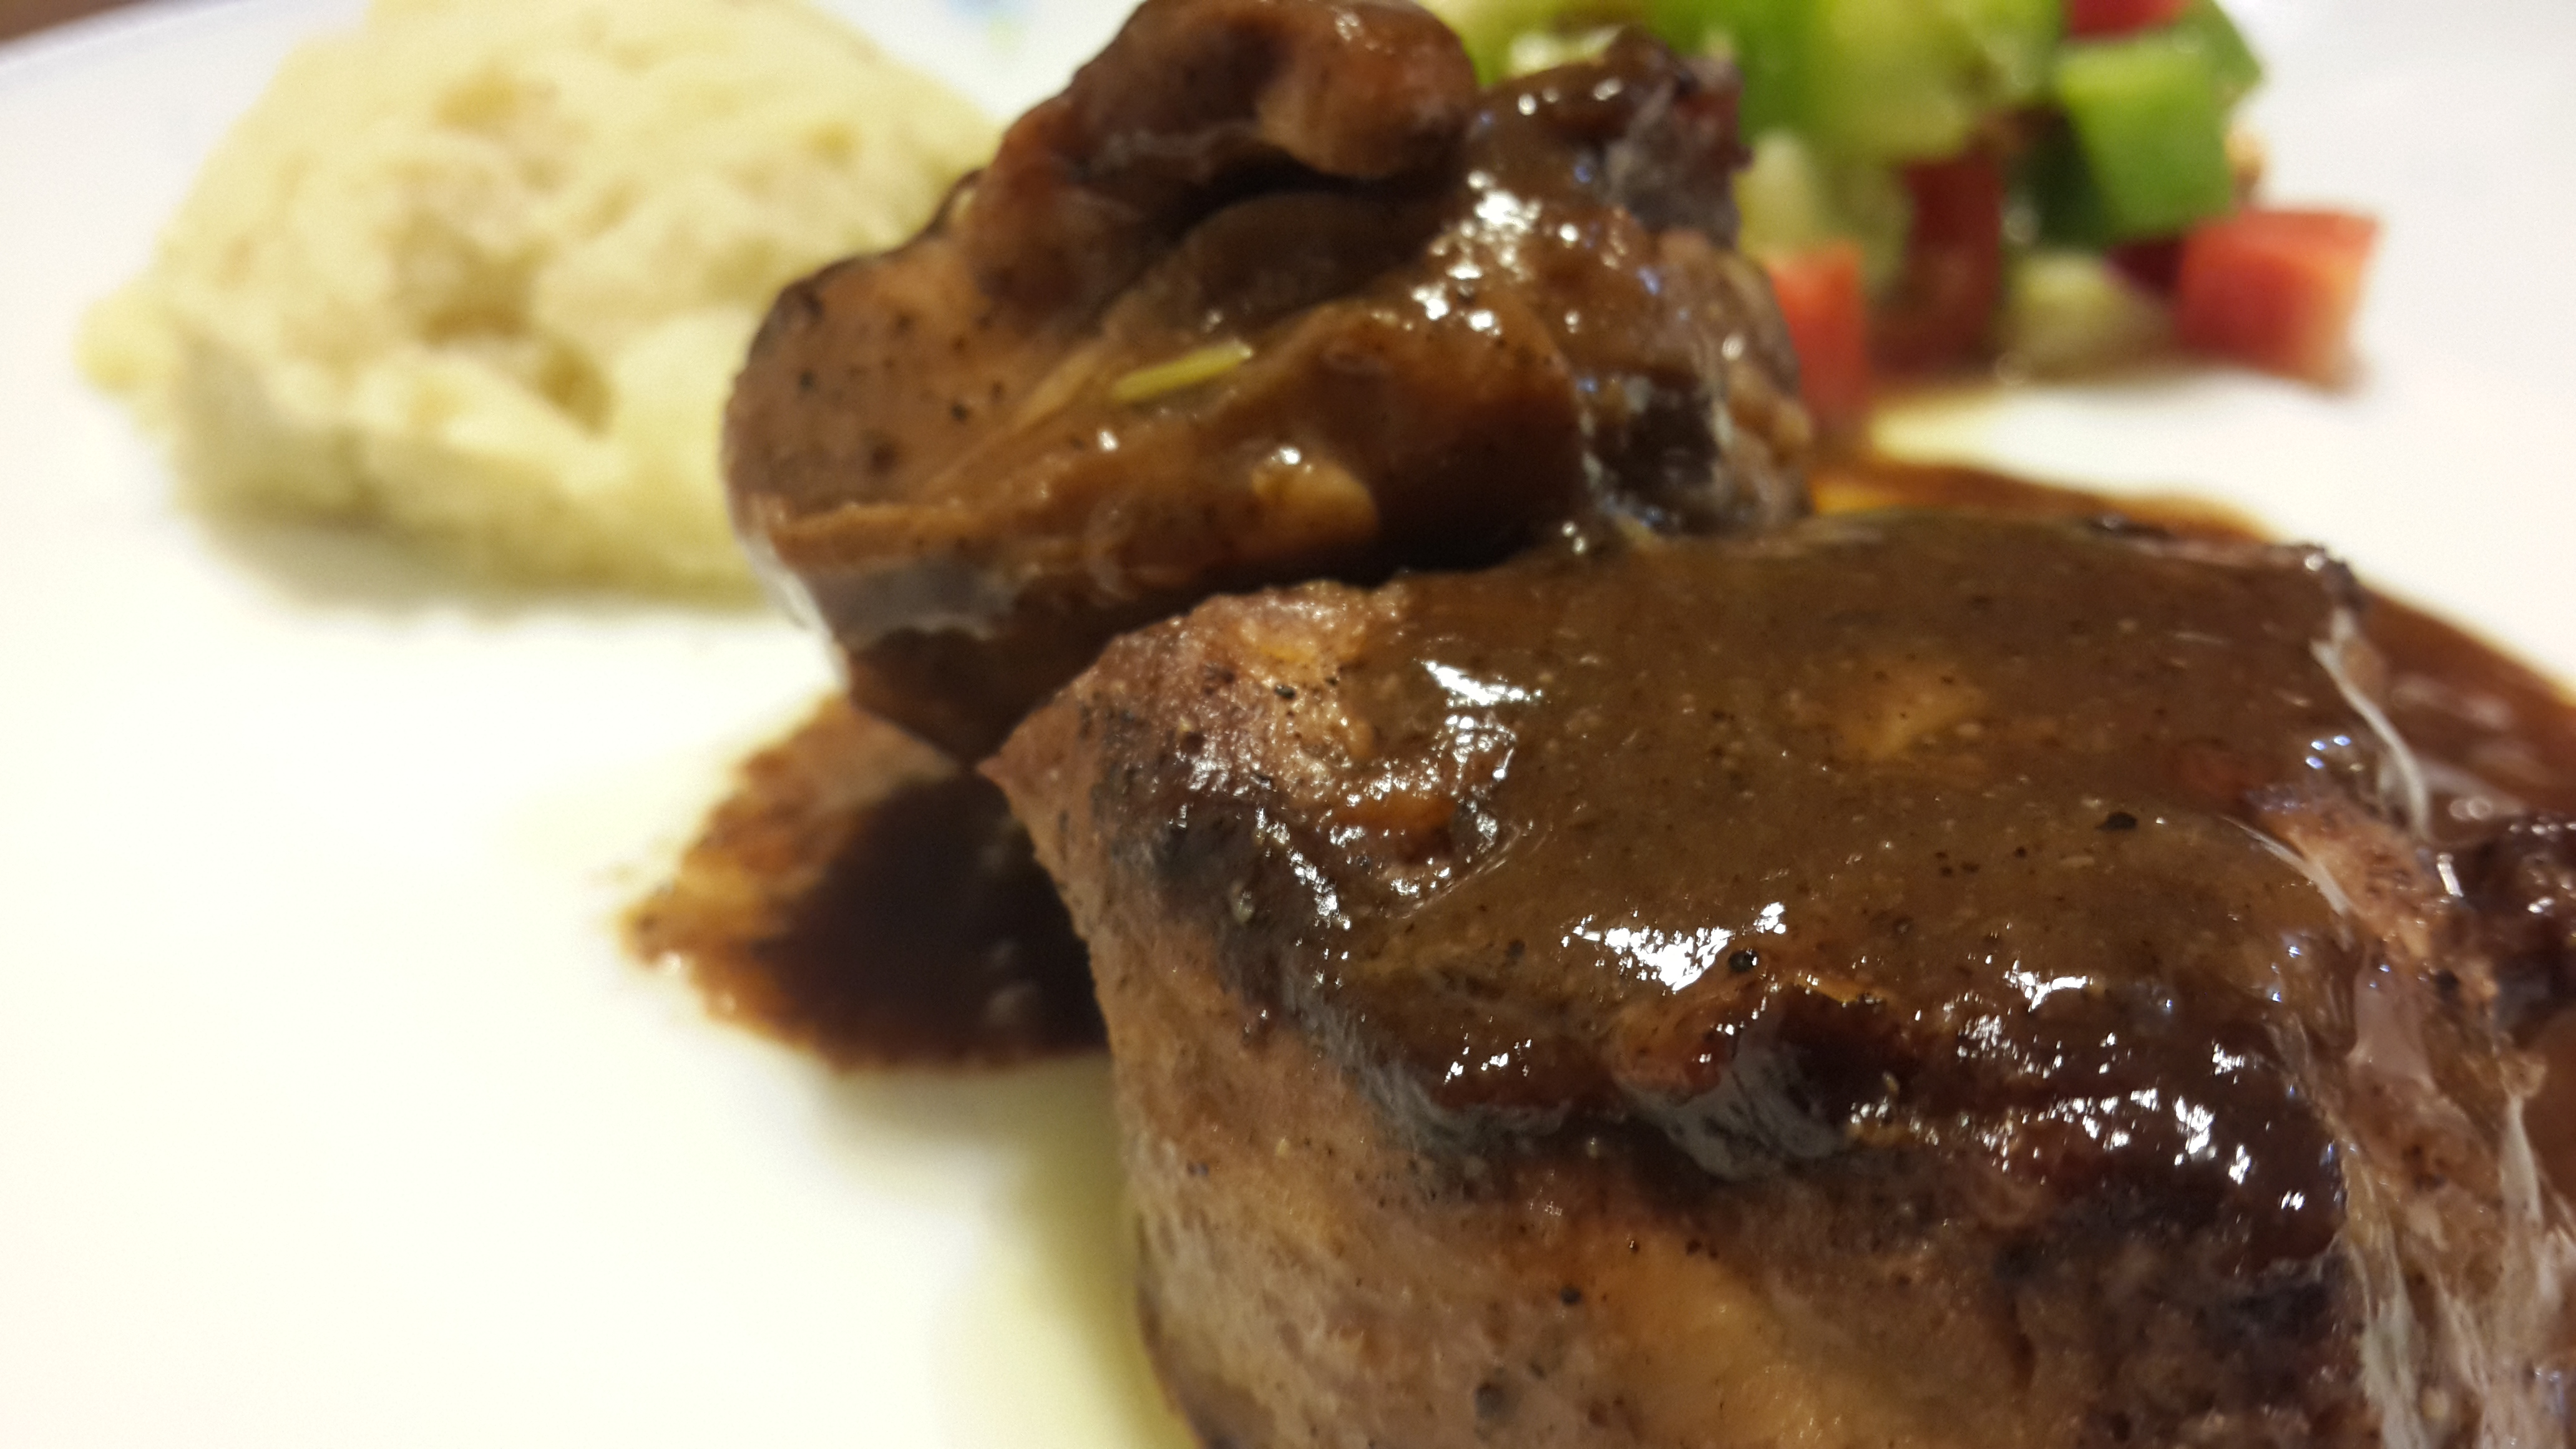
“Your veal cutlet gets up off the plate, It walks down to end of the counter and beat the shit out of my cup of coffee. I guess the coffee just wasn’t strong enough to defend itself. – Tom Waits, American actor and composer”
The Fact: The word ‘cutlet’ originates from the French word côtelette. It finds itself in the European wiener schnitzel, the Japanese katsu and even in the Russian chicken kiev. In most cuisines, a cutlet is a thin slice of veal, pork, or mutton, run through flour, egg and bread crumbs and then fried in a pan. In the Indian sub-continent, however, cutlets originated to ensure that food never went to waste. Left over bits of meat and vegetable were shaped into patties, spiced up, rolled in breadcrumbs, fried and then served as entrees or snacks.
The Inspiration: Much like the fact above, I’ve grown up eating the Indian-style cutlet, which allowed my mother to throw in absolutely anything we had left over from the previous day. But on most other days, her mince cutlets were the yummiest appetizers or sides we looked forward to, especially when the meal was a simple daal and rice. When I got married, my mother in law kept the trend alive. I… I’m simply furthering tradition… and of course, on days when you need a break from the kitchen, these cutlets, which I keep frozen in my refrigerator, are your dream come true!
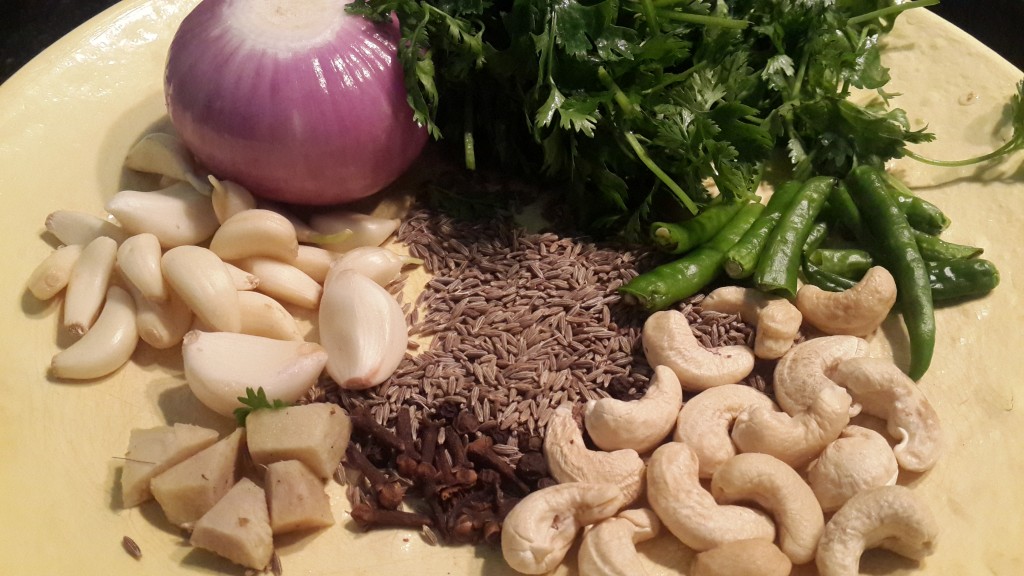
The Ingredients

Makes about 15 – 20 patties/cutlets

  • 500 gm chicken or beef mince
  • ½ bunch of coriander leaves; finely chopped
  • 20 mint leaves; finely chopped
  • 1 medium-sized onion
  • 1 medium-sized tomato
  • 2 – 3 medium spicy green chillies
  • 1 heaped tsp ginger garlic paste
  • ¼ tsp haldi or turmeric powder
  • 1 tsp dhania or coriander seeds powder
  • ½ tsp turmeric or haldi powder
  • ½ tsp red chilli powder
  • ¼ tsp kanda lassoon masala (optional)
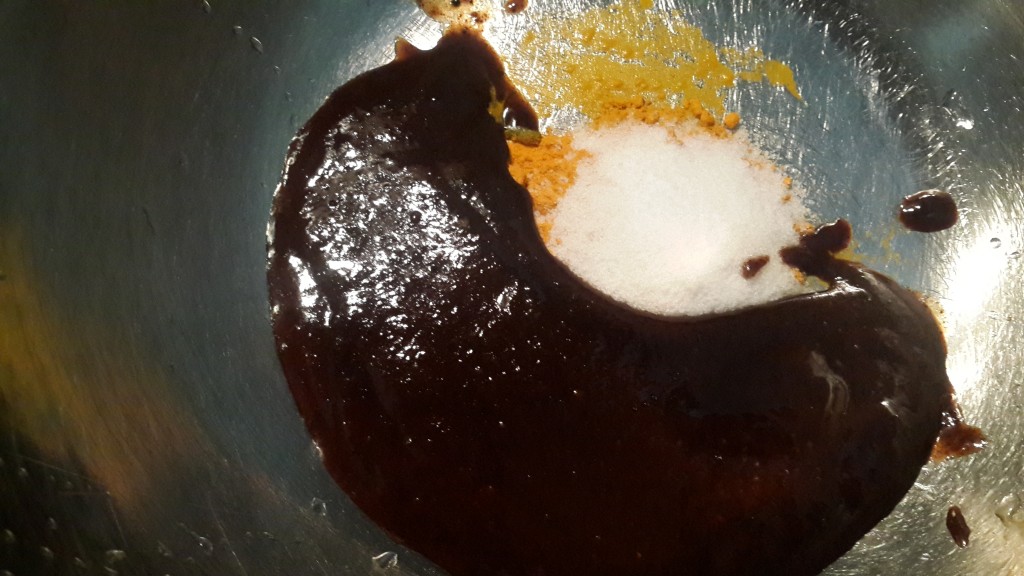
  • 2 tbsp vinegar
  • ½ tsp sugar
  • 2 cups water
  • 2 slices of dry bread
  • ¼ cup bread crumbs or semolina (rawa)
  • 2 tsp salt

The Method

Making the cutlets

  1. Wash the mince and transfer it to a bowl. Do not drain in a colander.
    Mince meat
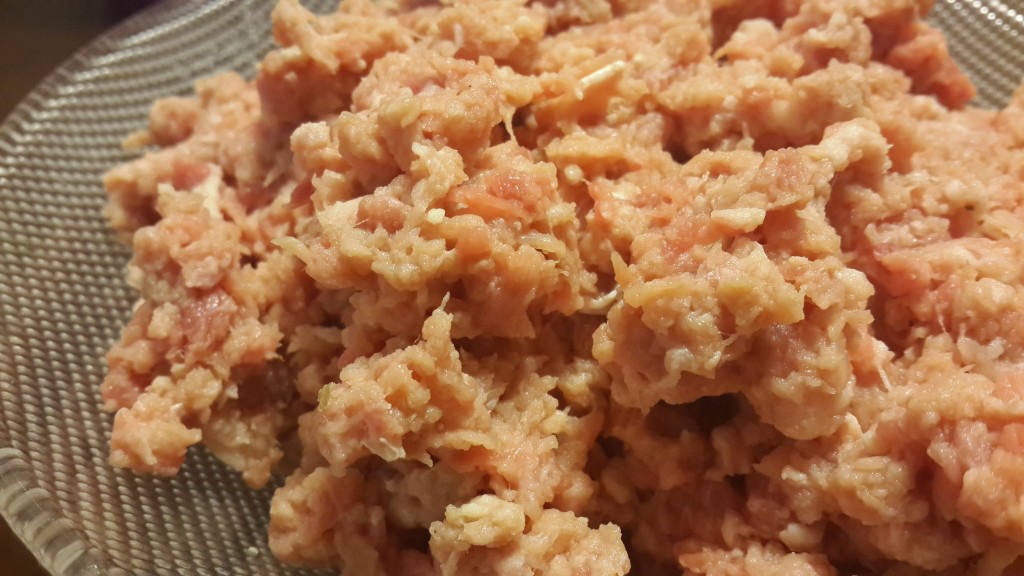
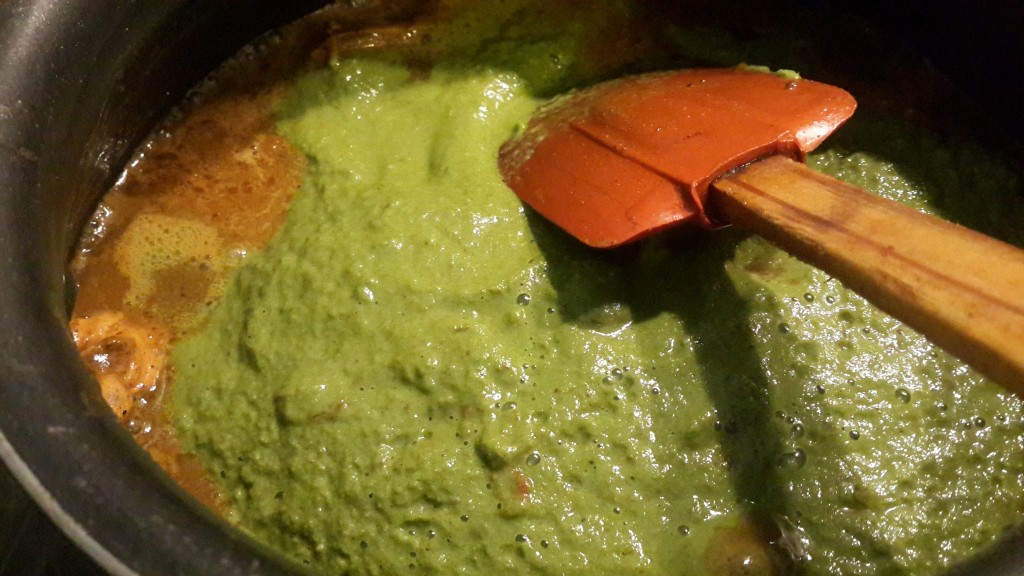
  2. Sprinkle 1.5 tsp salt, the finely chopped coriander leaves and the finely chopped mint leaves over the mince. Mix well and keep aside.
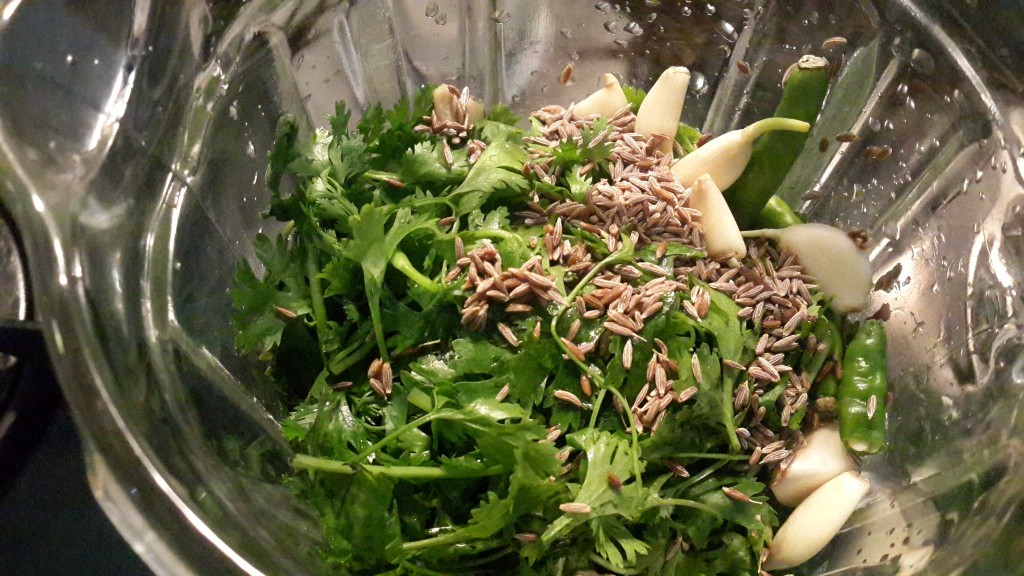
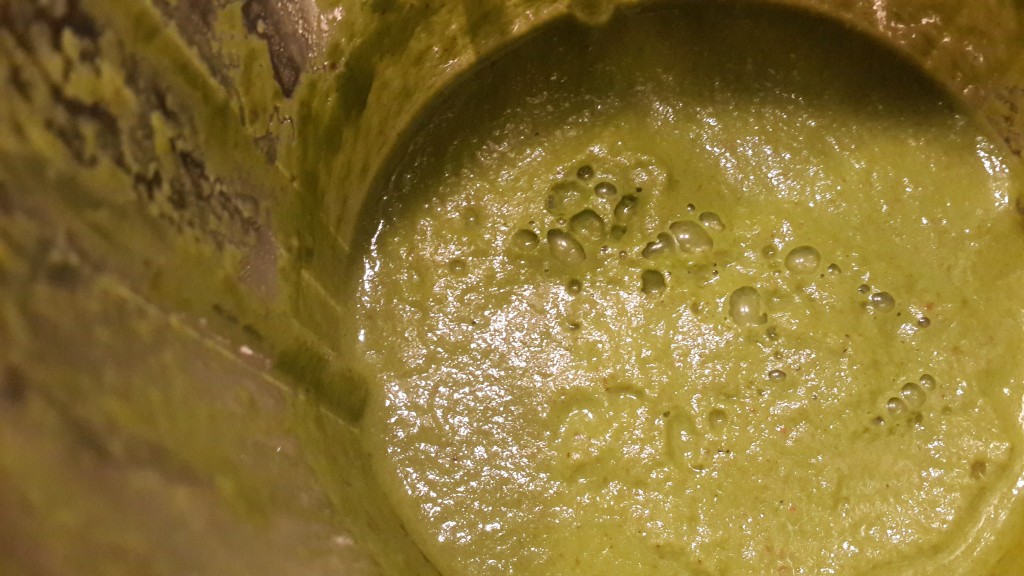
  3. Chop the onion, tomato and green chillies into large bits and blitz them with 2 – 3 tbsp of water for a few seconds. How fine you blitz the mixture depends on whether you want your cutlets smooth and pasty or with fine bits of onions and tomatoes to bite into. I personally prefer the non-pasty cutlets and so blitz the ingredients for only a few seconds.
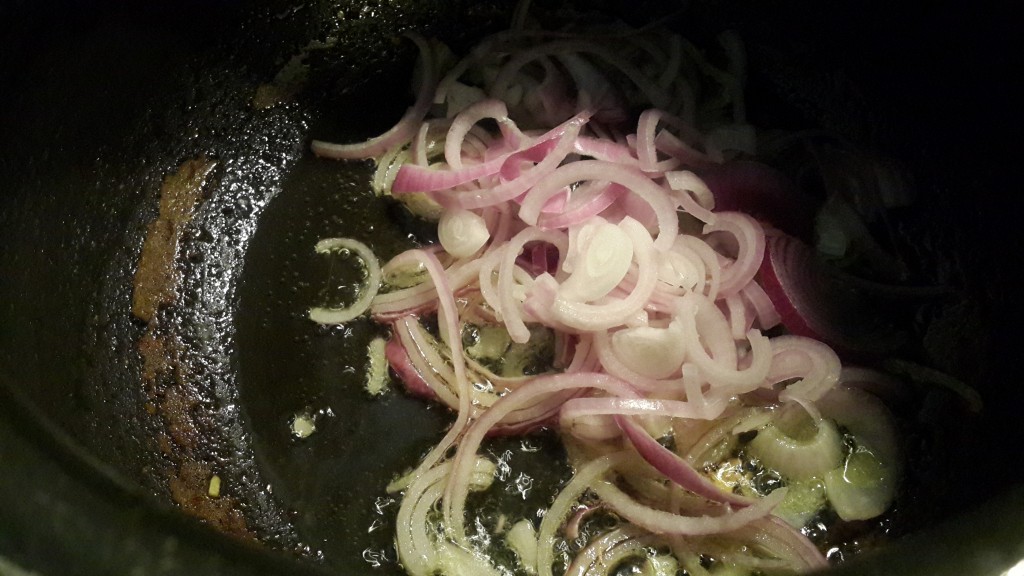
  4. Next, heat a skillet on medium flame. Add 2 tbsp of oil to it and allow the oil to heat up (not until it reaches smoking point, but just before that). Once hot, add the blitzed onion, tomato and green chilli mixture to the skillet and lightly fry for about 2 minutes.
  5. Create a well in the centre of the skillet. In this hot part of the skillet, add the ginger garlic paste, haldi/turmeric powder, dhania powder, red chilli powder, kanda lasoon masala, and sugar. Fry the spices in the hot centre of the skillet to enhance their flavours and then, mix the spices with the blitzed onion and tomato mixture. Add the remaining ½ tsp of salt and fry again. Do not burn or over-fry the spices at this point.
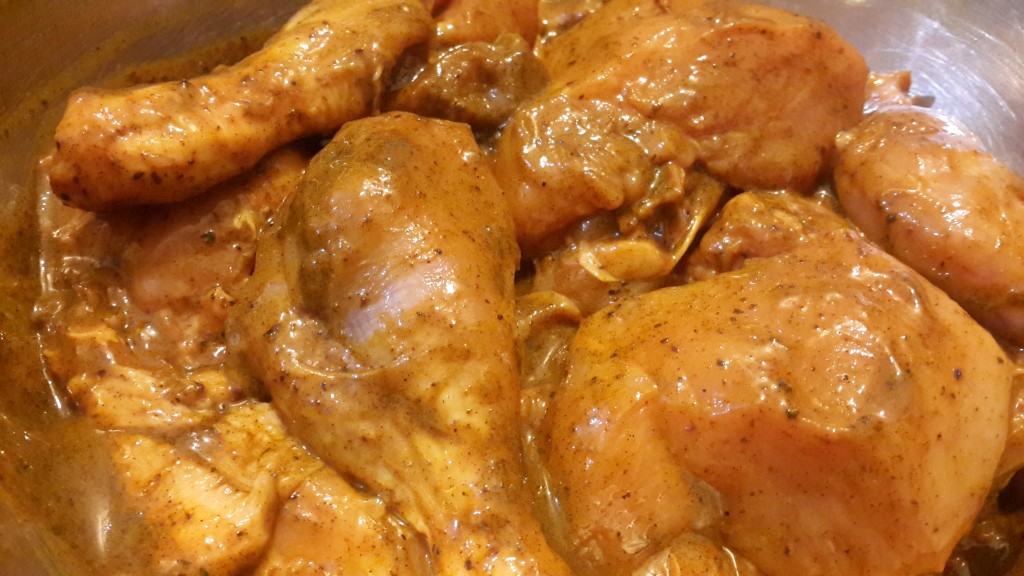
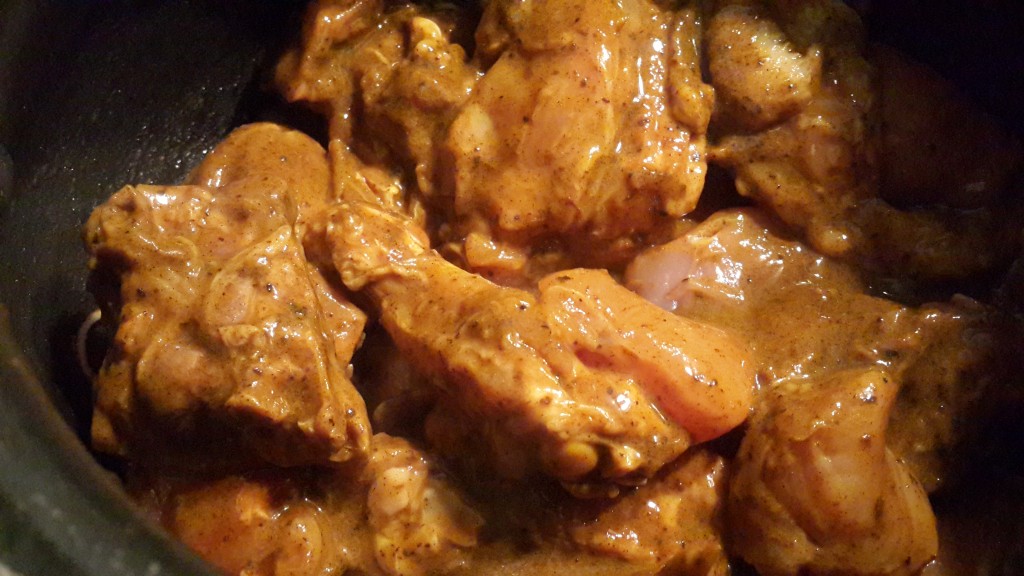
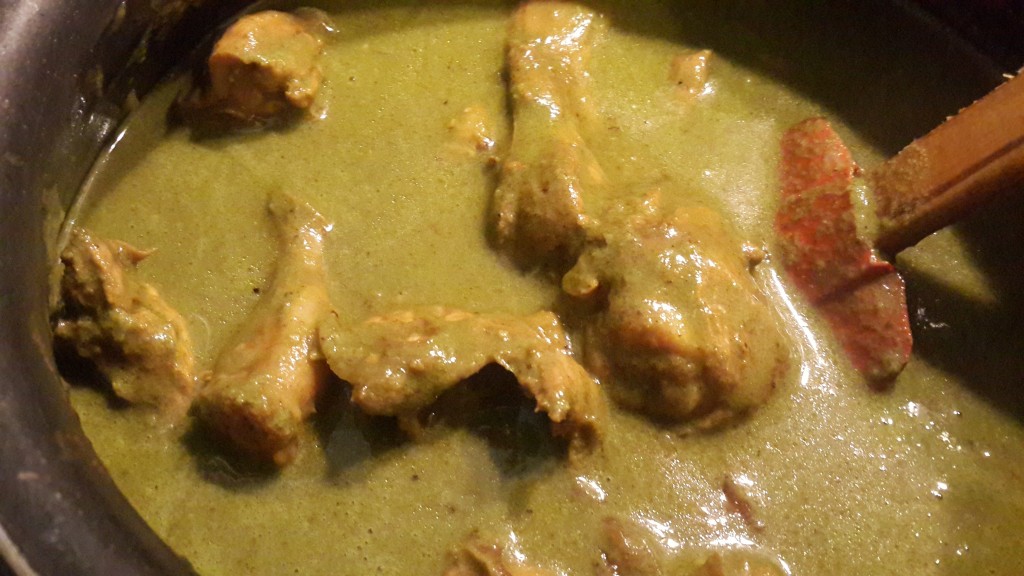
  6. Next, add the mince to the skillet, once again in the centre of the skillet, to fry off that raw meat smell. After a couple of minutes and once you can no longer smell the meat, mix the rest of the mixture with the mince thoroughly.
  7. If using chicken mince: Allow the mixture to fry for about 2 minutes. Add a cup of water, stir well and cook on high flame for about 3 minutes. Then, simmer and cook until the water dries up completely, while stirring from time to time.
    If using beef mince: Allow the mixture to fry for about 5 – 7 minutes. Add 2 cups of water and allow to cook on high flame for about 5 minutes. Then, simmer and cook until the water dries up completely, while stirring from time to time.
  8. As the mince cooks, soak 2 slices of bread in a little water – just enough water to completely soak the bread and make it pasty.
  9. Making the cutlets
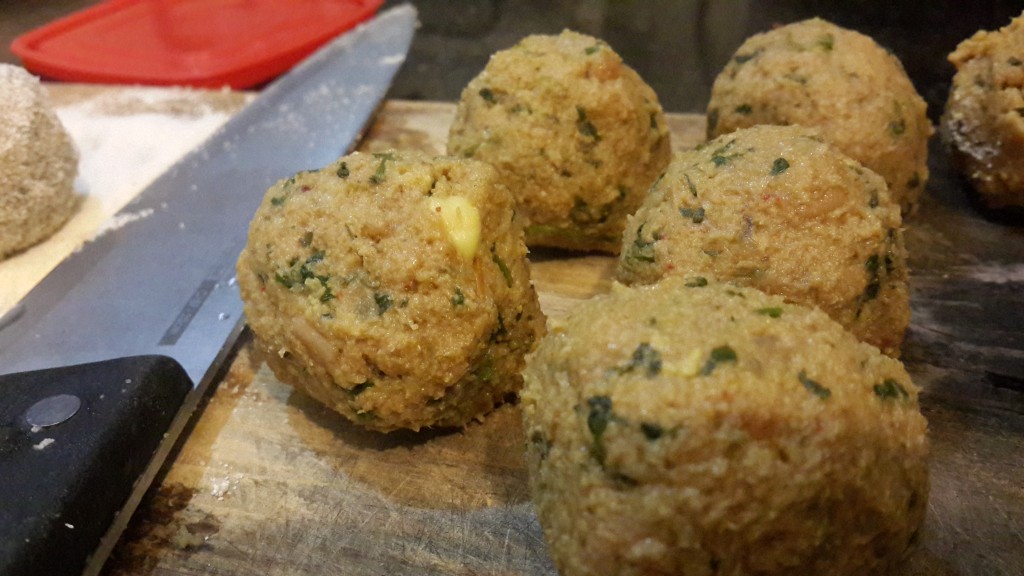
    Once the mince has dried, cool it. Add in the soaked bread and mash it up with the mince. The bread helps to give the cutlets structure and bind them. Make small balls until you’ve used up all of the mince mixture. The size of the balls can vary based on your preference.
    Mince balls for cutlets
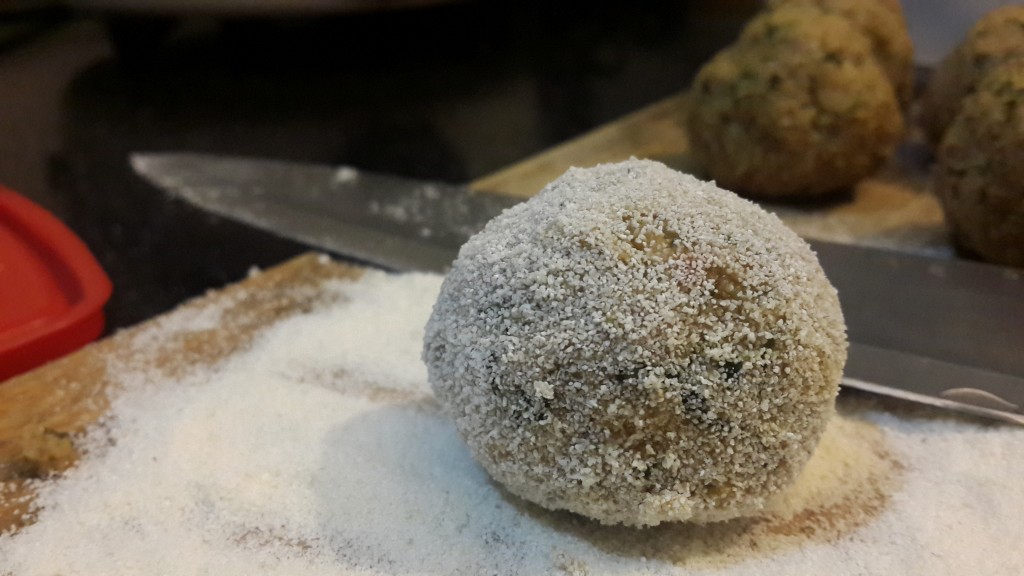
    Roll the mince balls in rawa or bread crumbs sprinkled on a dry plate.
    Coating the mince balls with rawa (semolina)/bread crumbs before frying
    Flatten the balls and smoothen out the edges.
    Flattening the coated cutlet balls
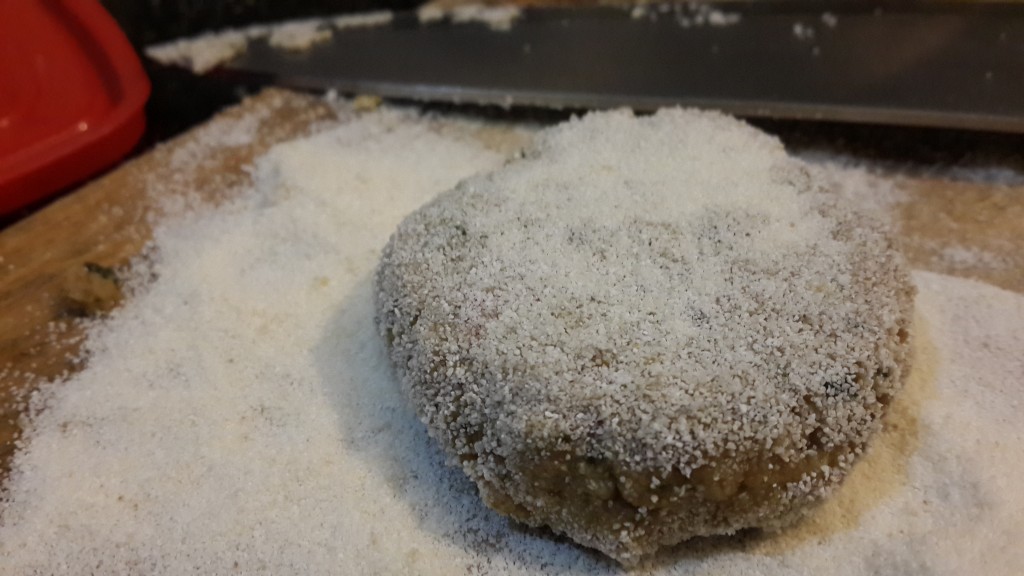
    I use the broad end of the knife to flatten the balls and then smoothen out the edges by rotating the cutlet on its flat side between the knife and the palm of my other hand.
    Coated chicken/beef mince cutlets before frying
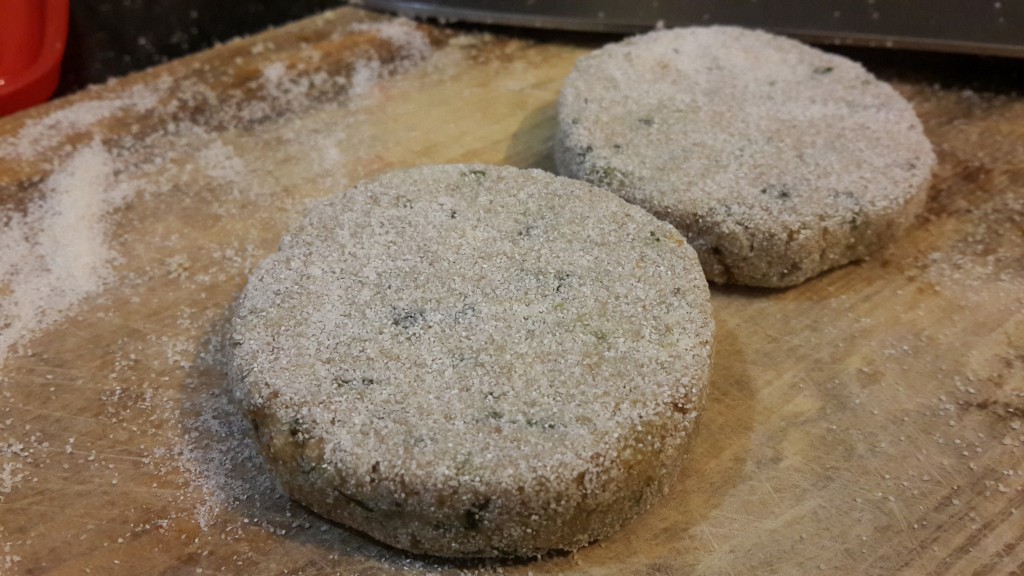
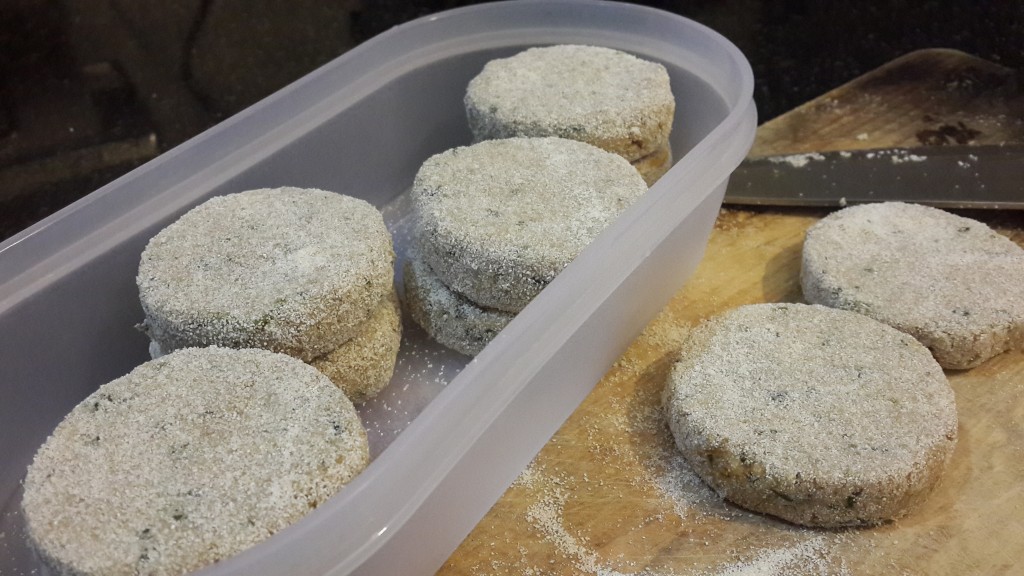
    You’re cutlets are ready! Fry them to eat them right away or place them in a box and freeze them for later use.
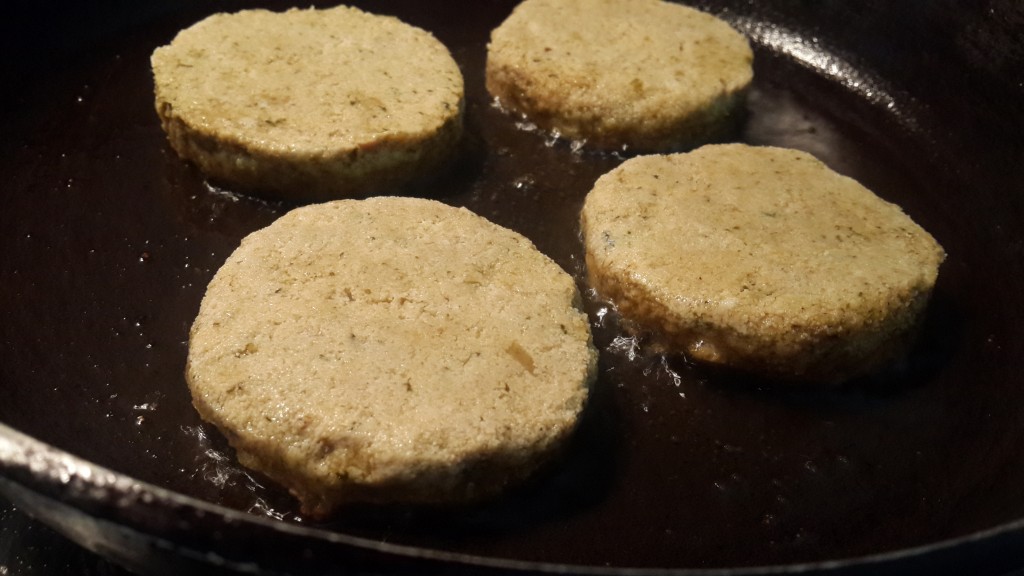
    Coated chicken/beef mince cutlets for freezing before frying
  10. Frying the cutlets
    Remember that your cutlets have already cooked. All you want now is a lovely golden crisp outside. Remember that if your cutlets are frozen, thaw them for about 10 minutes before frying them. Heat a frying pan with 2 – 3 tbsp of oil. Don’t let the oil smoke. Place the cutlets in the frying pan and allow them to sizzle for a minute or two on a high flame. Then, turn down the gas to a medium flame and cook for another couple of minutes.
    Mince meat cutlets frying
    Flip the cutlet and allow the other side to brown in the same way.
    Mince meat cutlets frying
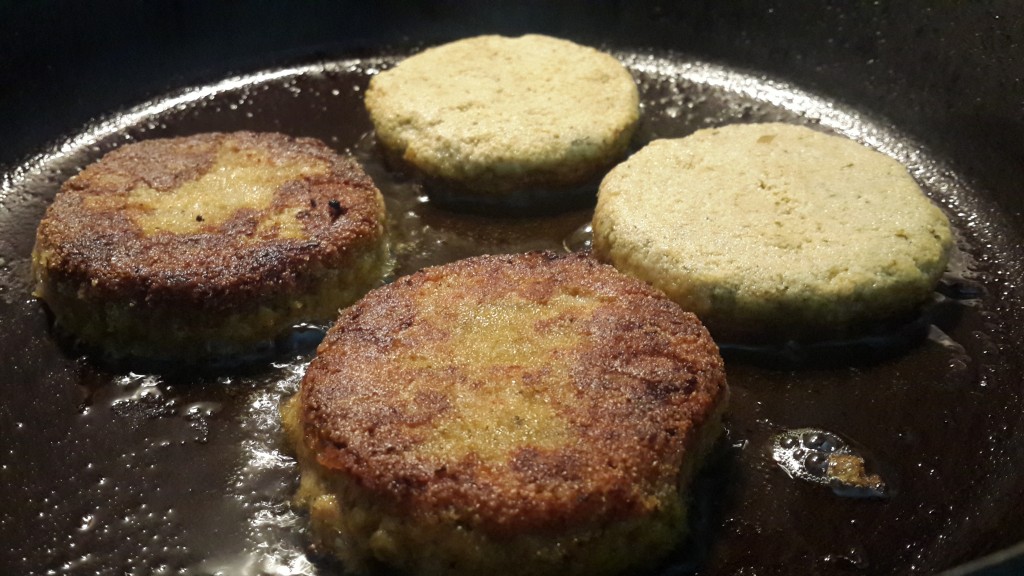
    Remove the cutlets and place them on a kitchen towel or on kitchen paper and serve hot. You can eat these cutlets as a snack with tomato ketchup or green chutney, or can serve it as appetizers before the main meal. You can also serve these as sides with a simple meal of daal and rice.
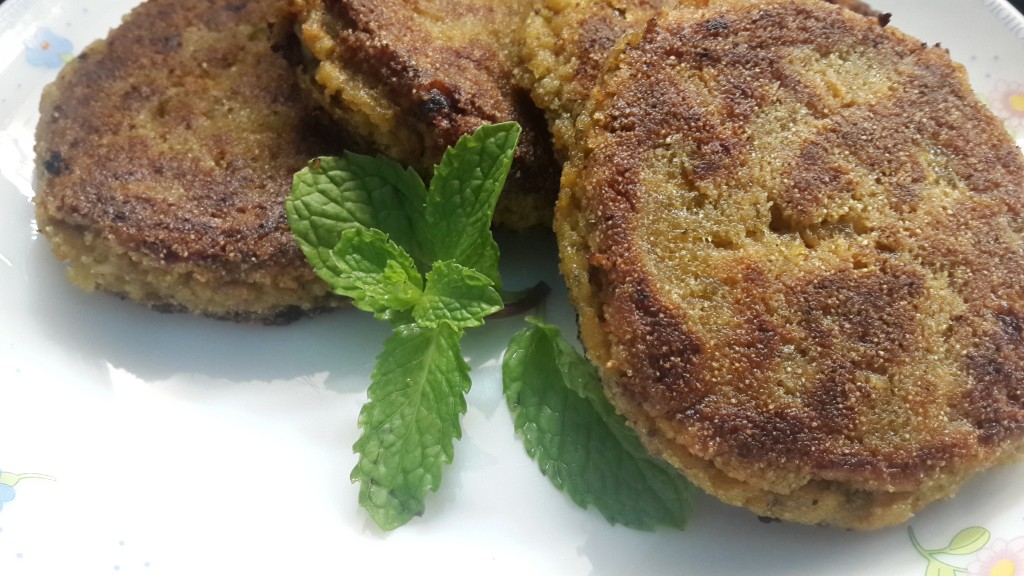
Mince meat cutlets ready to serve
    Bon appétit!


Chicken Cafreal

Chicken in red and brown curries is the norm; a green gravy, though not a recent discovery, is a refreshing change. This recipe blends some local spices to bring together a lovely Portuguese dish that’s loved and respected along the south-western coast of India. Nothing quite compares to the perfect ‘hot n sweet’ balance this dish offers. Give it a try!


“Pounding fragrant things… is a tremendous antidote to depression… juniper berries, coriander seeds and the grilled fruits of the chilli pepper. Pounding these things produces an alteration in one’s being — from sighing with fatigue to inhaling with pleasure. – Patience Gray, cookery author”
The Fact: This famous Goan dish is a version of grilled chicken from the former Portuguese colonies in Africa. The name is believed to have originated from ‘kaffir’, which is what the local Africans were called.
The Inspiration: I came home last Tuesday evening knowing exactly what I wanted to eat for dinner—chicken curry with rice. But bored of the many red and brown curries I’m used to making, I decided on a spicy green version, which I learnt from my mother in law … something I’m sure you’ll love only if you have the palette for spice 🙂 This recipe blends some local spices to bring together a lovely Portuguese dish that’s loved and respected along the south-western coast of India. Nothing quite compares to the perfect ‘hot n sweet’ balance this dish offers. Give it a try!

The Ingredients

Serves about 8 – 10 people

Spice mixture before grinding

  • 800 – 900 gms chicken on the bone, cut up into medium/small pieces (medium: 2 – 3 inch pieces, lengthwise; small: 1 – 2 inch pieces, lengthwise)
  • 2 onions (1 large + 1 medium)
  • 3 cups coriander leaves or dhaniya patta (use a large tea mug to measure, or American cup measurements)
  • 5 long green chillies (use dark green spicy chillies; if using the light green ones that only add flavor, increase the number of chillies to 8 – 10)
  • 4 tbsp 8 – 9 sauce (This is a date-based sauce with raisins, tamarind and other ingredients; it’s used in a lot of Goan dishes and is available in a few local stores. If you absolutely cannot find it, you could make the dish without it, but note that the sauce is a key ingredient, so you’re definitely missing something.)
  • 4 tbsp tomato ketchup
  • 1 teaspoon turmeric powder
  • 18 cloves of garlic or lassan
  • 1 inch of ginger or adrak
  • 8 cloves or lavang
  • 8 peppercorns or kalimiri/kalimirch
  • 2 one-inch sticks of cinnamon or dalchini
  • 1 tsp cumin seeds or akha jeera
  • 1 tsp poppy seeds or khus khus
  • 15 cashew nuts
  • 5 tbsp oil
  • Salt to taste

The Method

  1. Wash and drain the chicken pieces for 5 – 10 minutes.
  2. Marinate the chicken in turmeric powder, 8 – 9 sauce and salt, for about 30 minutes, if not more.
    8 - 9 sauce marinade

    Chicken marinating in turmeric powder, 8 - 9 sauce and salt

  3. Dry roast the cloves, peppercorns, cinnamon, cumin seeds, poppy seeds and cashew nuts in a pan or in the microwave. Allow them to cool.
  4. Grind together the large onion, coriander leaves (washed), green chillies, garlic, ginger, cloves and all the roasted ingredients, with about half a cup of water, until a thick paste is formed.
    Spices being ground for the cafreal or green sauce

    Cafreal or green sauce

  5. Place a skillet/vessel on medium heat. Add the oil to it and let it heat up as well. The oil should never smoke – any ingredient tossed into the oil at smoke point will burn.
  6. While the pan and oil are heating up, slice the medium onion. Sauté the onions till they turn a lovely golden brown.
    Sauteeing the onions
  7. Place the marinated chicken pieces over the onions and without stirring, allow the chicken to brown a little – say for about 2 – 3 minutes. Then, toss the pieces around in the oil and onions, and allow to cook for about 5 minutes.
    Marinated chicken placed over the sauteed onions
  8. Add the green paste, which you ground earlier, to the skillet. Toss the chicken around in the green sauce. You’ll notice the green paste and the brownish chicken marinade come together to form a dark green, thick gravy.
    Chicken with the cafreal sauce
  9. Add the tomato ketchup and adjust the salt.
  10. At this point, add water to your liking. About 1.5 cups of water will allow the chicken to cook and give you a semi-dry chicken, which can be eaten plain as an appetizer or with rotis (Indian bread) or bread. Anything more than that, say 3 – 4 cups of water, will cook the chicken and give you nice gravy, which will go perfectly with hot rice.
  11. Cook the chicken until fully done, say about 10 – 15 mins, or until the gravy has thickened enough. Note that if the gravy is too spicy and you can do with a little more sweetness, add some more ketchup; but avoid making it too sweet.
    Chicken cafreal

Serve hot as an appetizer or with rotis; or then with rice as the main meal. Bon appétit!


Lemon Pepper Chicken

Grilled chicken cooked with the combined fragrance and flavour of freshly ground black pepper and freshly squeezed lemon… hmmmm…


“The disparity between a restaurant’s price and food quality rises in direct proportion to the size of the pepper mill.” – Bryan Q. Miller
The Fact: It is believed that when the Goths defeated Rome in 410, they demanded a ransom of 3,000 pounds of pepper, along with other valuables such as silk.
The Inspiration: Although we live a hop, skip and jump away from my parents and my in-laws, a Sunday family meal with them does not take place that often. This Sunday was different.
We had a late and well-deserved, fun Saturday night and a mild hung-over Sunday morning; nothing that a hot cup of coffee and a quick shower couldn’t fix. On a day like this, when you’re expecting your in-laws for lunch, a quick meal, like this one, was just perfect. So that’s my inspiration for this addition—a quick, homely and simple recipe.

The Ingredients

Serves approximately 6 people
  • 1 kg chicken cut into roughly 8 – 10 pieces
  • 5 tablespoons barbeque sauce
  • 1 tablespoons soya sauce
  • 1 tablespoon oyster sauce (optional)
  • 1 medium or ½ large lemon
  • 3 teaspoons freshly ground black pepper
  • 1 teaspoon salt
  • 1 – 2 tablespoons of olive oil

The Method

  • Wash well and drain the chicken pieces. Dry the chicken pieces using a kitchen towel.
  • Mix all the above ingredients (except the olive oil) for the marinade.
  • Slit the chicken pieces so that the marinade permeates the meat.
  • Apply the marinade to each chicken pieces carefully, remembering to massage the marinade into the slits as well. Place chicken pieces in a baking dish and pour the remaining marinade over it.
  • Allow the chicken to sit covered on the counter or in the refrigerator for about 20 – 30 minutes. Refrigeration is preferred if your kitchen is warm and not at room temperature.
  • Ten minutes before your marination time’s up, preheat your oven to 375°F / 190°C.
  • Drizzle the dish with the olive oil and pop it into the oven for about 30 – 40 minutes.
  • Your chicken’s done when the meat seems to leave the bone easily and the meat doesn’t look pink and raw. You can prick it with a skewer or fork to check. Remove the chicken from the oven and serve while it’s hot.

Note: I used chicken on the bone; if you’re using boneless chicken, your meal should be done in 20 minutes.

You could serve the chicken with a salad on the side. I also added a lovely garlic-flavoured potato mash (mashed potato) with it. A light white wine will make for a great drink to go with the meal.

lemonpepperchicken2

A lovely Jacob’s Creek Chardonnay, some country music in the background, a few sways in the kitchen, a lovely sit-down meal, followed by a cosy nap! A perfect end to the weekend!

Pepper Chicken Noodles

Noodles. Pepper. Chicken. What more can I ask for on a pleasant, laid-back Sunday afternoon?


“Noodles? I can’t eat noodles; there’s too many of them. No matter how hungry I am, 1000 of anything is too many.” – Mitch Hedberg
 The Fact: Contrary to popular belief, Marco Polo did not discover pasta; was only the first to write about it.
The Inspiration: Ghostly silence until 11am (to allow you to stay under the covers); cheerful country music to wake you up; a mindless, laid-back, workless day; un-put-down-able Pepper Chicken Noodles for when the stomach growls; your favourite people for company… that’s what Sundays are made of! 
… and yes, also the fact that I hadn’t stocked up on my regular supplies for the week, and so, apart from two packets of Hakka noodles, 2 frozen chicken breasts, 1 carrot, 1 red pepper, and 1 yellow pepper, I pretty much had nothing to cook …

The Ingredients

Approximately 6 servings
  • 2 packets of vegetable or egg noodles of your choice (approx 300 – 350gms)
  • 150 gms boneless chicken
  • 2 green chillies (de-seed the chillies if you can’t tolerate spice)
  • A thumb-sized piece of fresh ginger
  • 1 large or 2 medium-small onion(s)
  • 2 medium-sized peppers (use different coloured peppers for a more colourful dish)
  • 1 large carrot
  • 2 soup cubes
  • 4 tablespoons Dark Soy sauce (I used Ching’s Secret)
  • 4 tablespoons All-In-One Stir-Fry sauce (I used Ching’s Secret; you can use any brand that’s easily available)
  • 2 tablespoons tomato ketchup
  • 2 tablespoons vinegar
  • Butter or olive oil (olive oil being the healthier option)
  • Salt to taste
  • Freshly ground black pepper

The Method

Boil the noodles as per instructions on the packet. Drain the noodles, run cold water through them to stop them from cooking further and then, drizzle some oil on them to prevent them from sticking. Set aside.

In the meantime, slit the chillies, finely chop the garlic, julienne the carrots and capsicums, slice (not chop) the onions, and dice the chicken into medium-sized bits.

Heat a wok with about 3 tablespoons of butter or olive oil (use olive oil as the healthier option). When the oil is hot, drop the chillies and chopped ginger into the oil. Without letting the ginger burn, quickly add in your onions.
Sauté the onions for about 2 – 3 minutes. When the onions appear translucent (don’t let them lose their crunch), toss in the carrots and stir for about 2 minutes. Then, toss in the capsicum briefly for about a minute.

Add 1 soup cube, half a teaspoon of salt and about 3/4th tablespoon of freshly ground pepper.

peppernoodles2

Stir the veggies and empty them into a plate.

Heat the wok again and add a sliver of butter or a drizzle of oil to it. When the butter/oil has heated, add the diced chicken and stir continuously till the pink of the chicken is no longer visible (about 1 – 2 minutes). Scoop out the chicken bits and set aside.

In the same wok, stir in all the sauces—the soy, stir-fry sauce, ketchup and vinegar. Toss in the noodles for a few seconds (do not stir to prevent the noodles from breaking or becoming a mash). Sprinkle the noodles with the second soup cube, salt to taste, and 1 tablespoon of freshly ground pepper. Feel free to add more pepper if you enjoy spice or then, tone down the pepper to your liking. Toss again for a few seconds. Add in the veggies and the chicken bits. Toss once more and voila, you’re done.

And since I don’t believe in reheating noodles (though I will if I absolutely have to), enjoy the dish while it’s hot! Add a glass of white wine or even a coke to your meal and maybe, the book you’re reading or a movie of your liking, and you’re pretty much set.

Bon appétit! Here’s hoping the door bell doesn’t ring 🙂 … at least not just yet…!

Roast Chicken

There’s nothing better than a piping hot, straight from the oven, moist, tender, gloriously golden-brown, aroma-filled roast chicken on a bed of roasted veggies!


“A hen is only an egg’s way of making another egg.” – Samuel Butler
The Fact: Gainesville, Georgia, in the United States, is the “Chicken Capital of the World”. There, eating the meat with a fork is considered illegal.
The Inspiration: I love chicken! My entire family will vouch for it. To me, chicken is an indulgence; an experience all by itself. I can eat it in any form and any combination, although, on some days, nothing can ever beat the straight from the oven, piping hot, moist, tender, gloriously golden-brown, aroma-filled, roast chicken served on a bed of roasted veggies.
I’ve been making and eating, actually, eating (thanks to my mum and mother in law) and making chicken all my life. But in my household, somehow, a majority of the time, we ended up combining chicken with some gravy and eating it with our staple, rice. I’m not complaining, like I said, I love the bird. But ever since I got married, experimentation has gotten so exciting, with my favorite guinea pig, Ally (my husband) and me for samplers. So trial and error is my thing now, and that’s exactly how I stumbled on to this glorious recipe. It’s something I created in my kitchen on Easter Sunday with whatever I could find in my kitchen. I do hope you enjoy this recipe!

The Ingredients

  • 1.5 – 2 kg chicken (whole; with skin) Switch the chicken with turkey for a beautiful Thanksgiving meal.
  • 2 medium-sized onions
  • 2 carrots
  • 2 tomatoes
  • 5 – 6 baby potatoes
  • 150 gms mushrooms
  • 1 big apple
  • 1 orange
  • 2 sticks celery
  • 1 bulb garlic
  • Olive oil or melted butter (use olive oil for a healthier meal)
  • 2 lemons
  • 1 small bunch fresh thyme, rosemary, bay or sage, or a mixture
  • Kosher or coarse salt
  • Freshly ground black pepper
  • 3 feet of twine

The Method

Buying your chicken

Since chicken is an easy-to-find ingredient in my locality, I simply run down to the local chicken shop or the supermarket and pick up any whole chicken, with the skin intact and the insides cleaned. I also look for a chicken with thighs that have that perfect swell to them. This usually means a higher fat content, which also means a juicier and a more moist chicken. The breasts are too lean for my taste; however, this is something that’s up to you—based on your liking and your health.

When it comes to picking the right size, simply weigh your chicken. I prefer a 1.5 – 2kg chicken, which suffices for about 4 – 6 people, and also leaves a little for when you get home late with a growling stomach.

Preparing your chicken

  • Before you begin, wash your chicken thoroughly—inside and out, and also under the skin. Then, drain the chicken.
  • Ensure that your chicken is kept at room temperature—either fresh or refrigerated, but kept out of the fridge for at least 30 minutes before cooking. This is important to prevent your chicken from cooking unevenly or drying out. If you cook cold chicken, the heat dries out the meat on the outside before the inside is done. Room temperature meat cooks more evenly and fewer juices leak out or evaporate during cooking.
  • Preheat your oven to 240°C/475°F.
  • Take a tray or baking dish that has enough space to hold your chicken along with all the vegetables. Also ensure that your tray is hollow enough to hold all the juices that ooze out while your chicken and veggies are cooking. If not, all the juices will spill over and you’ll have quite a task after your chicken’s done.
  • Break the garlic bulb into cloves. Peel about 10 – 12 cloves and leave the remaining cloves unpeeled. Roughly smash the peeled cloves. I used a mortar and pestle; you can smash it any way you like. Add the juice of 1 lemon and about 2 tbsp of melted butter to the mashed garlic. Season this concoction with salt and freshly ground pepper.
  • Dry your chicken with a kitchen towel. Don’t ignore this step. Then, using a fork or a skewer, prick the bird all over. This will help any marinade or seasoning to easily seep into the meat rather than stay on the surface. Place your chicken in the baking tray or dish.
  • Pour 3/4th of the garlic concoction all over the chicken and using your fingers, rub the marinade in; don’t forget to go under the skin and into the chicken cavity as well. The more the seasoning seeps in, the tastier your chicken will turn out. Leave your chicken to marinate for about 20 minutes.
  • Take all your veggies (along with the apple; not the orange), but don’t peel them (except the onions of course); I know I didn’t. Wash your veggies thoroughly under running water, along with a soft brush if required, and then, roughly chop them. Note that you can throw in any additional veggies you like or can skip the ones you don’t quite fancy.
  • Take the tray in which the chicken is resting, lift the chicken and pile in all the veggies (under the chicken), along with some of the unpeeled garlic cloves. Drizzle the remaining garlic concoction and about 2 tablespoons of olive oil (or melted butter) over the veggies. Then, place the chicken over the pile of veggies.
  • Prick the remaining lemon all over, using the tip of a sharp knife or pop it into the microwave for about 30 seconds. (This will bring out the lemony flavour). Place the lemon inside the chicken’s cavity, with the bunch of herbs.

Trussing your chicken

Trussing or tying up your chicken snugly is an important part of roasting chicken. While a lot of chefs prefer to leave this out completely, which is also alright, I prefer to truss the chicken for several reasons—it makes for better presentation and prettier photos, it makes the chicken more compact and helps it cook evenly (by retaining heat and moisture), and it also prevents the tips of the wings and legs from burning.

Place your bird with the breast upwards. Place the twine horizontally under the tail bone or the end of the cavity. Then, hold the legs together, cross both ends of the twine across the chicken and pull the twine tightly. Now, taking the twine ends upwards, towards the neck of the bird and away from you, cross the twine around the wings and completely across the neck as well, tie the twine beneath the neck. Honestly, you can truss the chicken in any way you prefer, as long as the wings and legs are held close to the body of the chicken.

Cooking your chicken

With the trussed chicken placed (breast upwards) on top of the vegetables in the roasting tray, cut your orange in half and squeeze some fresh orange juice over the chicken and the veggies. Pop the tray into the preheated oven. Turn the heat down immediately to 200°C/400°F and cook the chicken for 1.20 hours, which is the ideal time to cook chicken. A lot of chefs prefer to add the potatoes a little later, but on trying their method, I found my potatoes slightly undercooked. So I suggest tossing them in right away.

After about 35 – 45 minutes, check on your chicken. You will notice a lot of juices collected in the tray. Open your oven door and scoop up the juice, only to pour it right back over the chicken and the veggies. Keep doing this until the chick looks nice and moist. Don’t let too much of the heat escape while doing this, so hurry. If you notice that the veggies look dry, add a splash of water to the tray to prevent them from burning.

After 1.20 hours, remove your tray from the oven. Alternately, using a meat thermometer, check if the temperature of the inside of the bird has reached about 70°C/160°F. Remember that your chicken will continue to cook even after you remove it from the oven. Its temperature will gradually increase to 74°C/165°F, after which, it will start to cool. At this point, transfer the chicken to a board to rest for 15 – 20 minutes. Resting the bird allows the juices that were released to be absorbed back into the meat, which is the lovely flavor that you do not want to forego. To retain the heat, cover the bird with some tinfoil.

Making the gravy

Although I love serving the roast chicken just like this, as you can see in the picture, you could also keep the chicken aside and use the veggies to make a lovely gravy.

For the gravy, sauté all the veggies in some butter, along with about 1 tablespoon of flour. Preserve some of the veggies and mash the remaining, finally, passing the mash through a sieve. Bring this liquid to a boil while seasoning it with salt and pepper.

Carving your chicken

  • Remove any twine from the chicken. Using a carving knife, cut down between the leg and the breast of the chicken. Then, cut through the hip joint and bend the leg backwards until the hip joint pops out. Repeat on the other side.
  • Next, cut off the wings from both sides.
  • Next, cut through the drumstick-thigh joint on both pieces. You should end up with four portions. Now, angle the knife along the breastbone and carve one side off, then the other.
  • Place the carved portions on a serving platter. Pour some of the homemade gravy over the carved portions and serve hot.

To see how this is done, check out this link: http://www.wikihow.com/Carve-a-Chicken, or look it up on YouTube.

Note: Throwing the remaining carcass away is a sin. Using your fingers, pull all the meat off. Don’t forget to turn the carcass over and get all the juicy bits from underneath.

And while the fight for the ‘prized’ chicken leg continues at my Easter dinner, please tuck in. Bon appétit!