This one’s hands down, one of the simplest, can’t-go-wrong desserts! It’s simple, basic, uses 4 everyday ingredients and goes down well on hot summer days or cool winter afternoons. Give it a go if you’ve got time on your hand!
“Life’s too short! Just buy those shoes, drink that wine and eat that caramel custard”The Fact: Caramel custard is known by different names around the world; notably, ‘crème caramel’ or ‘crème renversée au caramel’ in France and most of Europe, ‘flan’ in Spain (where it originated), ‘crema caramella’ in Italy and ‘purin’ in Japan. It’s easy to confuse this dessert with crème brûlée (a variant of the dessert with a hard caramel top), which seems pretty similar, but isn’t. The Inspiration: One Sunday afternoon, the husband and I got into one of those random, benign discussions-turned-arguments, which most couples have probably encountered… you know the one about whose turn it is to make breakfast. When these post-argument silences kick in, I’ve noticed that my almost-immediate reaction is to jump into the kitchen and whip up a dessert that’s been on my mind. And though the objective is always to eat most of it and just find bliss, it somehow finds its way to the husband’s stomach and suddenly all is forgotten and everyone lives happily ever after! That’s just what happened a few weeks ago and voila, there was caramel custard in the house… 😉
The Ingredients
Makes about one 10×10″ baking dish of dessert
- 2/3rd + ½ cup sugar
- 2 ½ cups milk (I used whole milk. You can substitute 1 cup with fresh cream for a richer dessert)
- 4 eggs
- 1 tsp vanilla essence or 1 vanilla pod
- Optional: 2 – 3 pepper corns
The Method
Setting the caramel
Preheat the oven to 180C or 350F.
Place 2/3rd cup of sugar in a skillet or any thick-bottomed pan. Heat the pan on slow to medium heat (not on high because sugar burns quite quickly). Leave undisturbed (or swirl but don’t stir) as the sugar melts. This ensures that the sugar melts evenly and the caramel develops an even colour. However, if you’re running low on patience (or if you want a lighter colour), add a tablespoon or two of water to get the sugar to start caramelizing faster.
Once the sugar has fully caramelized and has developed that deep brown colour, remove from heat and pour directly into a baking dish or into individual ramekins. Swirl the dish/ramekins to evenly coat the bottom with the caramel. Also make sure you hurry with this process because the caramel will start to harden, after which it doesn’t flow easily.
Leave aside to cool.

Notice the height of the caramel in the baking dish in this image:

Making the custard
Microwave or heat the milk in a saucepan on medium heat. If you’re using fresh milk, make sure you boil it well and then leave it to cool a little. If you’re using pre-boiled milk, simply heat it up, but do not boil it.
If you’re using vanilla bean instead of vanilla essence, add it in to the milk at this point to extract its flavor. I also threw in 2 – 3 pepper corns for added flavor.
Set aside to cool.

Next, break the eggs in a separate bowl. I added a teaspoon of vanilla extract to it as well.

Beat the eggs with the remaining ½ cup of sugar. When it’s light and foamy, add the warm milk to the eggs in a thin, steady stream. If your milk is too hot at this point, your eggs will scramble; you do not want this to happen.
If you’re using vanilla essence, add it in now and stir gently to incorporate everything.
Strain the custard.
Assembling and baking the dessert
Make a water bath: Take a tray that’s bigger and wider than the baking dish in which you’ve set the caramel. The tray should also have high sides. Fill the tray with about 1” of hot water. Place the baking dish/ramekins with the set caramel into the water bath. Make sure that the hot water level in the tray is not so high that it spills into the baking dish; so adjust the water level accordingly. Remember that the water bath is used to prevent burning and to ensure even cooking.

Check to see that your caramel is set or is hard to touch. By now, it should be. Now, gently pour the strained custard mixture into the baking dish (not the water bath tray), over the set caramel. Place the water bath containing the baking dish in the oven.
Bake for about 30 – 40 minutes at 180C or 350F, or until the centre of the custard is firm but slightly wobbly. Don’t overcook the dessert or you’ll end up with tough custard instead of a silky, tender one.
Remove from the oven and set aside to cool to room temperature.
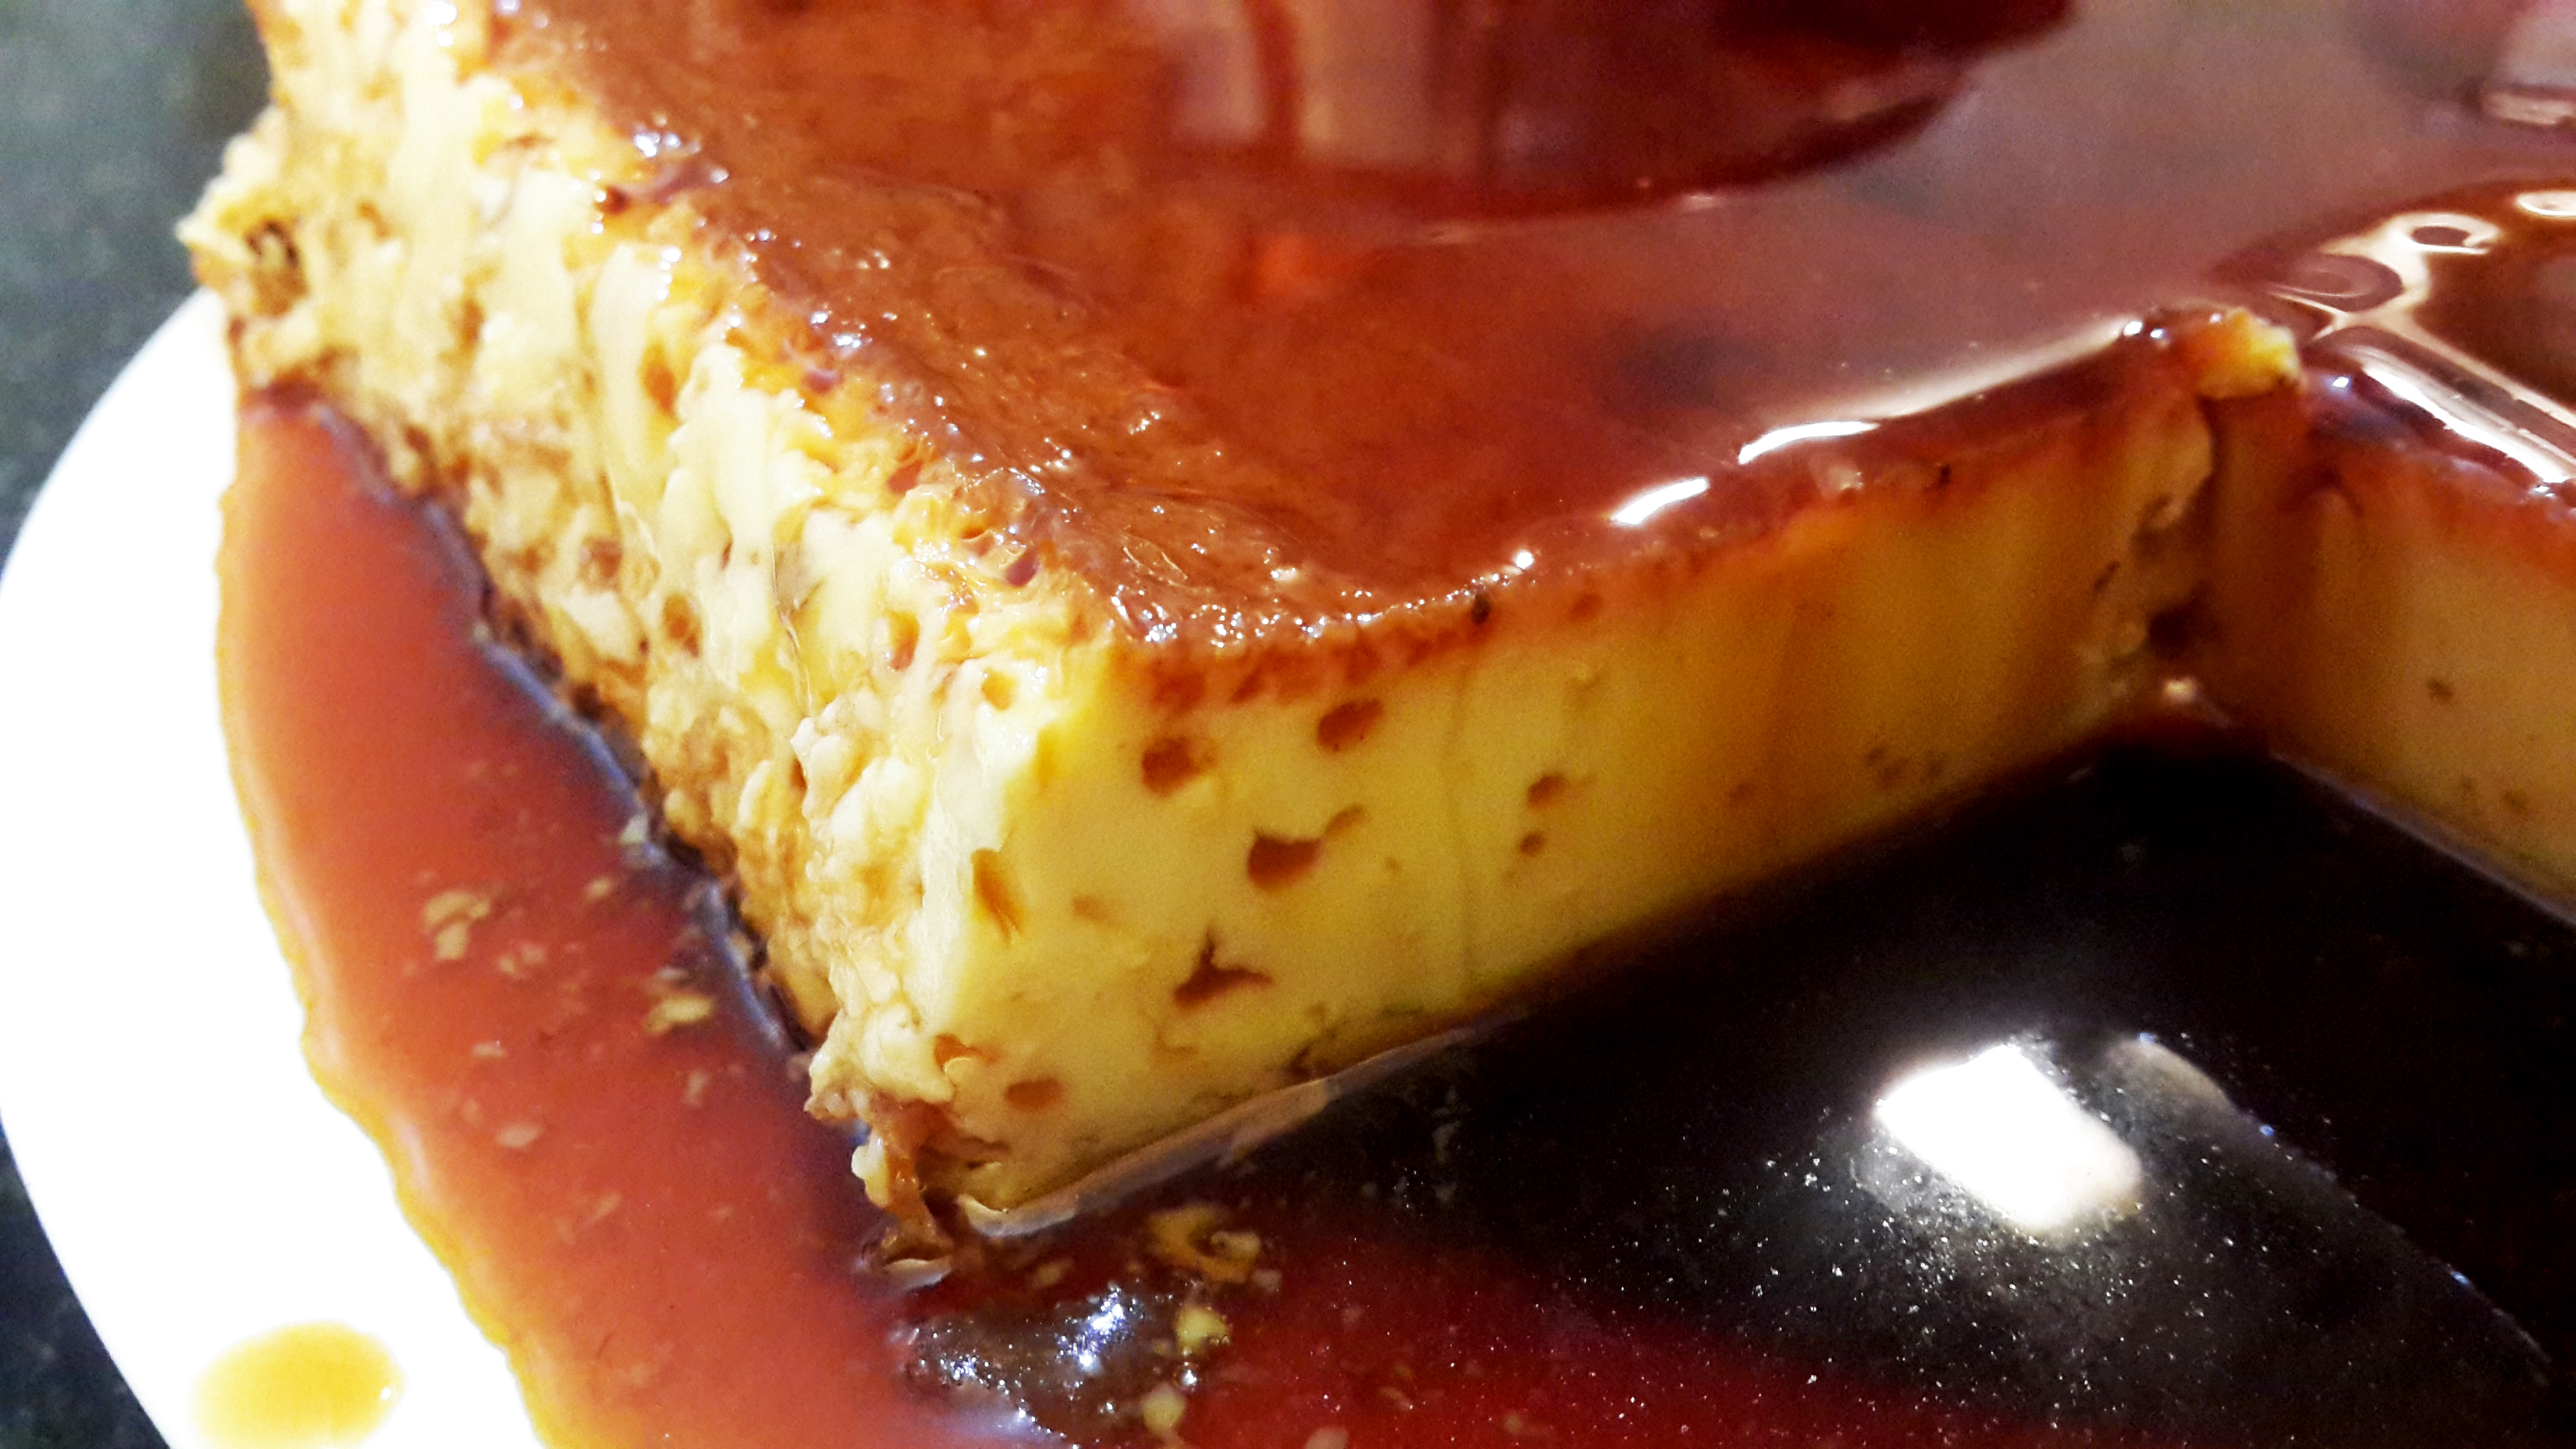
Serving the dessert
Caramel custard is best eaten chilled. However, if you want to serve it warm, place the baking dish/ramekins in a cold water bath for about 10 minutes. Always make sure that the water level of the water bath is lower than the rim of your baking dish. Now, run a knife between the custard and edges of the dish/ramekins. Place the serving dish/dishes upside down over the baking dish/ramekins and quickly flip the two. Serve upturned with the caramel side up. The caramel will have turned into a delicious syrupy glaze.

If you’re serving the dessert chilled, allow the baking dish to cool before refrigerating it. Refrigerate for a few hours until it has chilled completely. Serve by running a knife between the custard and edges of the dish/ramekins and then flipping the dessert onto the serving dishes, with the caramel side up.

For an extra treat, serve with fruit or whipped cream or vanilla ice cream.
Bon appétit! 🙂