Glossy, smooth royal icing that spreads easily and sets hard — the kind of cookie icing that makes homemade biscuits and sugar cookies look like they came straight out of a fancy bakery.
Perfect for piping fine details, flooding cookies, or dunking biscuits, this royal icing recipe is dependable, smooth, and perfect for decorating all year round — not just Christmas.
🧁 Inspiration
This royal icing was originally made for Christmas cookies, but it’s far too useful to keep seasonal. It’s my go-to, all-purpose biscuit icing — borrowed from Recipe Tin Eats — glossy, neat, and dependable.
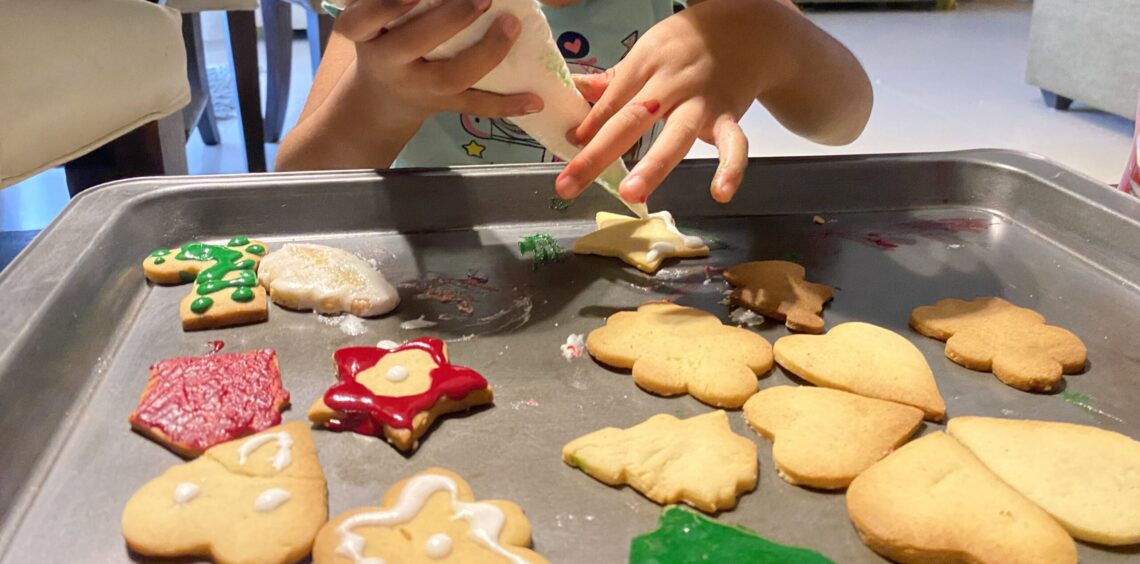
I make this icing in large batches around Christmas for decorating parties. A fun way to spread festive cheer is to use your leftover icing and cookies for a kids’ cookie decorating party — the neighbourhood kids love it! Expect a mess, sugar highs, and lots of laughter.
Why Royal Icing Sets Hard (Ingredient Fact)
Royal icing sets hard because of egg whites + sugar. The sugar doesn’t just sweeten — it cures or “cooks” the egg whites, creating a firm, shelf-stable finish that won’t soften your biscuits or affect their shelf life.
This is also why this glossy icing is excellent for indelible cookie decorations, intricate piping, and long-lasting gingerbread houses.
Ingredients
Royal Icing – for up to 70 cookies
- 500g icing sugar / powdered sugar, sifted
- ¼ cup egg whites (≈ 3 eggs — measured, not estimated)
- 2 tbsp corn syrup (or 1½ tbsp glucose syrup — for the sheen; skip for matte icing)
- 3–5 tbsp water, plus more if needed
Colouring
- Food colouring — preferably gel, but liquid works fine if added gradually
Method
- Add icing sugar, egg whites, corn syrup, and 3 tbsp water to a large bowl.
- Beat until smooth, thick, and glossy (start slow, then increase speed).
- Divide into bowls if using multiple colours — typically red, green, and white. Add colour gradually and mix well.
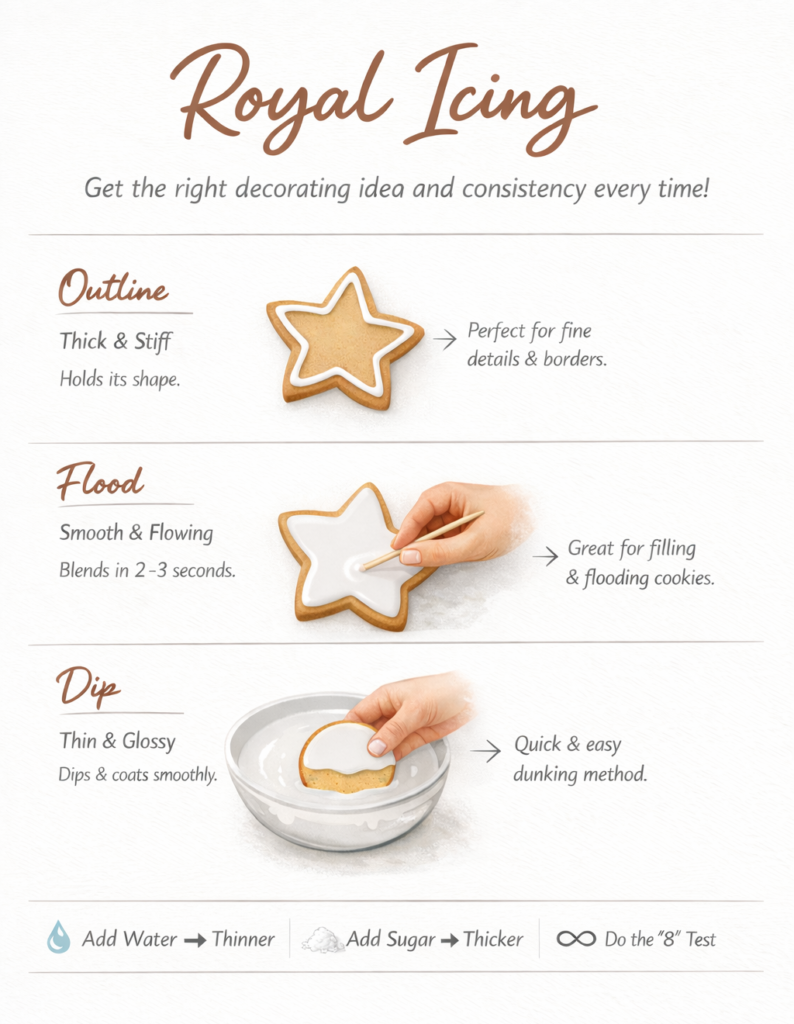
- Check consistency: draw a figure “8” on the surface — it should hold for about 2 seconds before disappearing.
- Too thick? Add water, ½ tsp at a time. Too thin? Add more icing sugar.
Decorating the Cookies
Method #1: Piping
- Transfer icing to piping bags.
- You don’t really need a nozzle — snip a tiny hole first (you can always enlarge it).
- Pipe borders, outlines, and fine details.
- Flood shapes: after drawing fine outlines, fill or flood the shape — pipe within the shape with small spaces and spread evenly with a toothpick.
- For layered details, let the first layer harden completely so the colours don’t mix.
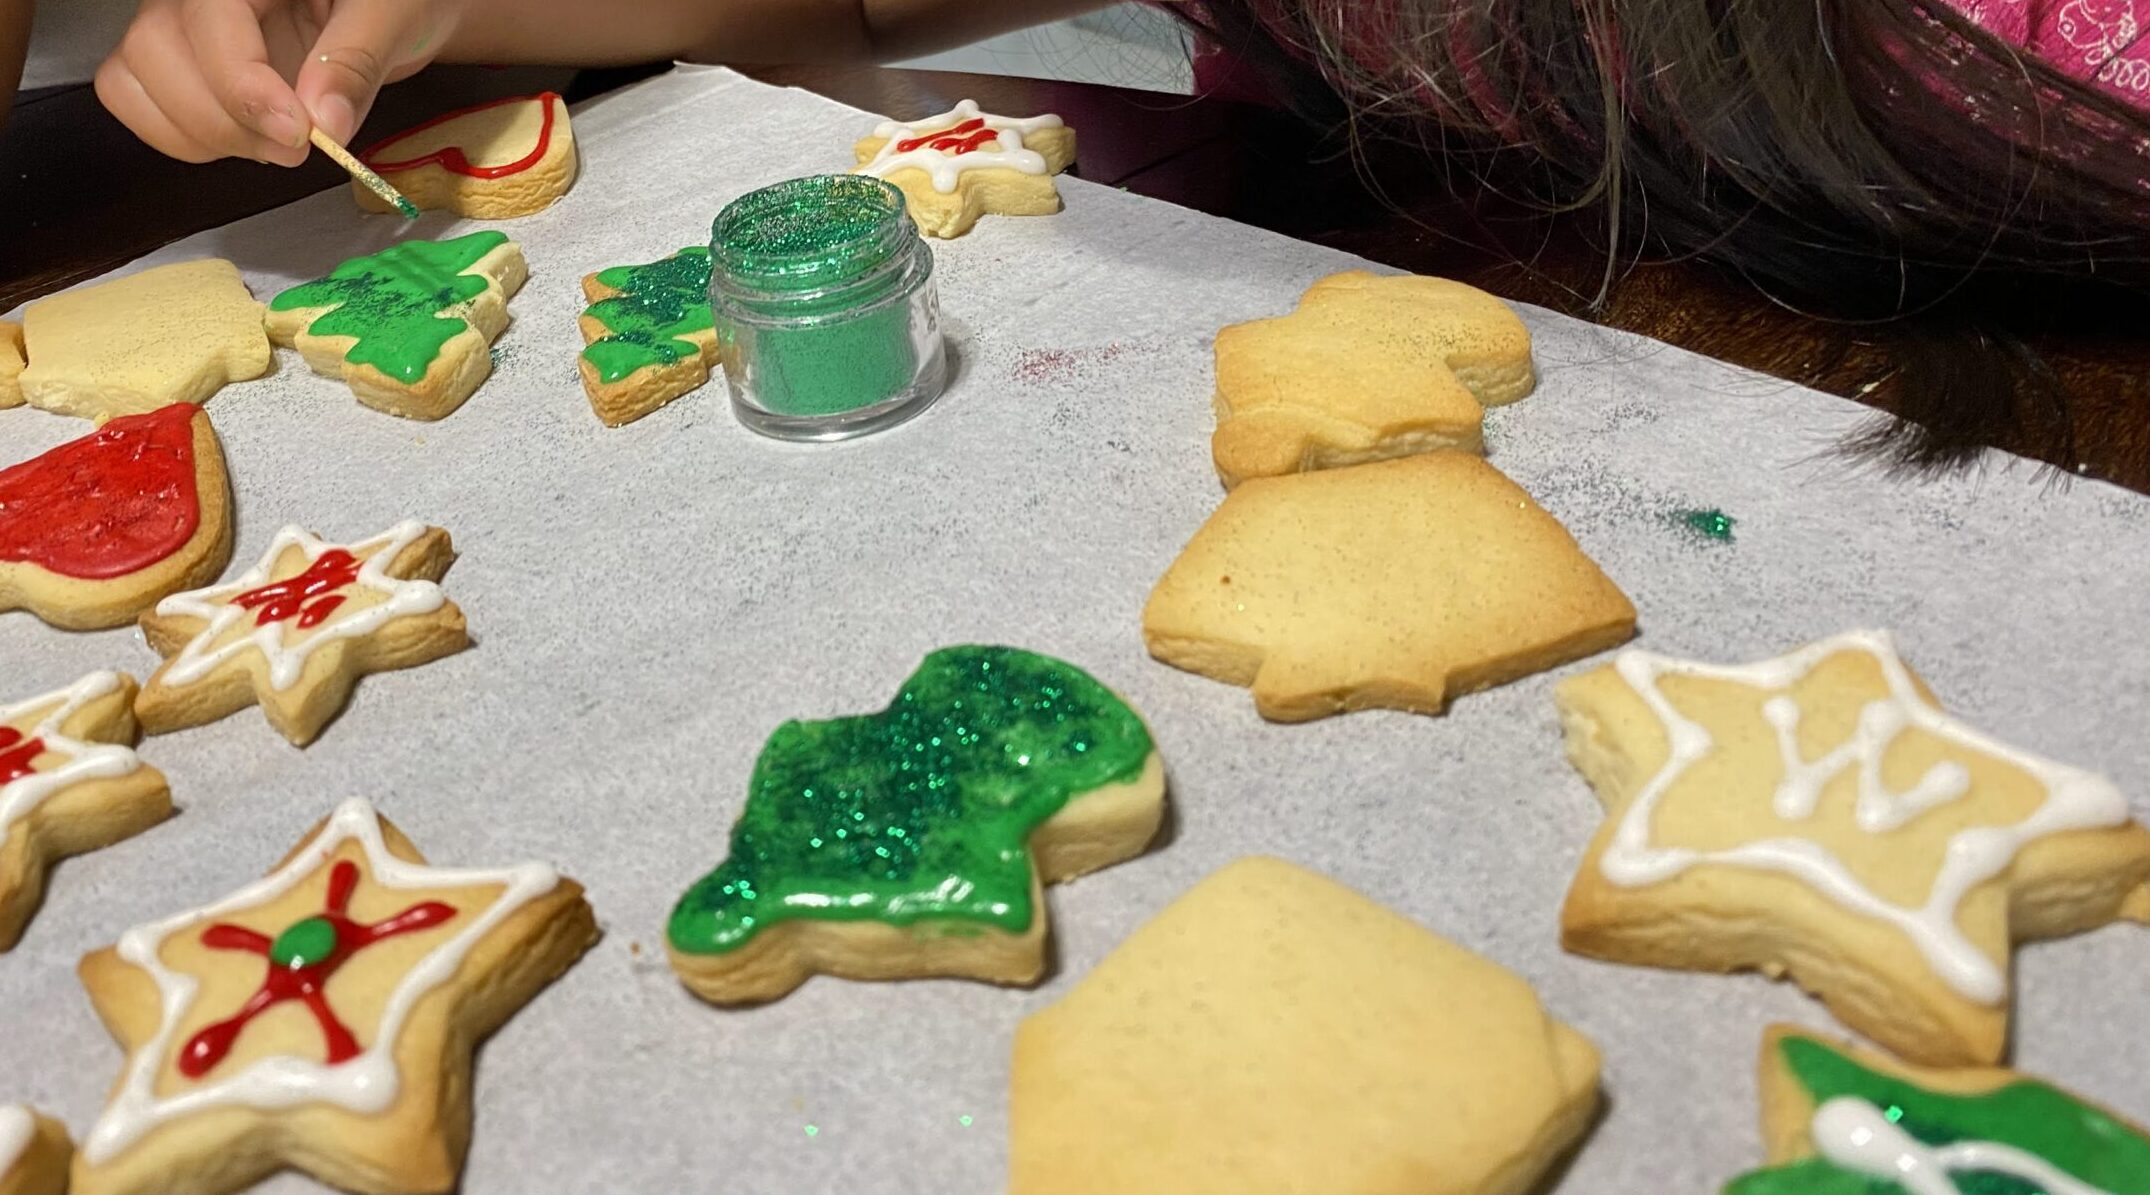
- If adding sprinkles, do it while the icing is still wet so they stick.
Method #2: Dip or Dunk
- Place a skewer across the rim of the icing bowl.
- Dip the biscuit face-down into the icing until the surface touches the icing.
- Lift and scrape the excess against the skewer.
- Let cookies dry completely face-up.
- If adding sprinkles, add while still wet.
Pro Tips for Best Royal Icing
- Measure egg whites — exact consistency matters.
- Use pure icing sugar, not soft icing sugar (the latter won’t set hard).
- Corn syrup or glucose gives a shiny finish; skip it for matte icing.
- Red icing needs a lot of colour — be patient.
- This icing works for sugar cookies, gingerbread, biscuits and more.
Storage
- Store leftover icing sealed in a piping bag.
- Fridge: up to 1 week
- Freezer: up to 3 months
(Fold the cut end and tape it shut to prevent drying.)
Serving & Uses
Use this glossy royal icing for:
- Christmas cookies & sugar cookies
- Biscuit decorating
- Gingerbread houses and festive gifts
- Birthday cookies
- Cookie gifting & edible presents
This icing is incredibly versatile — from fine piping work to smooth flooding and creative decorating.
![]()